A 3D object only belongs in a shot if it moves with the camera, catches the same light and sits behind the same haze. Get any one of those wrong and it looks pasted on.
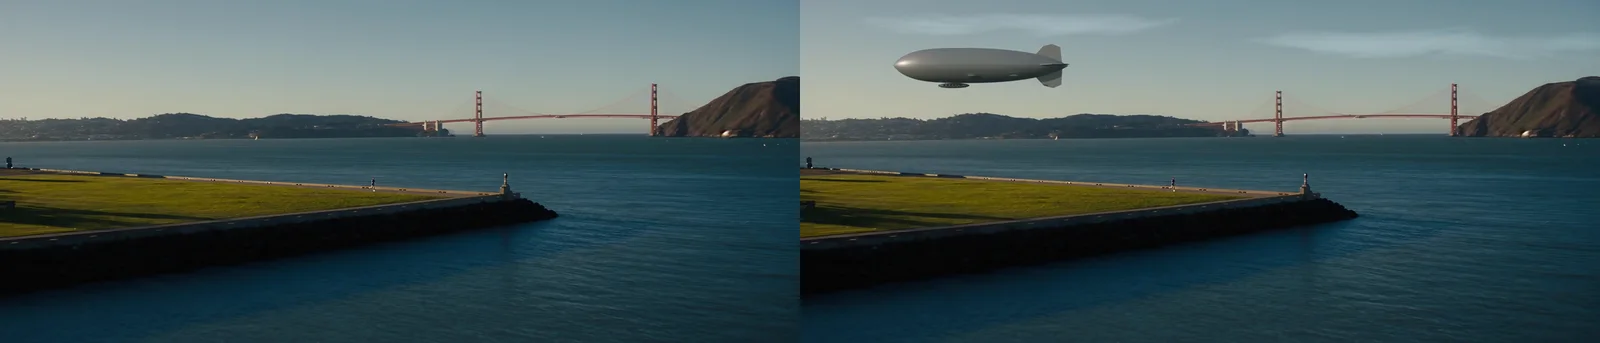
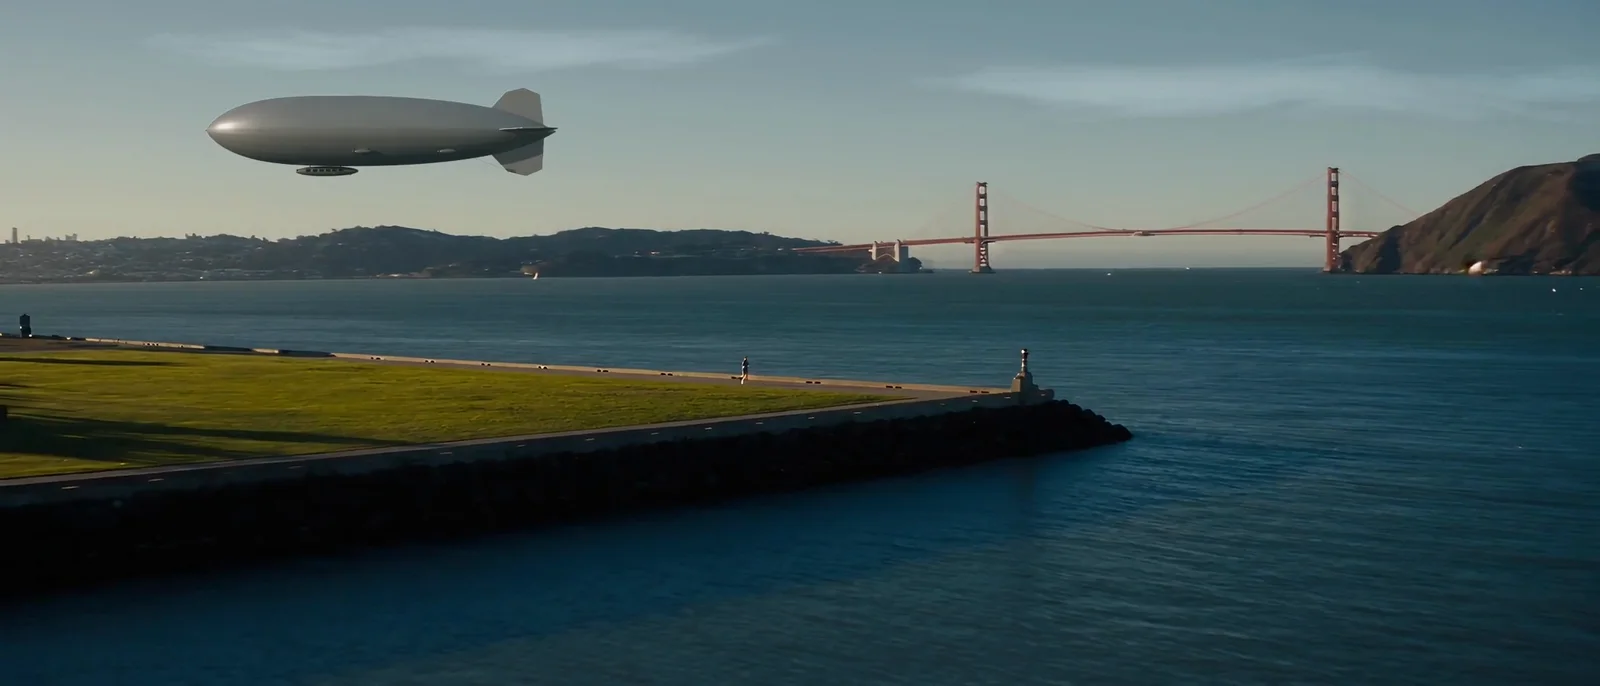
For this example, we added a 108-meter silver airship to the last wide shot of a run along the San Francisco waterfront, then had it assemble itself in midair. The modelling, tracking and compositing all happened in Blender.
Description / transcript
The original clip's own sound. No music or narration.
Use a 2D track for a distant object. An airship over the bay is far from the lens, so the shot only has to agree on where the horizon is, how big things are and how the frame rotates. Fitting that from distant landmarks is quicker and steadier than a full 3D camera solve, and smoothing it well matters more than solving it in 3D.
What you need
- Skills:
edit-in-blender. - Plan: any plan. Nothing in this workflow is a paid generation.
- Tools: Blender alone: the Movie Clip Editor for tracking and the video sequencer for the composite.
- Made in Voyager: this example is a real Voyager run of the workflow, from the first placement stills to the finished composite.
Choose where the object can live
Pull stills across the shot and pick a stretch with open sky or water and a stable horizon. Placing the object clear of foreground subjects means nothing has to be rotoscoped. Confirm the placement before building anything.
Add a photoreal [object] ([size], [finish]) to [footage] between
[in] and [out]. Place it [where in frame], clear of [subjects].
Do it all in Blender and keep the original audio. Optional: add
[clouds or atmosphere] and make it [assemble in midair or fly in].
Show me stills of where it will go before you build it.
Then model the object with a build script and procedural materials, light it to match the plate's sun, and approve an isolated still before any compositing. Our first light turned the "silver" hull bronze, because warm sun and warm ambient light stacked; cooling the fill fixed it.
Track the background, then smooth it
We placed eight markers on distant shoreline features, tracked them in Blender's Movie Clip Editor and fitted a similarity transform for every frame: position, scale and rotation.
The raw fit jittered. Changing which markers counted as reliable made jumps of about 7 pixels and scale steps of about 0.9 percent per frame, and the airship visibly glitched. The fix was to keep only markers that cover every frame, give each one fixed weight and fit smooth curves through the result. That brought the worst steps down to 0.34 pixels and 0.07 percent.
Track at least six distant features through the shot and fit a
2D position, scale and rotation per frame. Keep only tracks that
cover every frame, then fit smooth curves through the result.
Report the largest frame-to-frame position and scale steps before
you use the track.
Measure before you blur anything. When the motion looks wrong, check the rendered object frames and the transforms separately so you fix the right one.
Composite in Blender's video editor
Render the object as transparent frames at the size it occupies on screen. At its insert size, 800×320 rendered in about 2 seconds a frame with no visible loss against a sprite twice as wide. Then layer it over the plate in Blender's video sequencer, moved by the smoothed track.
Integrate it with three small touches: a mild warm and cool balance, half a pixel to a pixel of blur for lens softness, and haze color added on top. Keep the hull fully opaque. Lowering opacity to fake distance let the clouds show through the metal.
Build it in midair
For the assembly, split the model into stages: ribs, then spars, then individual skin panels, then the tail, cabin and engines. Overlap the waves so the build reads in a few seconds, and let every part finish in place rather than swapping to a finished hull at the end. A modifier that thickened the panels produced a raised grid under hard light; baking it and restoring the outer normals kept the panels separate for the animation.
Wispy volumetric clouds behind the airship, at about 55 percent opacity, finished the look. The first cloud pass was too dense and read as overcast, so thin them before anyone sees them.
No paid generation was needed for the composite, and the full job took eight versions. Keep every version's layers: when one export went missing, the shot had to be rebuilt from them.
Bring your own shot, and match the camera before you match the light.
Technique
Make your own in Voyager
Opens a new chat with “3D object in real footage” attached and the steps from this post. Nothing runs until you send it.
Needs Voyager 2026.10.17-0 or later.