FPV footage feels dangerous because the camera keeps almost hitting things. In Blender you can fly anywhere, so the craft is in the near misses: skims, dives and gaps that stay just clear of the structure.
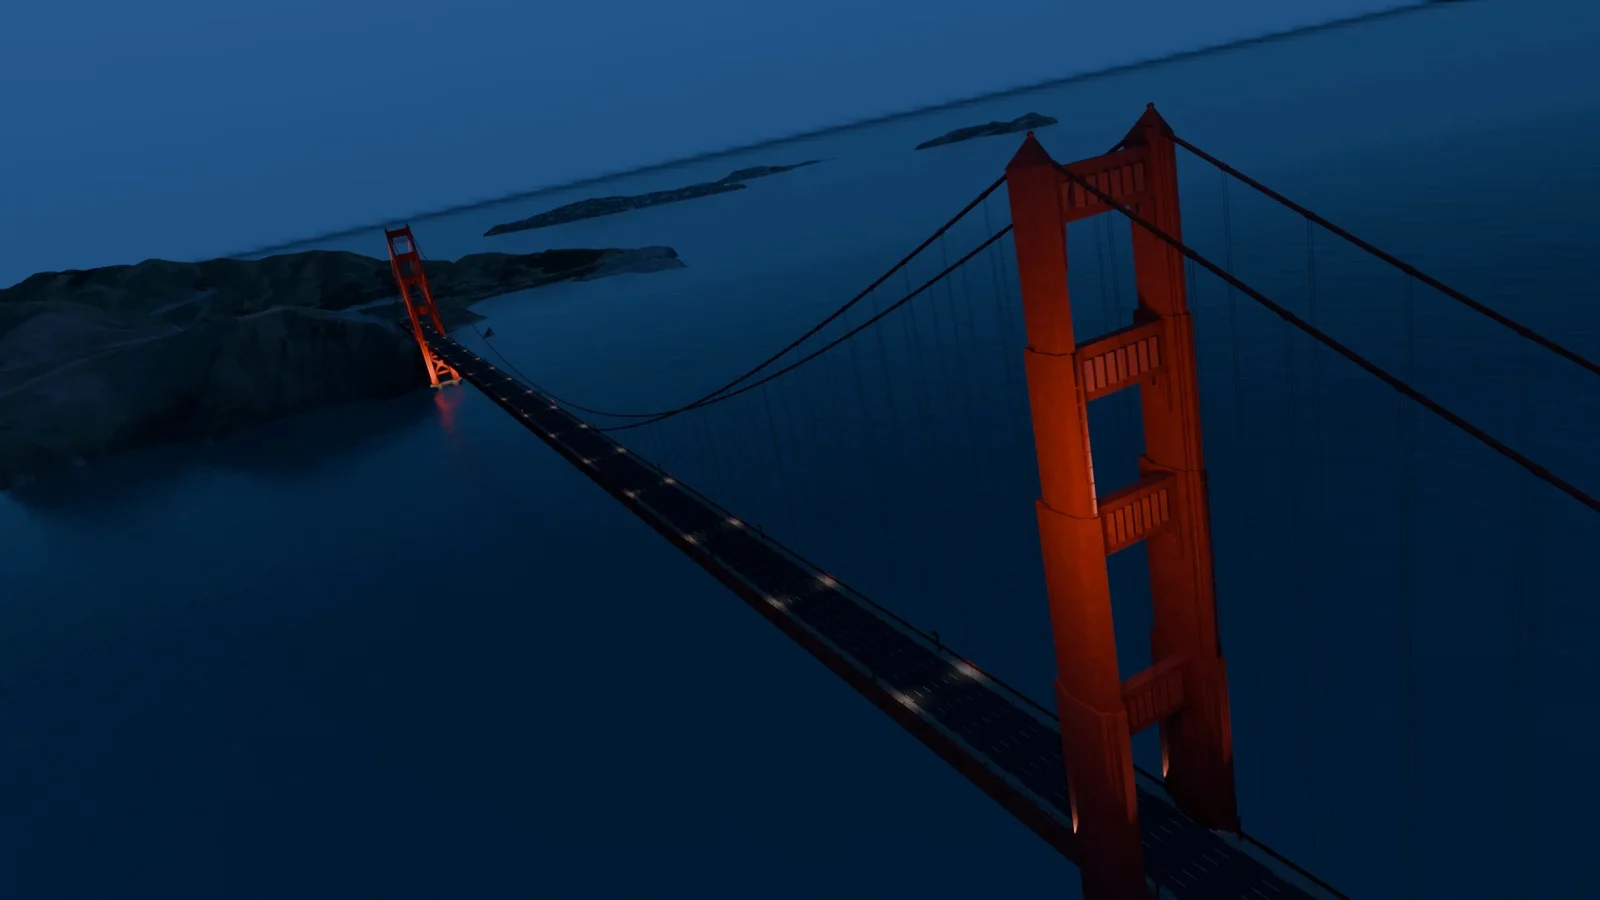
For this example, we flew a virtual FPV drone around the Golden Gate Bridge at blue hour. Twelve shots were planned and previewed; the seven kept became this 18.5-second edit.
Description / transcript
No audio.
Write the camera paths as data, not by hand. Each shot is a handful of numbers: a lens, three points along the path, two places to look and a start and end roll. That makes every move easy to check, adjust and rebuild, and it lets a script test every path for collisions before anything renders.
What you need
- Skills:
edit-in-blenderandgpu-machines. - Plan: any plan for a local render. Rendering on Voyager GPUs needs Creator or higher; Ultra and above give four GPUs per machine.
- Tools: Blender with Eevee, and FFmpeg to cut and encode.
- Made in Voyager: this example is a real Voyager run of the workflow, from the shot list to the final render on Voyager GPUs.
Start from a finished scene
The flythrough assumes the landmark, terrain, water and lighting are already built and approved. Ours adapts GOLDEN GATE by jcidmarti and an oak tree by massive-graphisme, both CC BY 4.0, with terrain and imagery from USGS 3DEP and USDA NAIP, map data © OpenStreetMap contributors (ODbL) and Poly Haven rock textures (CC0). The geometry is reference-guided, not an engineering model.
Make a high-energy FPV drone video of [landmark] in Blender:
[shot count] cuts, about [duration] seconds at [fps] fps, 16:9.
Keep the existing [lighting] look. Shot ideas: [water skim, tower
dive, cable chase, underdeck run, fly-through, breakaway].
Give me a playable preview of every shot first, and ask me before
any long or paid render.
Plan each shot as numbers
For each shot, record a frame range, a fixed wide lens, three path points, two look-at targets and a start and end roll. We used 18 to 22 mm lenses and rolls between about −25 and +28 degrees, in meters around a point on the bridge.
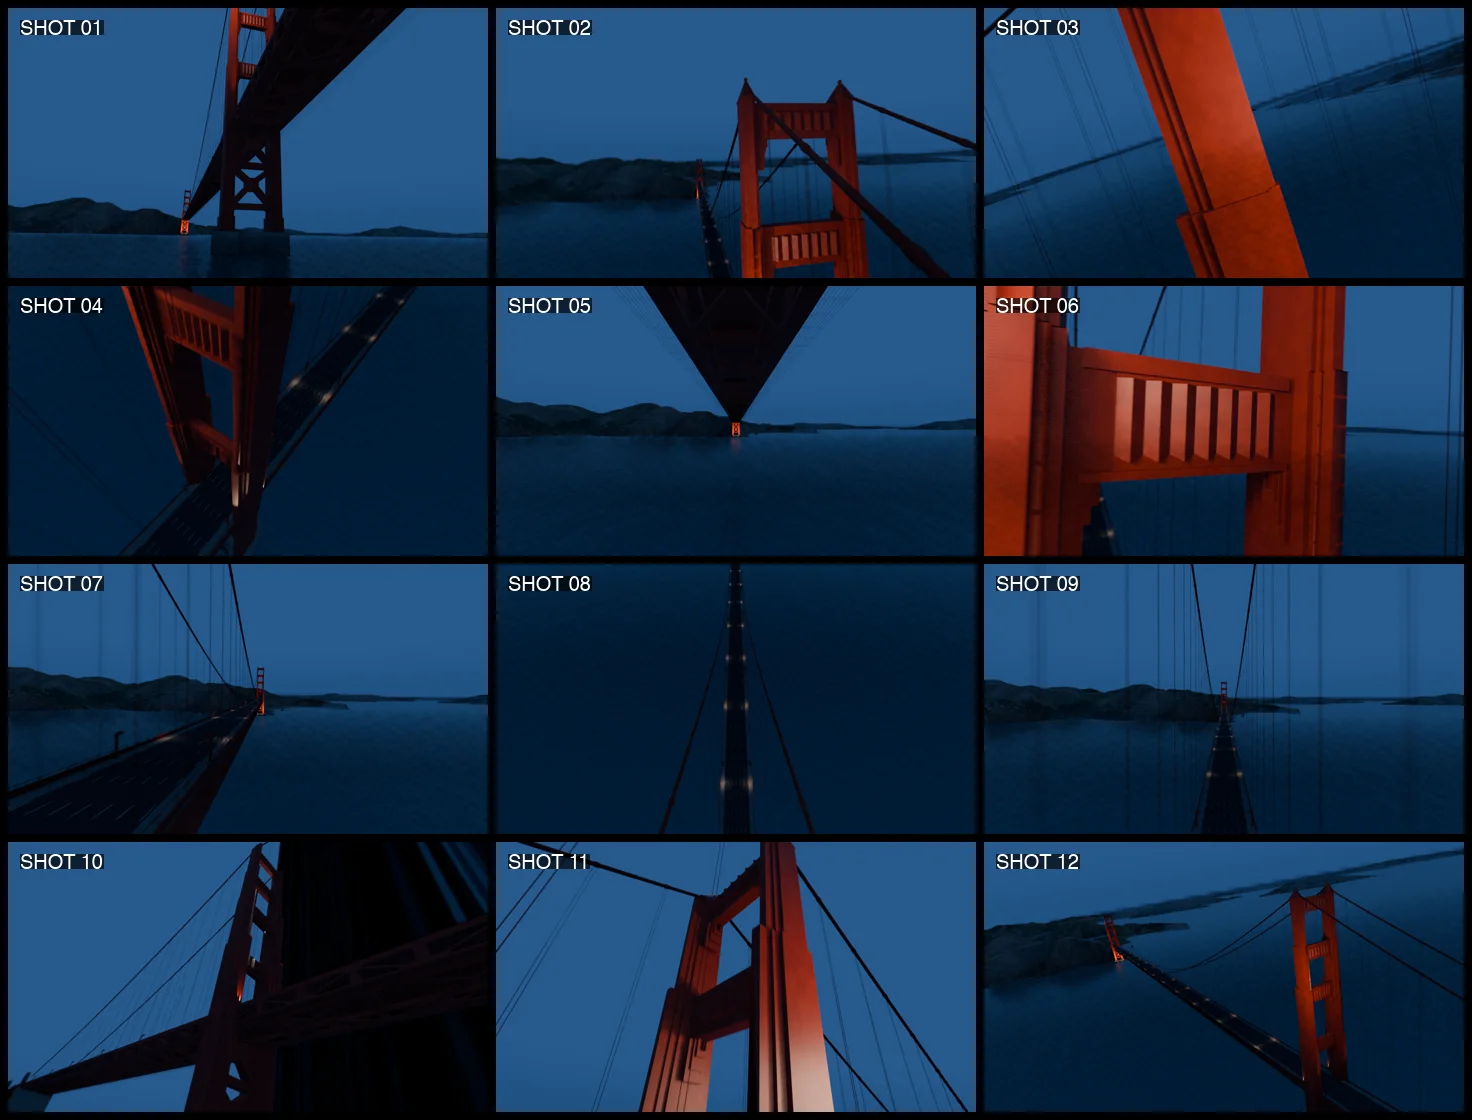
A script then builds one camera per shot. The position follows a curve through the three points, the aim moves between the two targets, and keys one frame either side of each shot keep motion blur from freezing at a cut. Each camera binds to a marker at its first frame, so all shots play from one scene.
Build one camera per shot from the shot list. Bake location and
rotation every frame, add a key one frame before and after each
shot, and bind each camera to a timeline marker. Then measure each
shot's closest distance to visible geometry and fail the build if
any shot comes within 2 meters.
The clearance check earned its place. It caught the tower fly-through passing through a crossbeam, and the path was moved through a real opening.
Preview at the real frame rate
Approve the camera energy with a storyboard and a four-second test of the hardest moves. Then render a preview of every shot, every frame, at the final frame rate. A preview with fewer motion frames per second was rejected, because FPV speed can only be judged at true speed.
Ours ran in Eevee at 960×540: 720 frames in about 16 minutes on an M4 Max. Eight samples left a mottled texture on screen; 64 removed it. A dark pillar near the 20-second mark and a glitch in one corner both came from distant terrain mesh edges, and hiding that mesh fixed them.
Render only the shots you keep
Pick the shots from the preview, and cut them in order from the existing frames. We kept shots 3, 4, 6, 7, 9, 11 and 12: 444 frames, 18.5 seconds.
Then render just those frames at full quality. Locally, 1080p Eevee at 128 samples was estimated at 40 to 55 minutes. On four Voyager GPUs it took about 19.5 minutes and 320.9 credits. The quote beforehand, based on GPU time alone, was lower; quote with the full machine rate.
Render the selected shots at 1080p with the approved look. Give me
a local estimate and a table of cloud options by GPU count. On the
cloud, check the first remote frame matches the look before
splitting the frames across machines, and report the actual credits.
Fix review notes one shot at a time. Terrain textured as water sat above the water plane near the far tower and showed as a flat shelf; lowering only those cells and re-rendering only the closing shot locally fixed it.
We also tested a photoreal Cycles look. One 1080p frame took about five minutes on the CPU, which projected to about 60 hours for the film. It stayed a still test. Keep the look you approved instead of switching engines to get around a render limit.
Bring your own landmark scene, and fly as close as the clearance check allows.
Technique
Make your own in Voyager
Opens a new chat with “FPV drone flythrough” attached and the steps from this post. Nothing runs until you send it.
Needs Voyager 2026.10.17-0 or later.