Description / transcript
This clip was color graded in DaVinci Resolve using Voyager, with one prompt. Here's how to set it up. Connecting DaVinci Resolve takes about a minute. Before you start, make sure Resolve is downloaded and installed on your computer. If it isn't, get it from Blackmagic's website first. Then open Apps & Models in the sidebar. Voyager has already found it. There's one setting to change first. In Resolve, open Preferences, then System, then General. Set External scripting using to Local, and click Save. On the free version of Resolve, you can skip this step. Back in Voyager, click Check again. Now it says Found on this computer. That's it, it's all connected. Resolve is used by professionals to edit, color grade, add effects and mix sound, all in one app. It's best known for color: a lot of films and TV shows are graded in it. So let's try that. Let's color grade a clip. Back in Voyager, start a chat. Click DaVinci Resolve under the prompt box, or type an at sign and pick it. Then tell it what you want: grade this clip warm and filmic. Hit send, and let it work. Voyager works right inside Resolve, and it takes a few minutes. First, Voyager will set up the grade as four separate nodes and name each one: Balance, Contrast, Warmth and Film Look. Each node does one job, so you can see exactly what it did. Then it grades, one node at a time. Balance pulls the hazy blacks down and lifts the exposure a little. Contrast adds depth in the midtones and brings the highlights back up. Warmth is the main shift: more red, less blue, and a touch less green to fix the green cast. And Film Look eases the saturation down, adds a faint teal to the shadows and keeps the highlights soft. And that's the first pass. Voyager tells you what it did, and saves the project. Everything is now yours to change. Open a node and adjust it by hand, or just ask Voyager: let's improve the contrast a bit more, or ramp up some of the saturation. We asked for more contrast. Voyager went back to just the Contrast node and pushed it further: deeper blacks, denser midtones. The other three nodes didn't change. Here's the before, and the after. And that's it. DaVinci Resolve is connected to Voyager, and you've graded your first clip. Follow for more.
Watch this tutorial on YouTube.
Connecting DaVinci Resolve to Voyager takes about a minute. In Resolve Studio it is one setting; in the free edition there is nothing to change. Once it is connected, you can ask for a grade in plain words and get it back as separate, labelled nodes that are still yours to adjust.
Description / transcript
A silent clip of surfers and waves, shown as a split screen. The left half is the flat original and the right half is the warm, filmic grade.
What you need
- Voyager, installed and set up.
- DaVinci Resolve, downloaded and installed before you start. Voyager finds it; it does not install it for you. Use the download from Blackmagic Design. The Mac App Store copy is not supported.
- A project open in Resolve with a clip on the timeline.
If you are deciding between editions, the free and Studio comparison covers what each one includes.
Find Resolve in Apps & Models
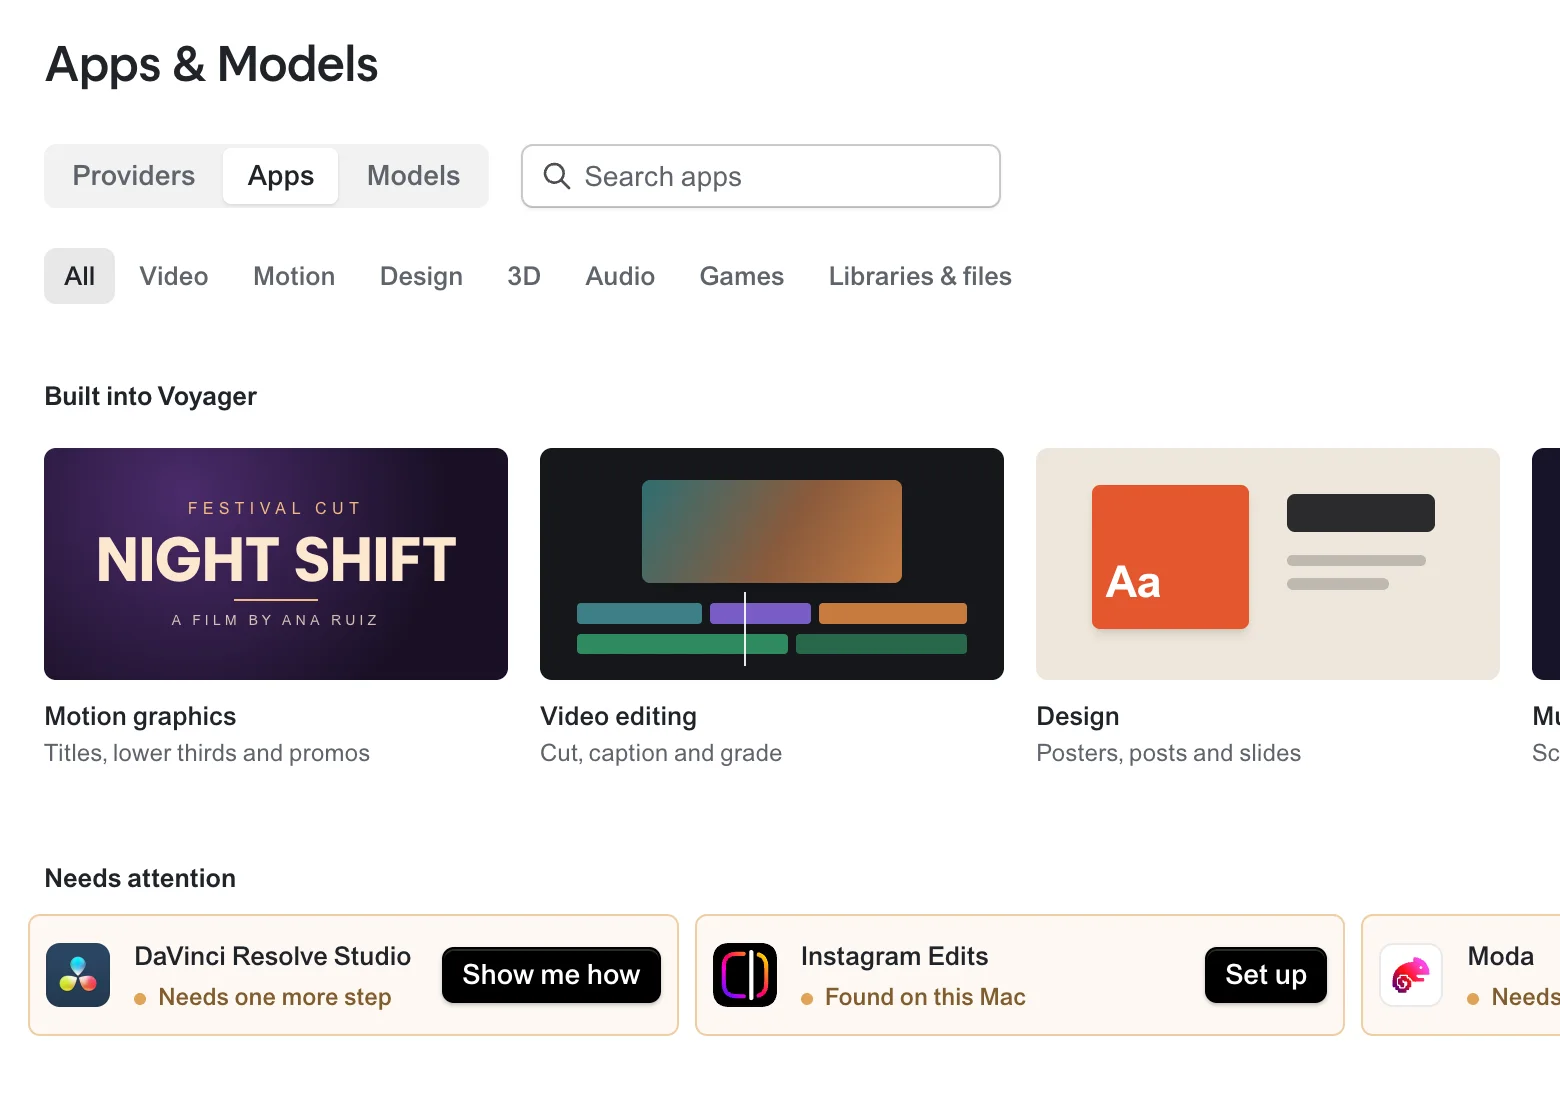
Open Apps & Models in Voyager's sidebar. If Resolve is installed, Voyager has already found it.
With Resolve Studio open, it sits under Needs attention with the note "Needs one more step". Click Show me how.
The panel that opens tells you exactly what to change.
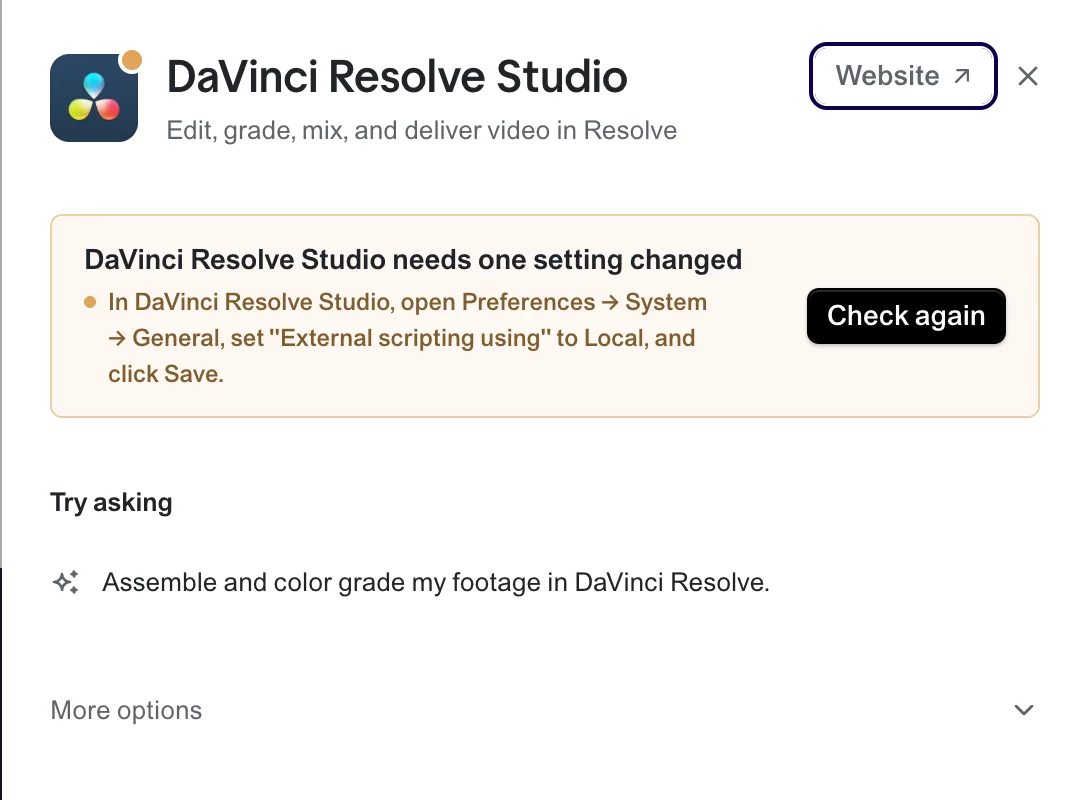
On the free edition you can skip the next section. Voyager's setup notes say the free edition needs no scripting setting, and that it works from Resolve 18.5.
Change one setting in Resolve Studio
In Resolve, open DaVinci Resolve > Preferences, choose the System tab, then General. Find External scripting using at the top. It starts on None.
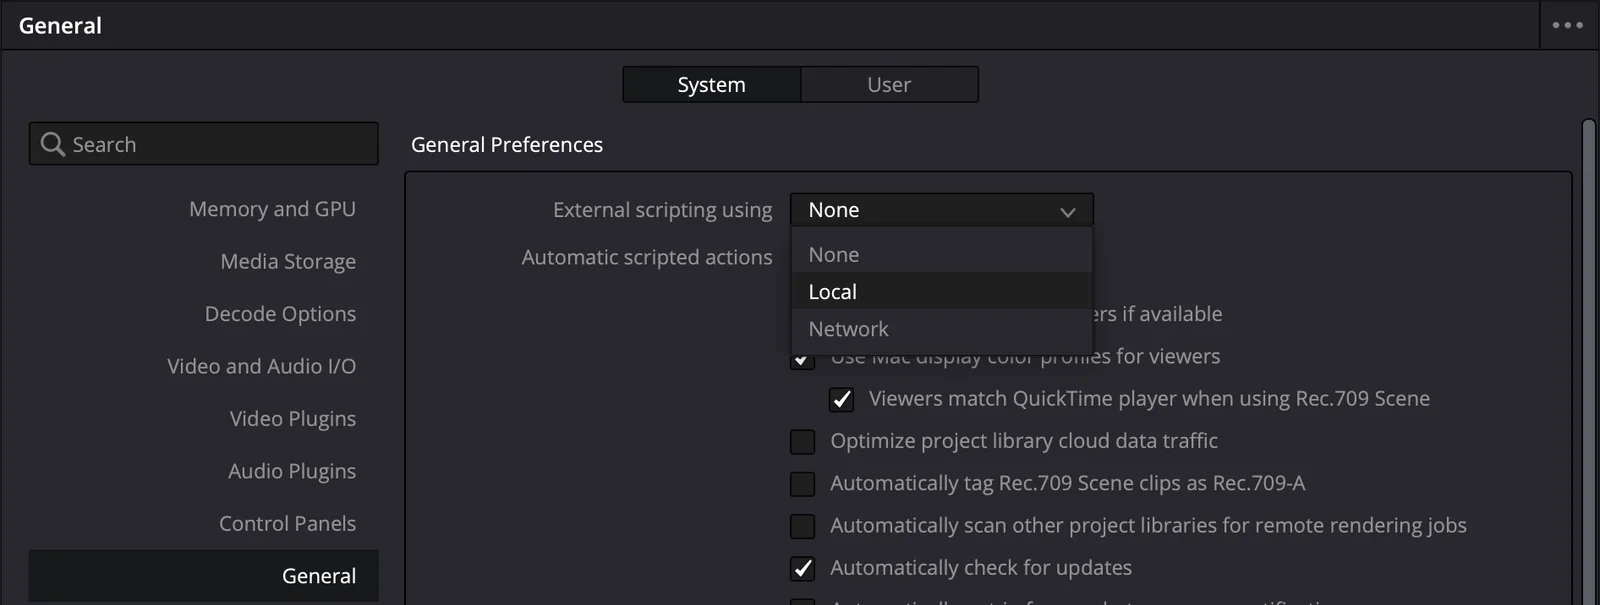
Choose Local, then click Save.
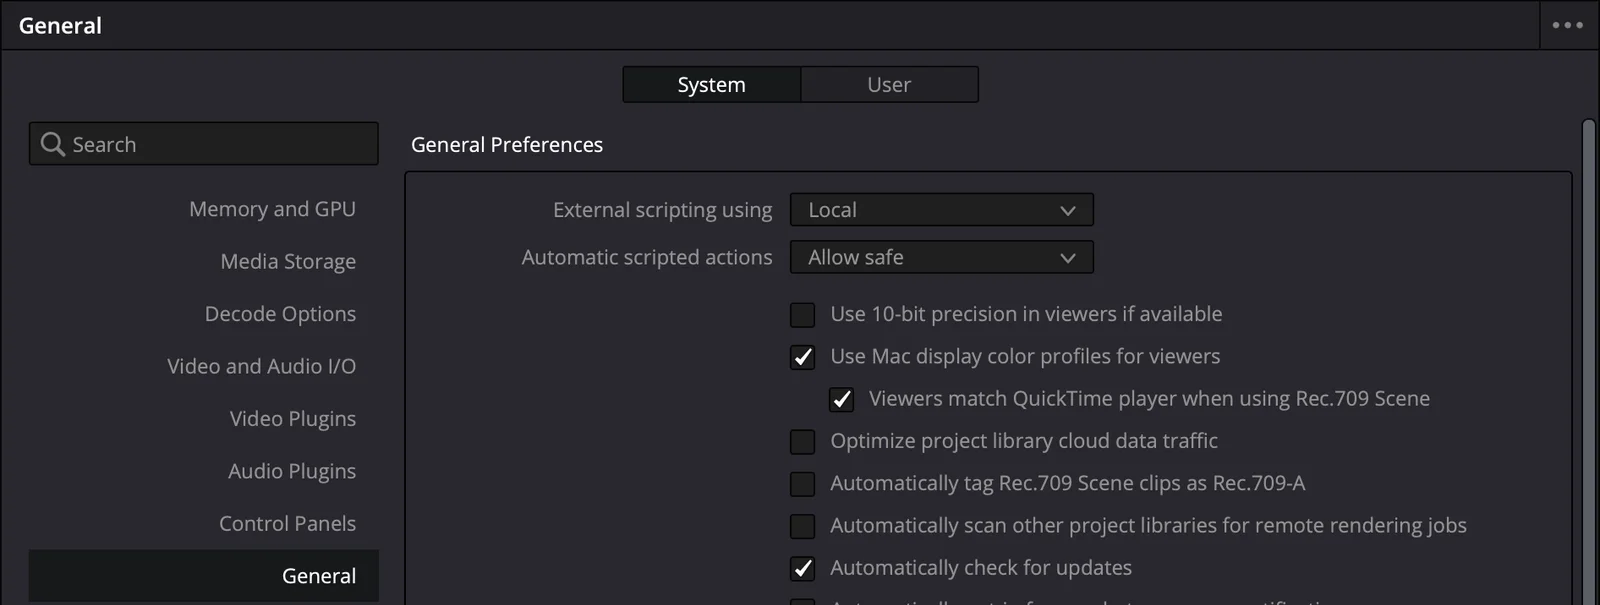
Local lets apps on the same computer control Resolve. Network would allow other machines to, which Voyager does not need.
Check again in Voyager
Back in Voyager, click Check again.
The first time you connect Resolve Studio, Voyager may show one more step: it still needs to set up its own connection. Start a chat, ask Voyager to set up DaVinci Resolve, and then click Check again once more.
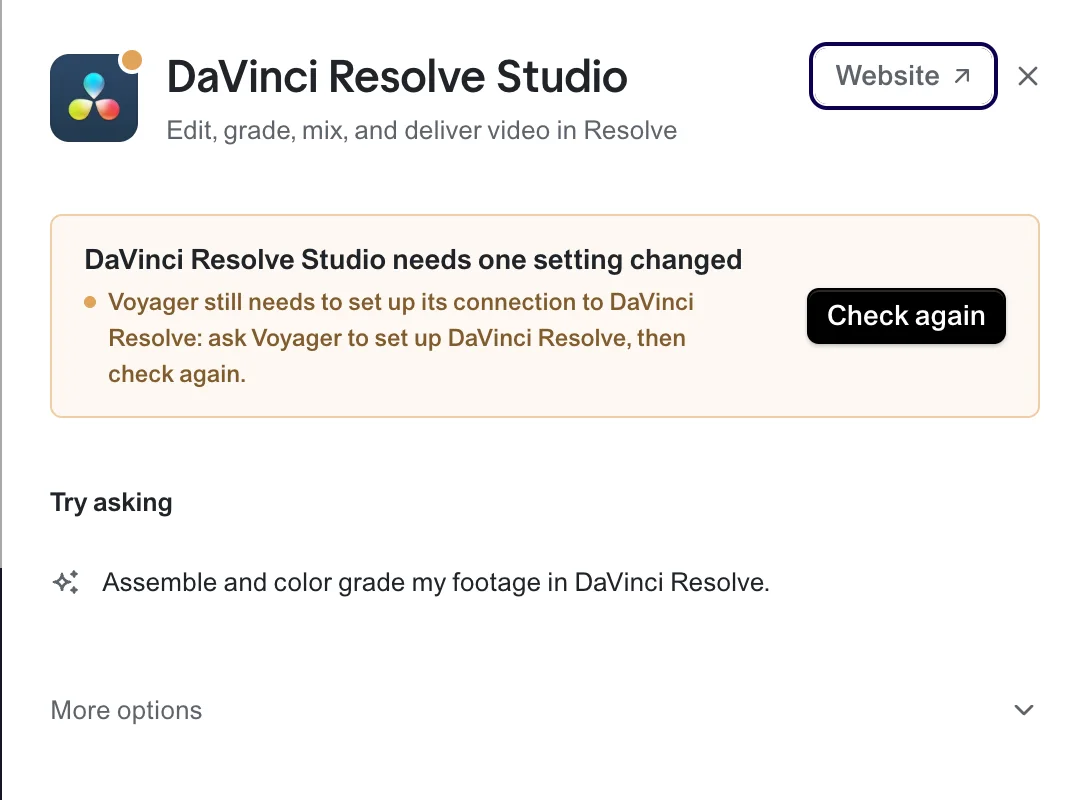
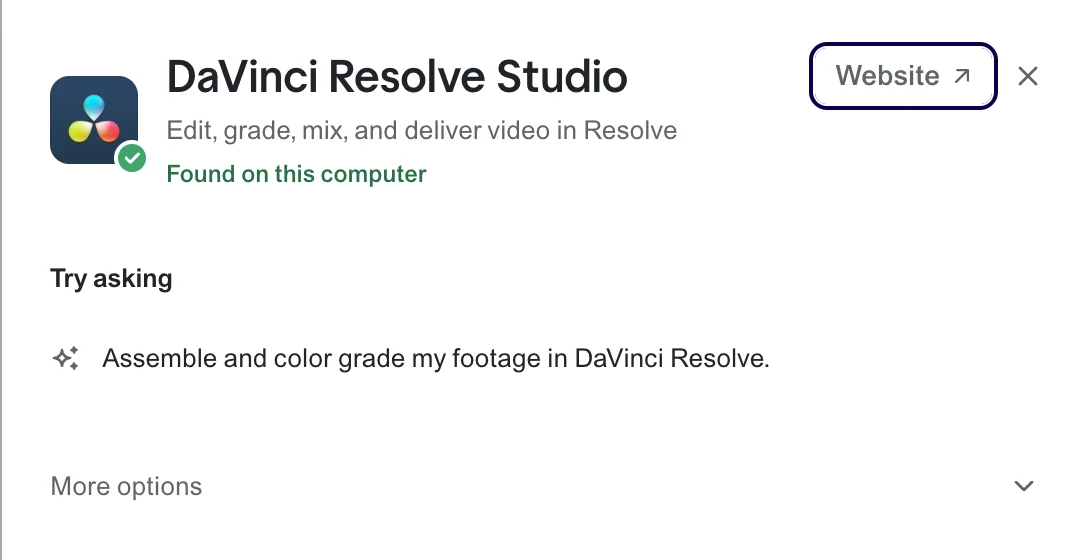
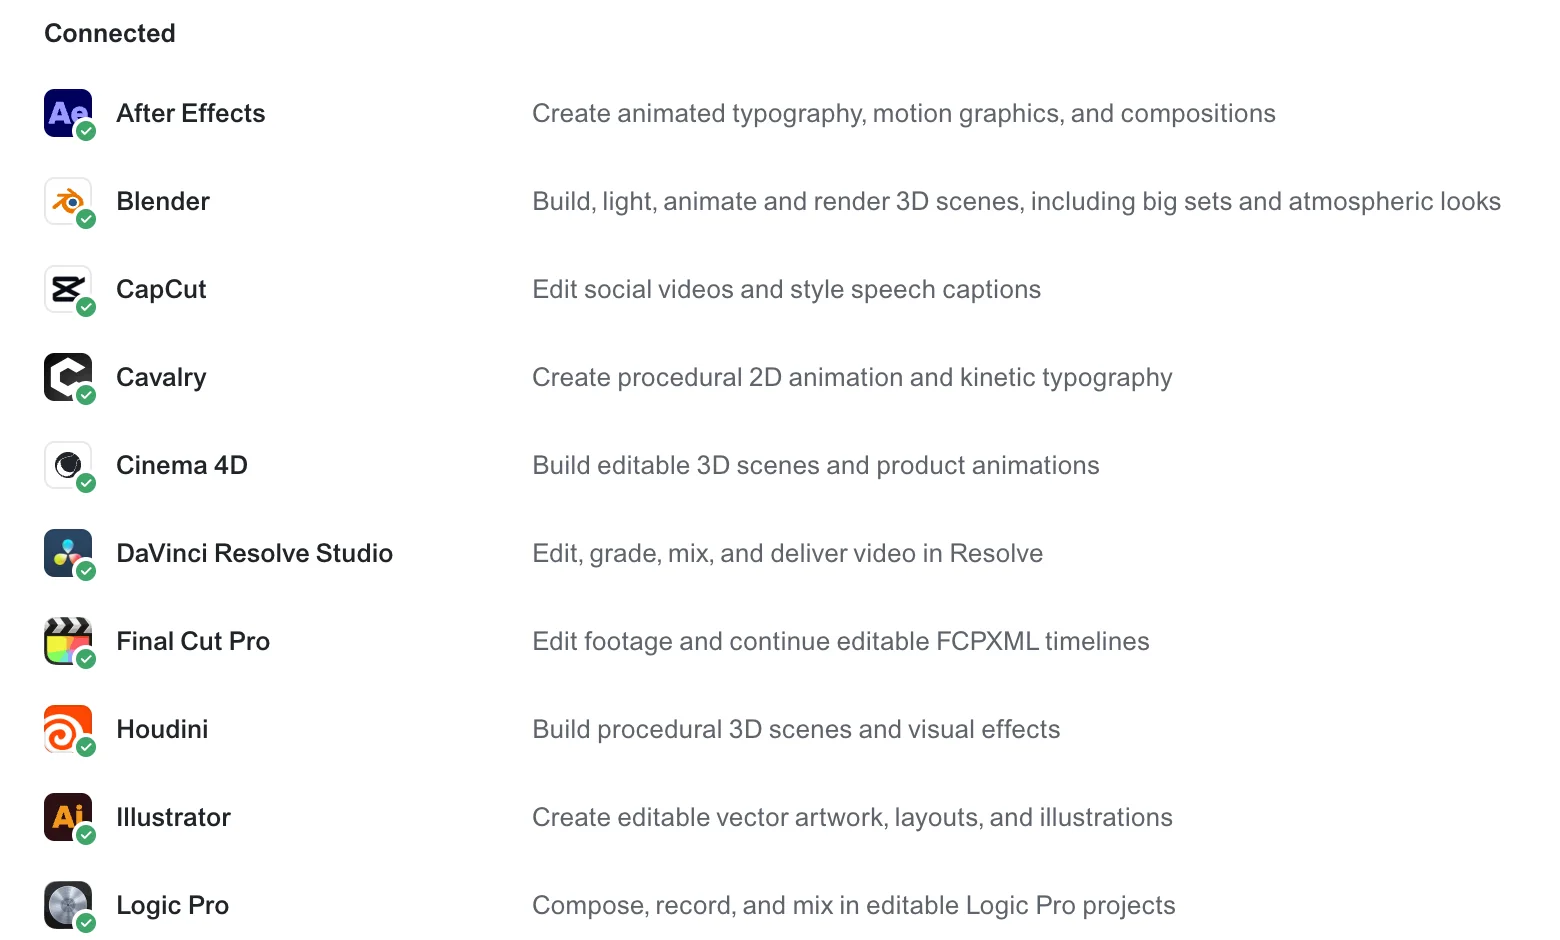
When it is done, the panel reads Found on this computer with a green tick, and Resolve moves into the Connected list. That's it. It's all connected.
Ask for a grade
Resolve is used by professionals to edit, color grade, add effects and mix sound, all in one app. It is best known for color, so that is the first test.
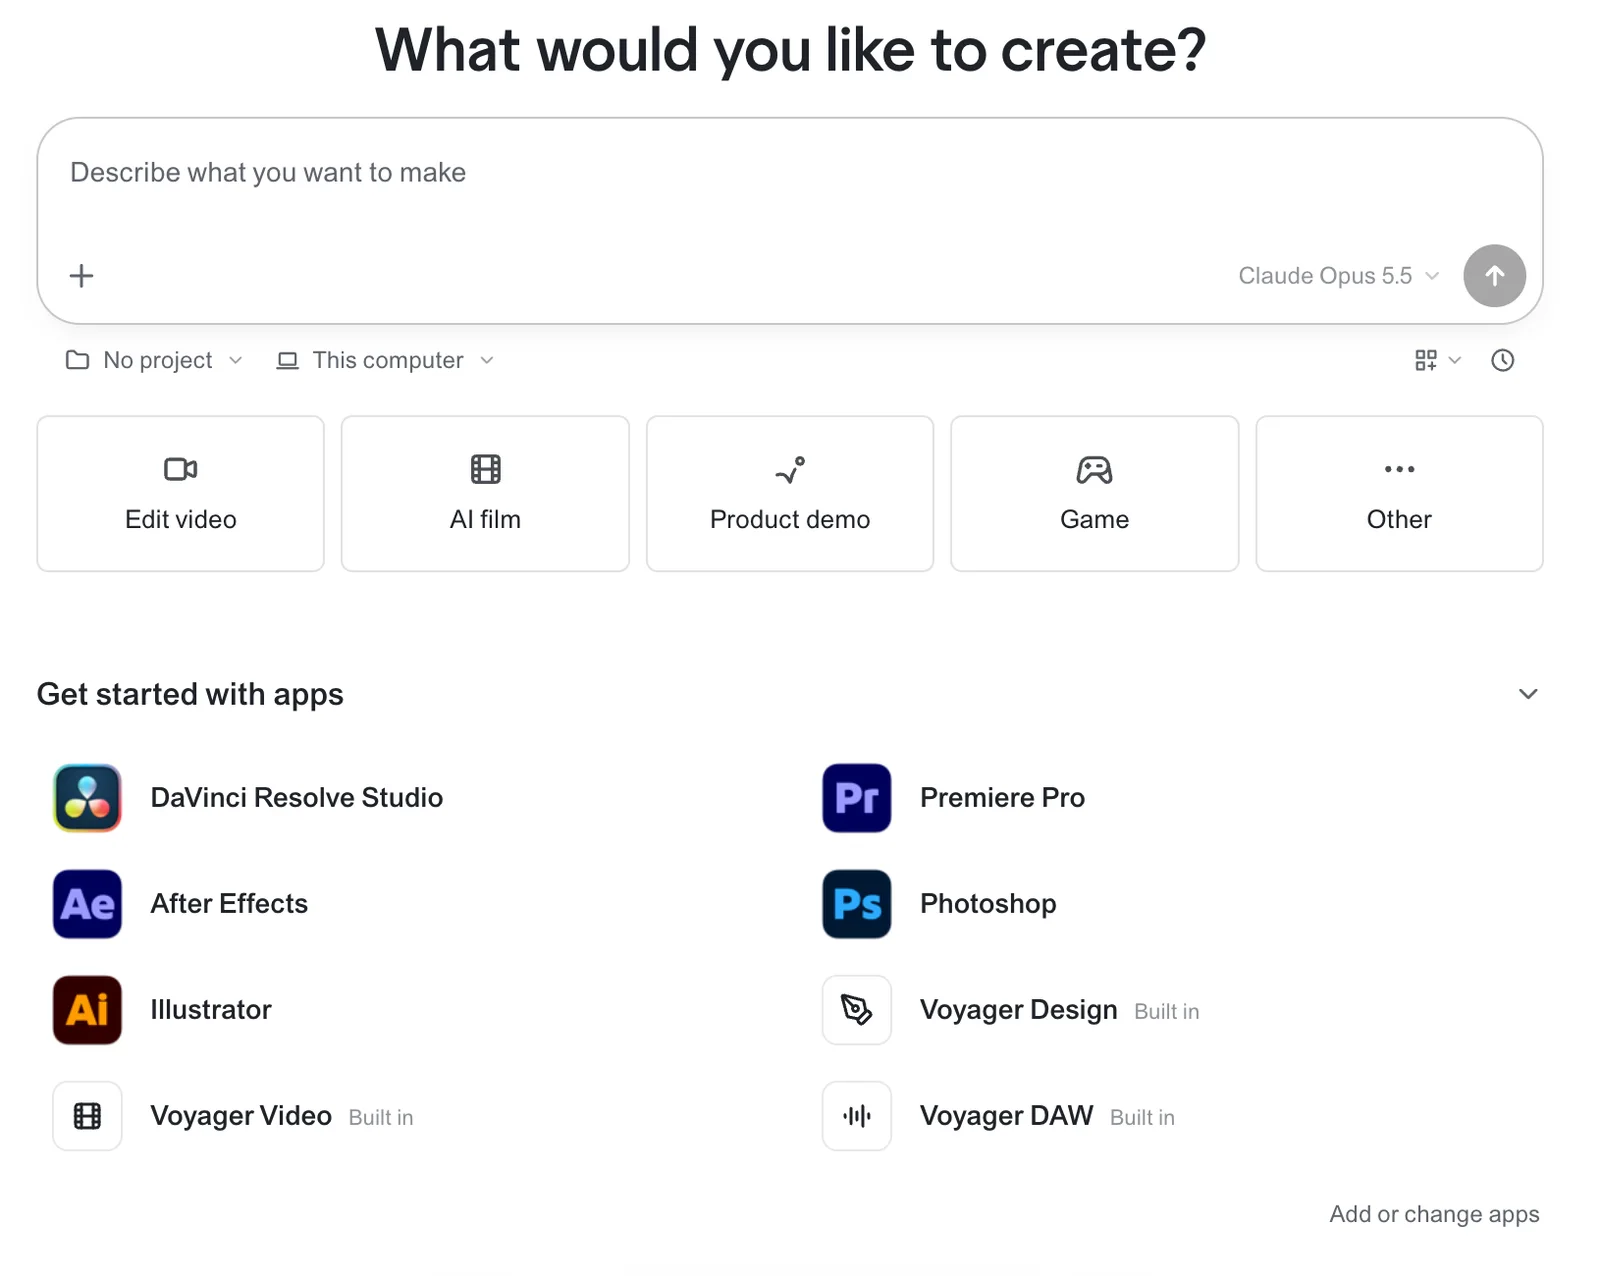
In Voyager, start a new chat. Under the prompt box, Get started with apps lists the apps you've connected. Click DaVinci Resolve Studio there, or type @ in the prompt and pick it, so the chat knows which app you mean.
Then say what you want.
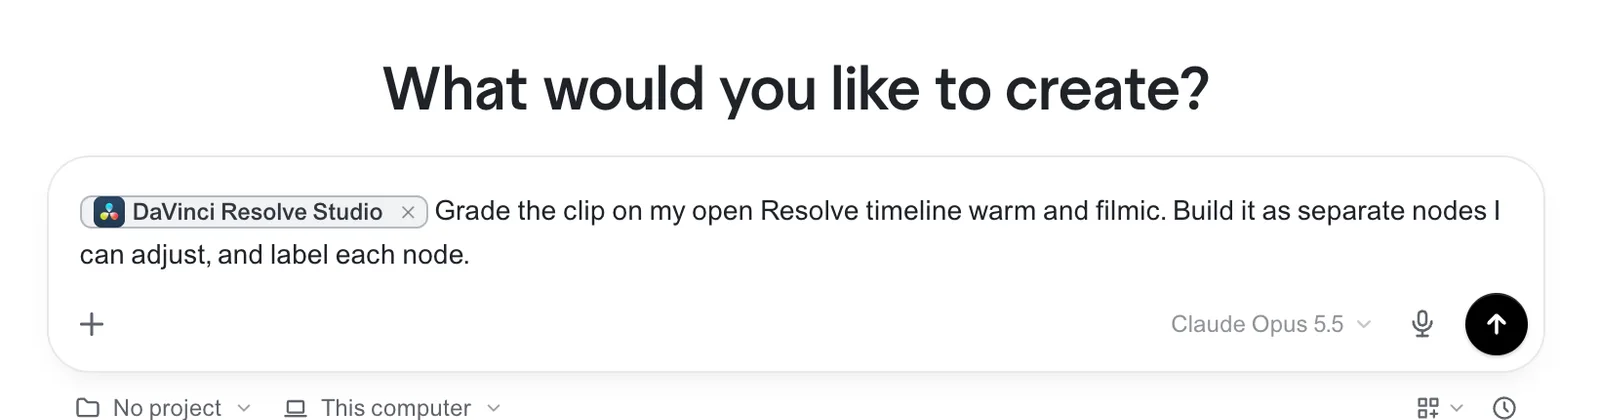
Asking for separate, labelled nodes matters. A grade packed into a single node is hard to adjust later. A node per job means you can see what each step did and change one without touching the rest.
Send it, and leave your mouse and keyboard alone while Voyager works. It sets the color values through Resolve's scripting connection, but it adds and names the nodes in the Resolve window itself.
What Voyager does in Resolve
First, Voyager sets up the grade as four separate nodes and names each one: Balance, Contrast, Warmth and Film Look. At this point the picture is still flat.
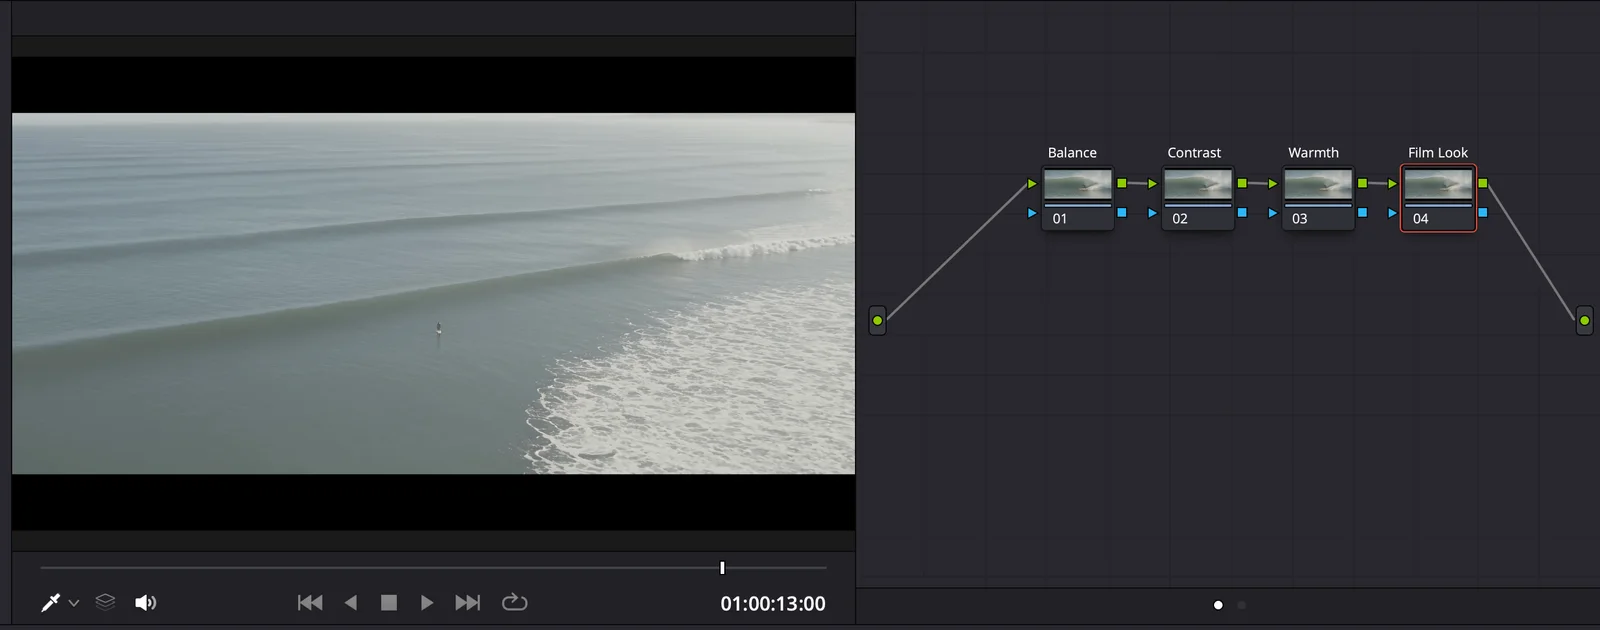
Then it grades, one node at a time:
- Balance pulls the hazy blacks down and lifts the exposure a little.
- Contrast adds depth in the midtones and brings the highlights back up.
- Warmth is the main shift: more red, less blue, and a touch less green to correct a green cast.
- Film Look eases the saturation down, adds a faint teal to the shadows and keeps the highlights soft.
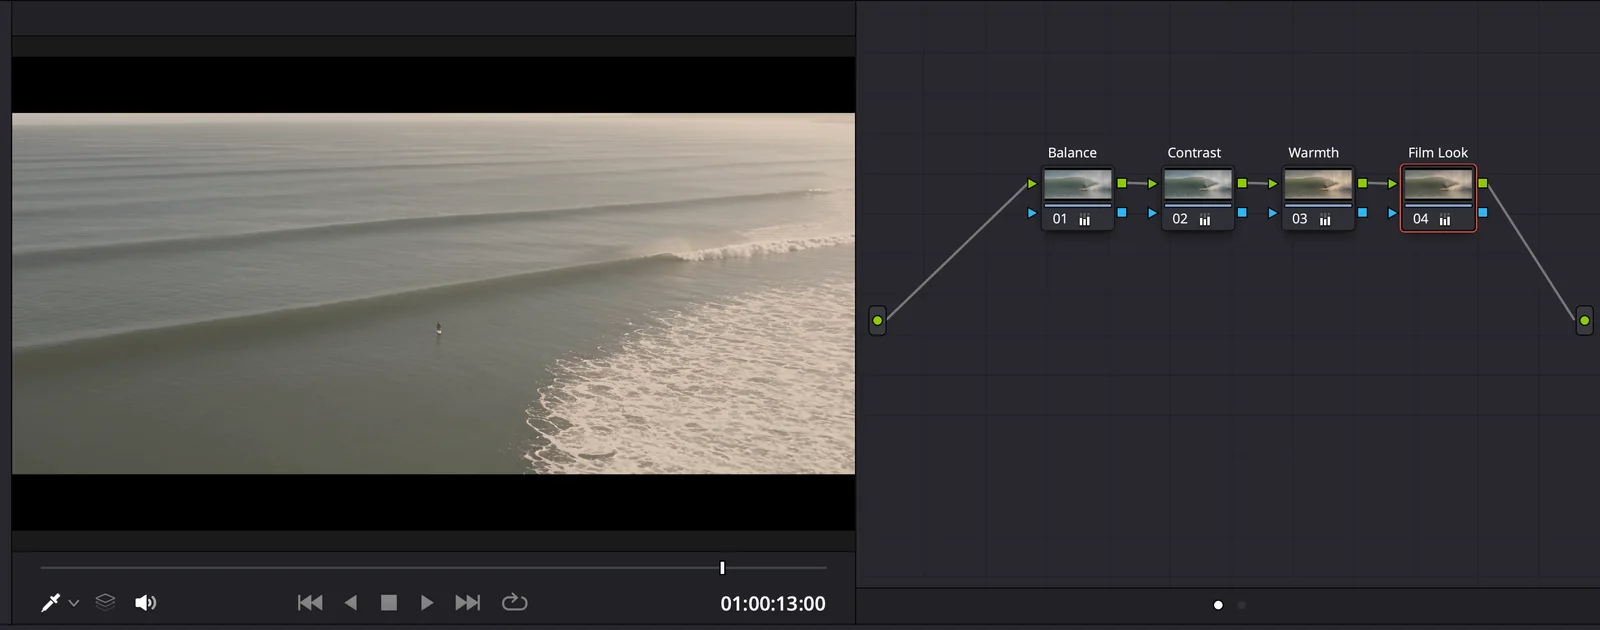
In our run this took about four minutes. Voyager then saved the project and summarised what it had built.
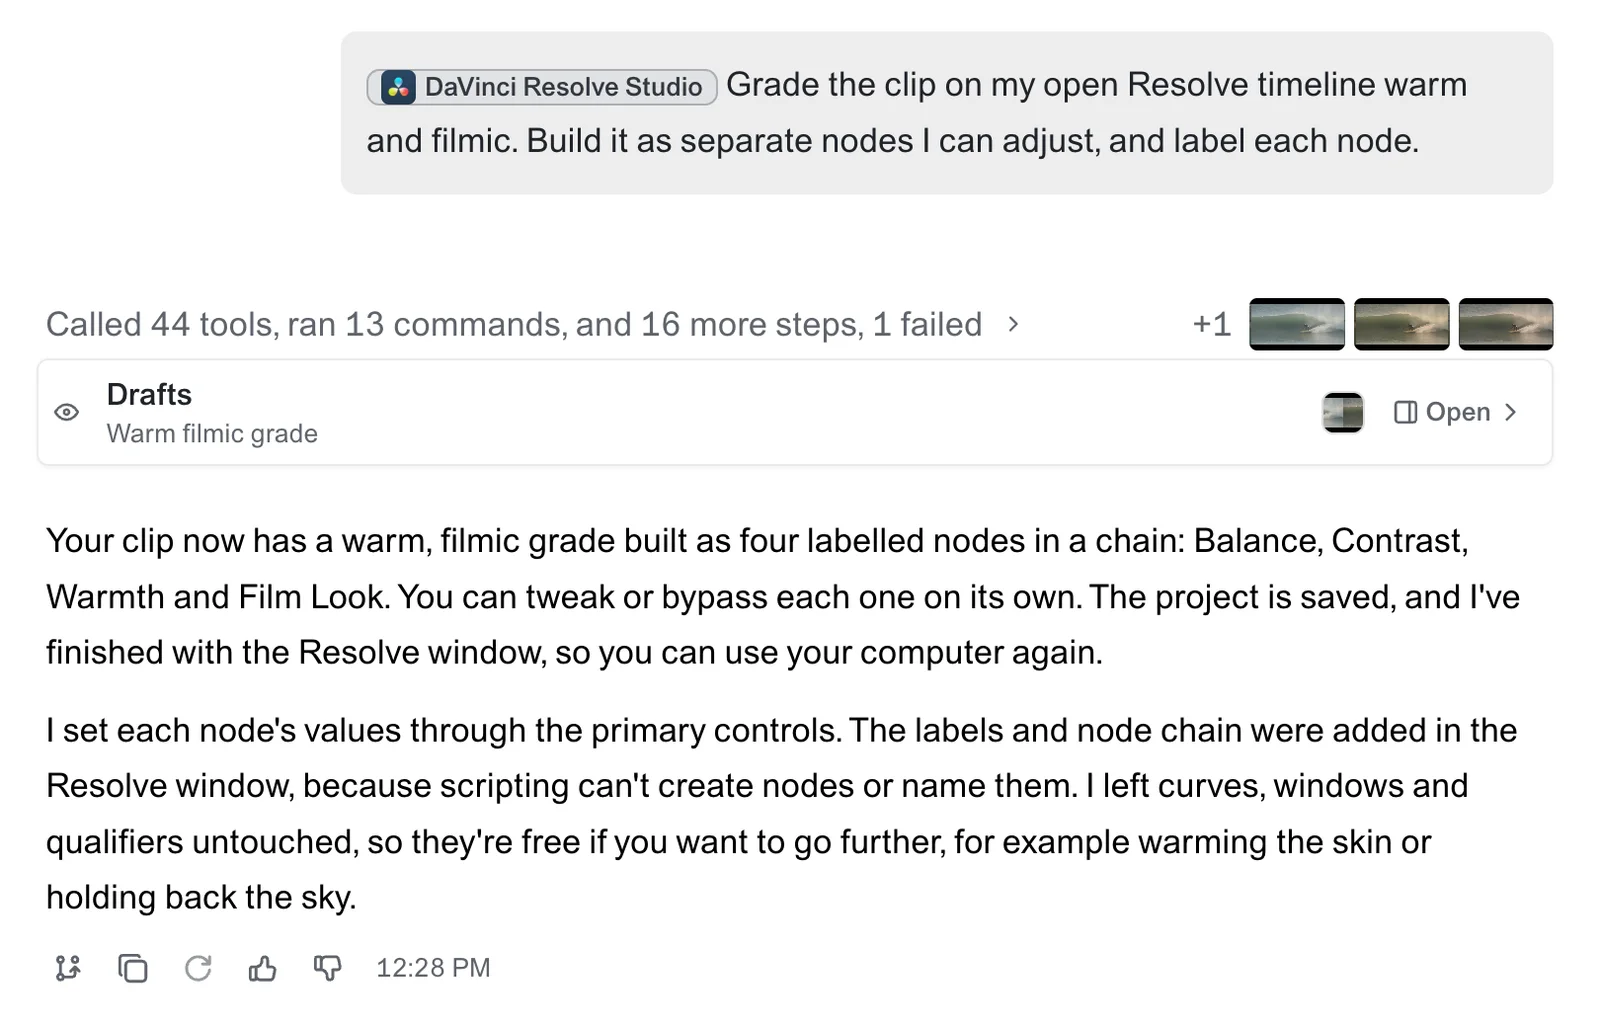
Change it
Everything is now yours to change. Open a node in Resolve and adjust it by hand, or just ask Voyager.
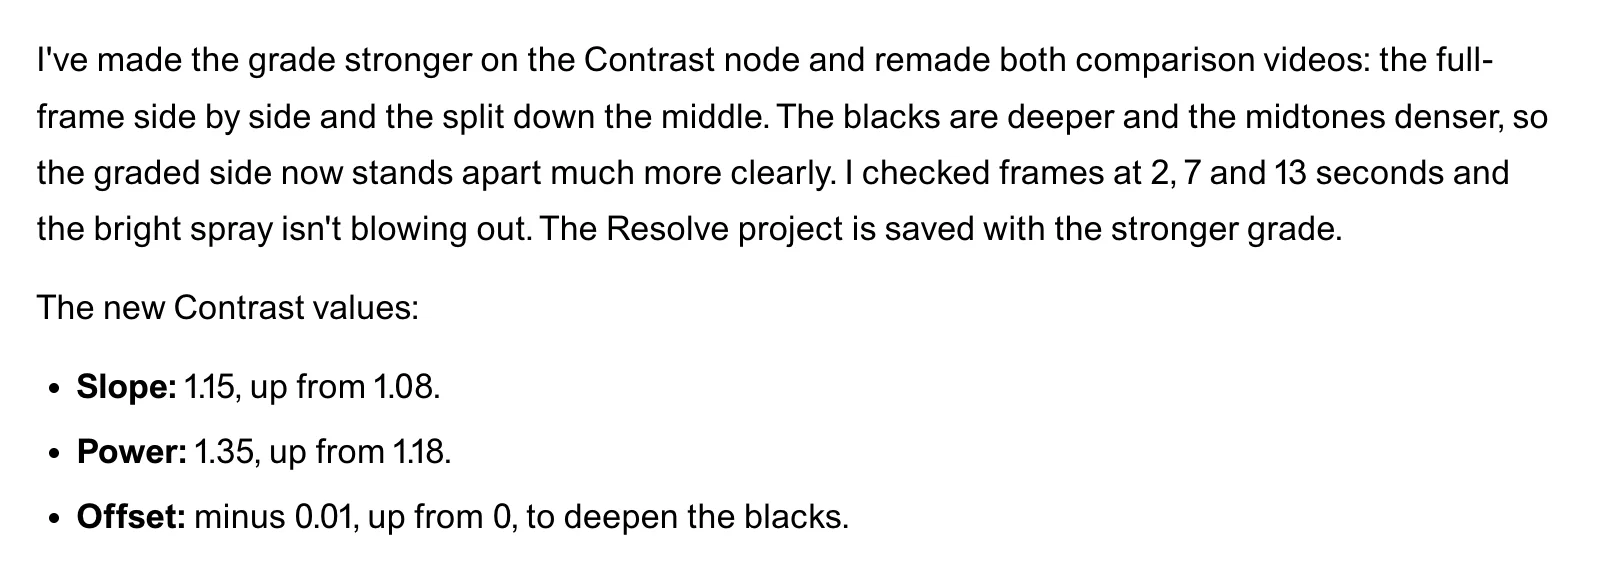
The first pass was warm but still fairly soft, so we asked for more contrast:
Let's improve the contrast a bit more.
Voyager went back to the Contrast node only and pushed it further, for deeper blacks and denser midtones. The other three nodes did not change. That is the advantage of a node per job: a follow-up lands on one node you can see.
The same works for other adjustments. Try a request like this next:
Ramp up some of the saturation.
The video at the top of this page is the result after the contrast follow-up.
If something doesn't work
- Resolve is not listed. Install it from Blackmagic Design's site, then open Apps & Models again.
- You don't see "External scripting using". You are on the free edition, which does not need it.
- Still "Needs attention" after saving. Make sure Resolve Studio is open, then click Check again. If Voyager asks to set up its connection, ask it to in a chat.
- You want to connect a different agent to Resolve. The DaVinci Resolve MCP guide compares the routes for Claude Code, Codex and others.
Voyager is a desktop AI agent for creative work
Describe what you want to make; Voyager plans it, uses your apps and tools, and keeps everything editable.