Watch this tutorial on YouTube.
Gaming footage usually comes in two kinds: raw gameplay with no commentary, and a stream with your face cam in the corner. Both take hours to edit by hand. With Voyager, you describe the video you want and it builds it in your editor, as a project you can keep changing. This tutorial does one of each: Marathon in DaVinci Resolve, and Control Resonant in Instagram Edits.
What you need
- Voyager, installed and set up.
- DaVinci Resolve or Instagram Edits connected to Voyager. See Connect DaVinci Resolve to Voyager and Connect Instagram Edits to Voyager.
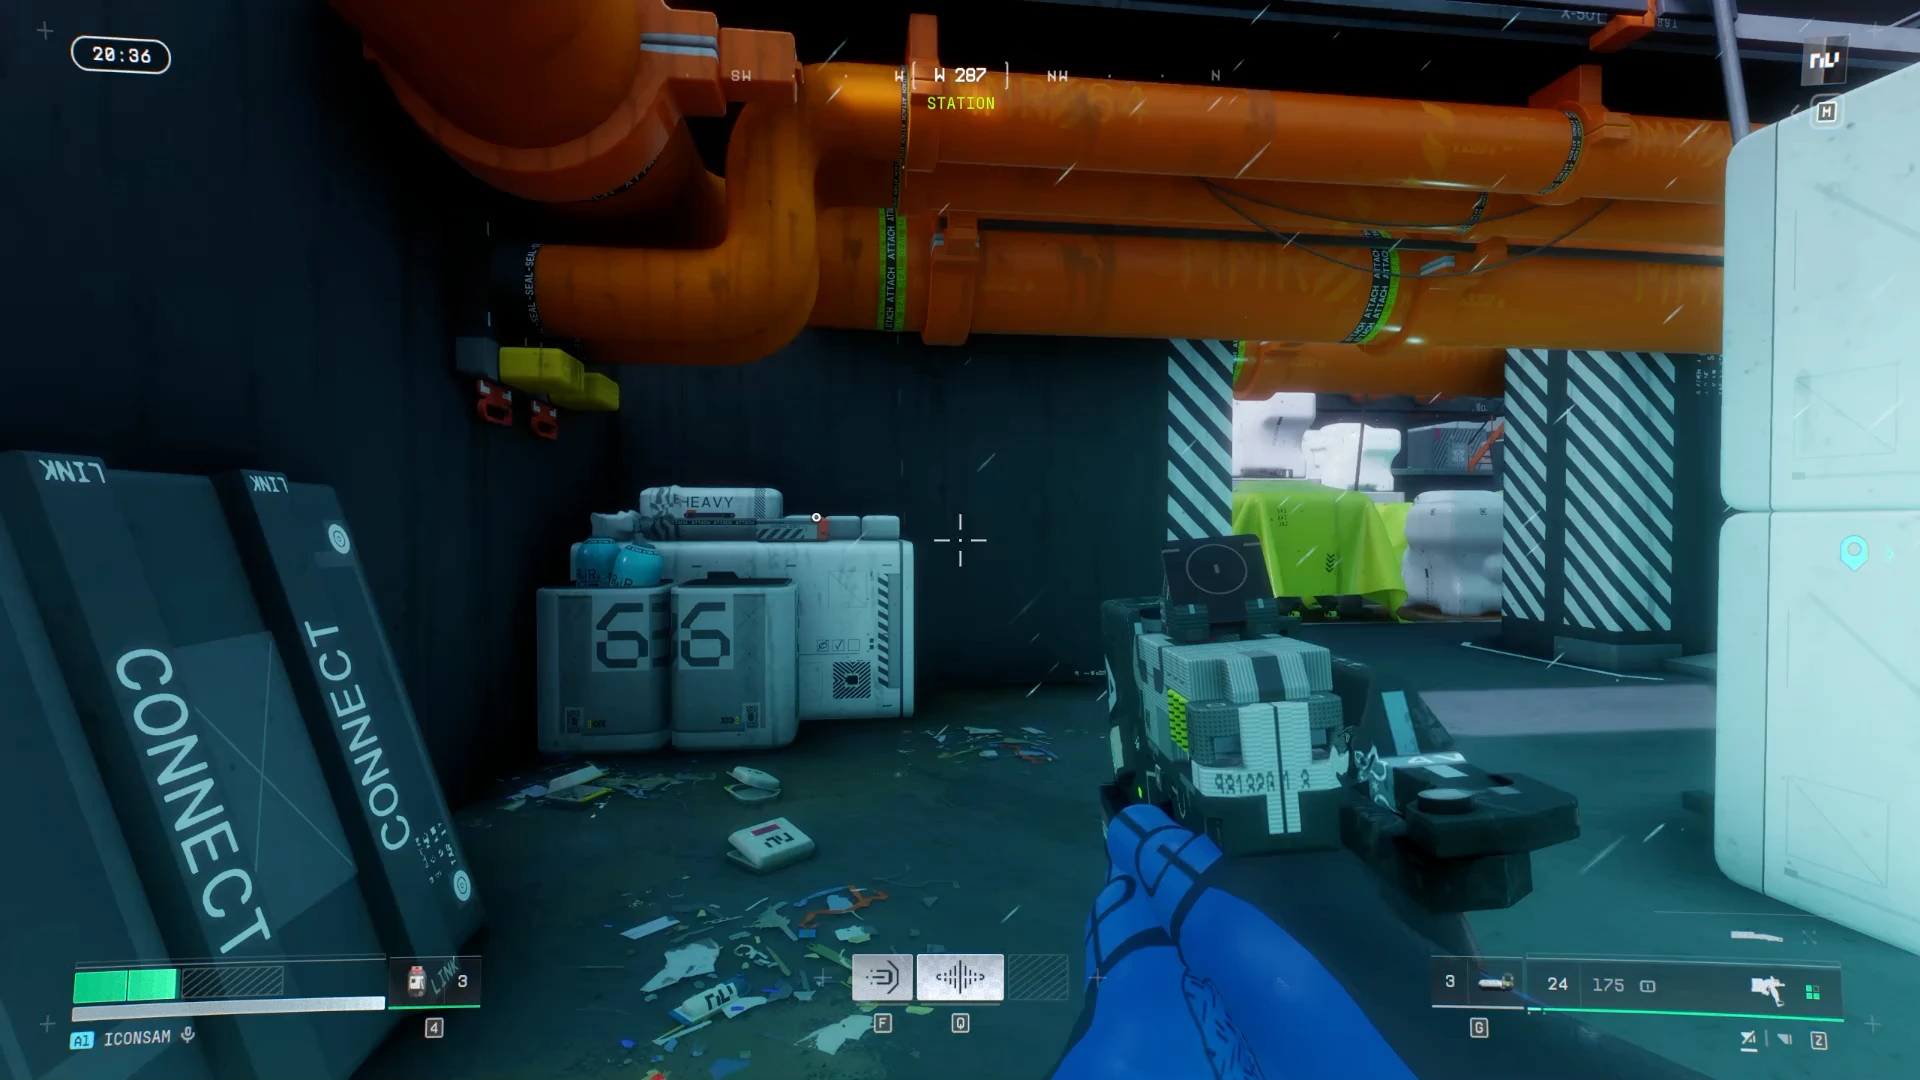
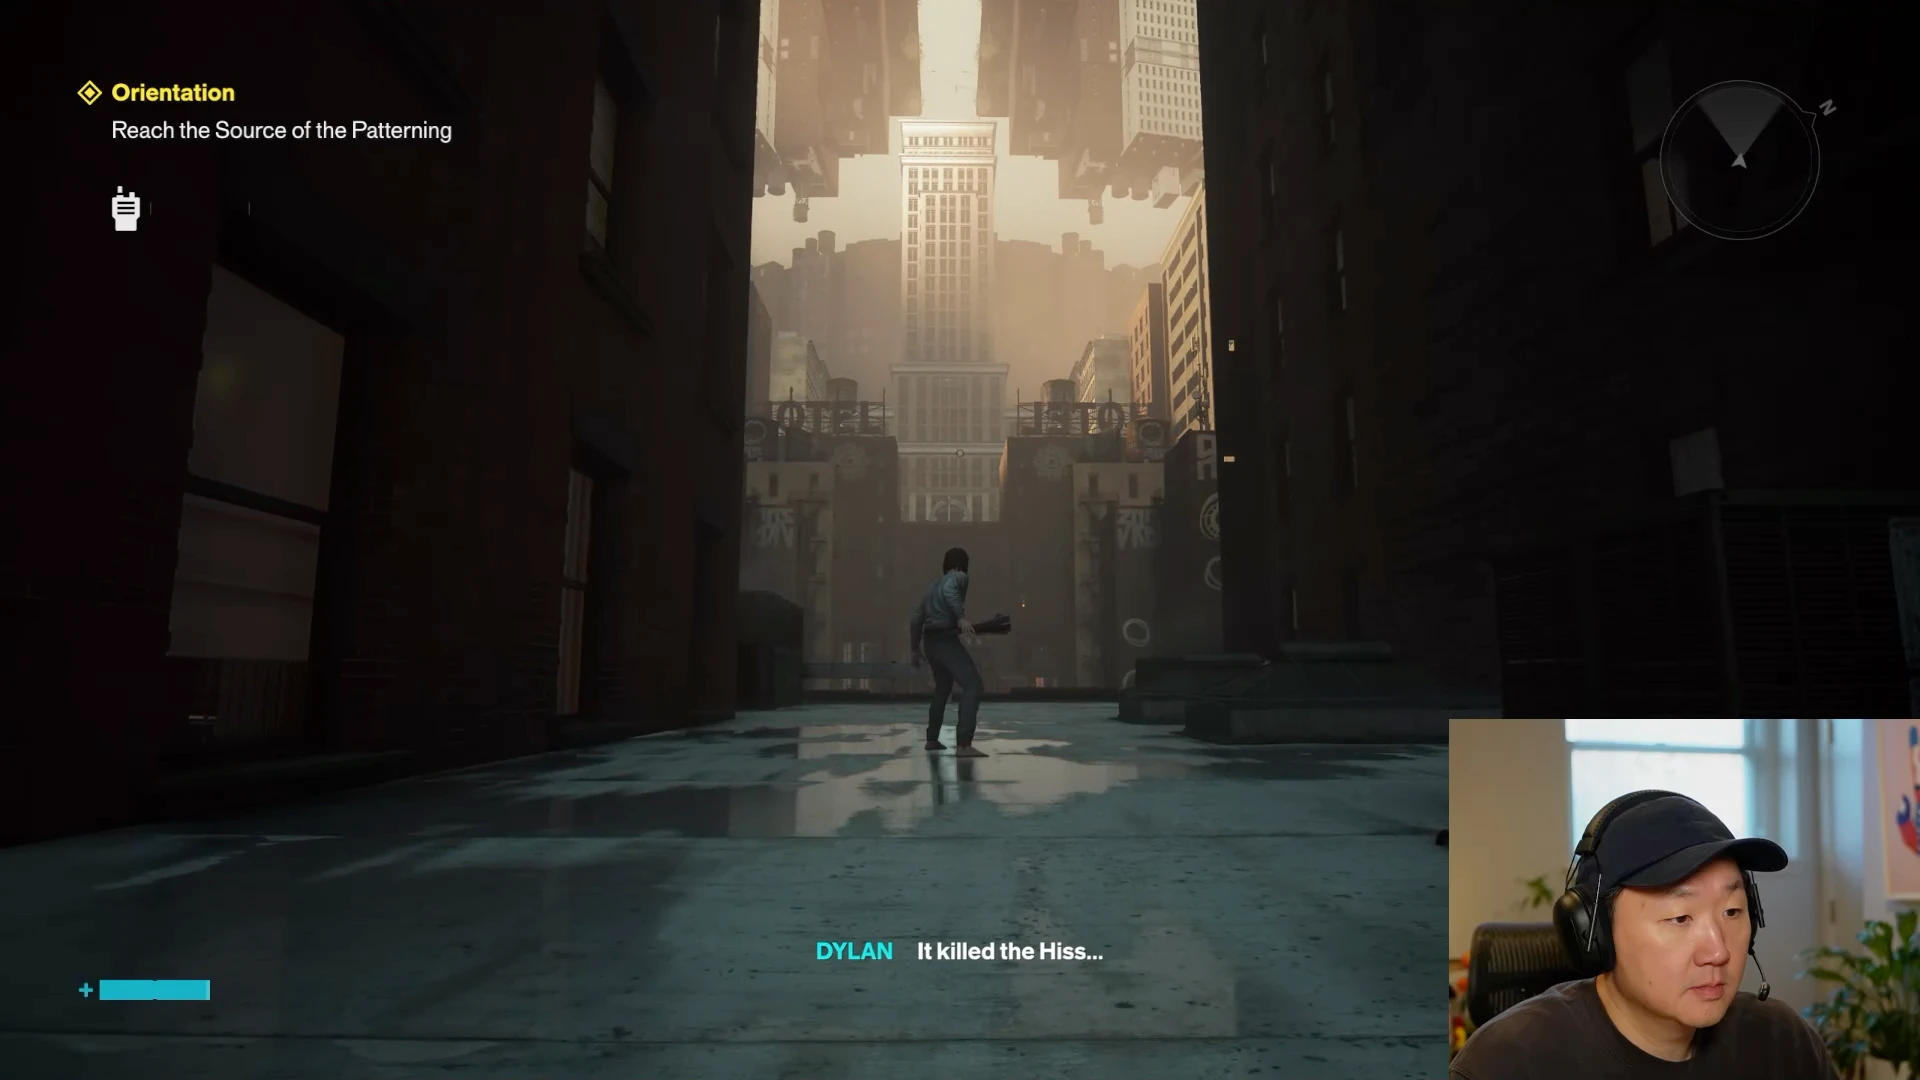
- Your gameplay recordings on your Mac. Use footage you captured yourself.
Raw gameplay: a narrated summary in Resolve
The first example is two clips of Marathon, recorded in SDR while the game was running in HDR, so the two look different side by side. With a project open in Resolve, we attached both clips to a new chat and said what we wanted, out loud, with voice input:
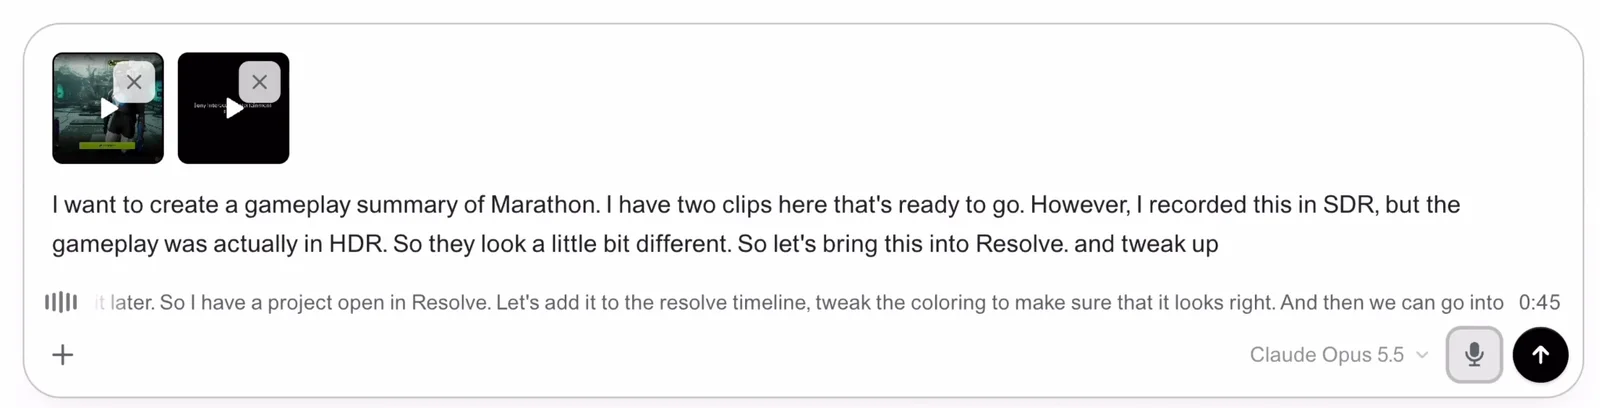
Here is a version of that prompt you can reuse:
I want to create a gameplay summary of [game] from these clips. I recorded them in SDR, but the game was in HDR, so they look different. Bring them into the project I have open in Resolve and match the coloring first. Then cut a 3-minute summary that explains the game to a new player, narrated in my voice.
Voyager put both clips on a Resolve timeline and matched their color before it cut anything. Then it gathered context from the footage itself, what happens in each clip and what is on screen, and researched the game, so it knew about the shells (the different characters you can play), the factions and the map. With that, it wrote a script about what is on screen, recorded it in a voice cloned from Sam's, and cut the gameplay to it: a three-minute summary on a timeline called Marathon Summary v2. Recording the voice cost about 14 credits (roughly $0.14).
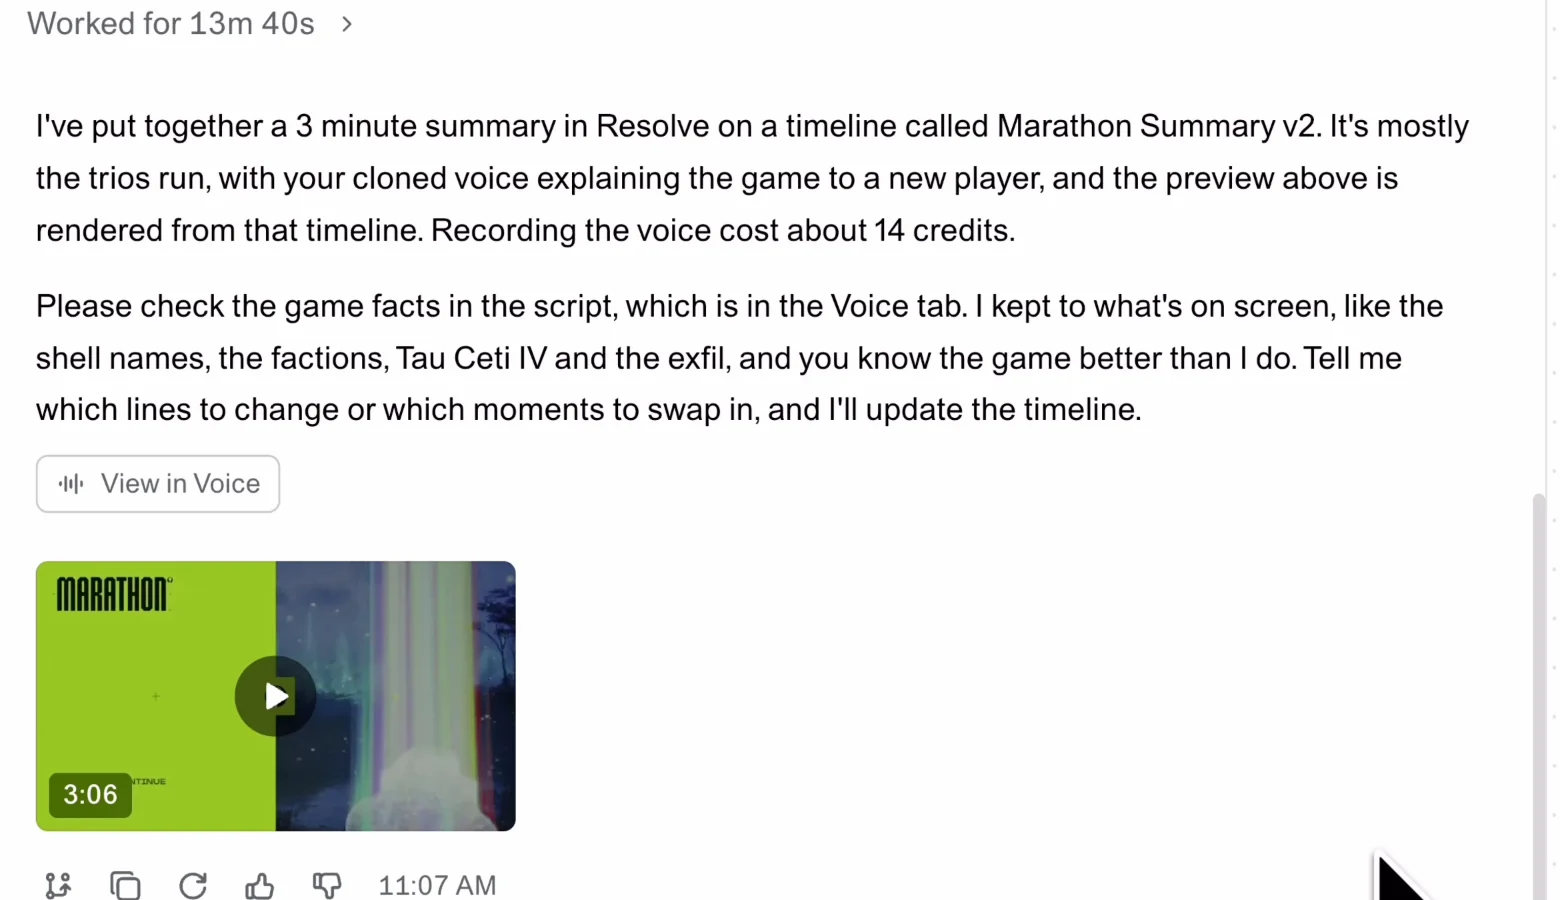
Check the script before you go further. It sits in the Voice tab, where you can play each take and approve it. Voyager kept to what was on screen, such as the shell names and the factions, but you know the game better than it does.
Tighten it with a follow-up
The first cut talked about shells before showing them. One follow-up fixed that:
Make sure the right shells are being shown right when I mention them.
Voyager made Marathon Summary v3, a two-minute version where each shell appears as you name it, with a new line over the Rook and an ending on the Marathon title screen. It recorded only the new line, for about 1 credit (roughly $0.01), and warned that its tone might not match the lines around it.
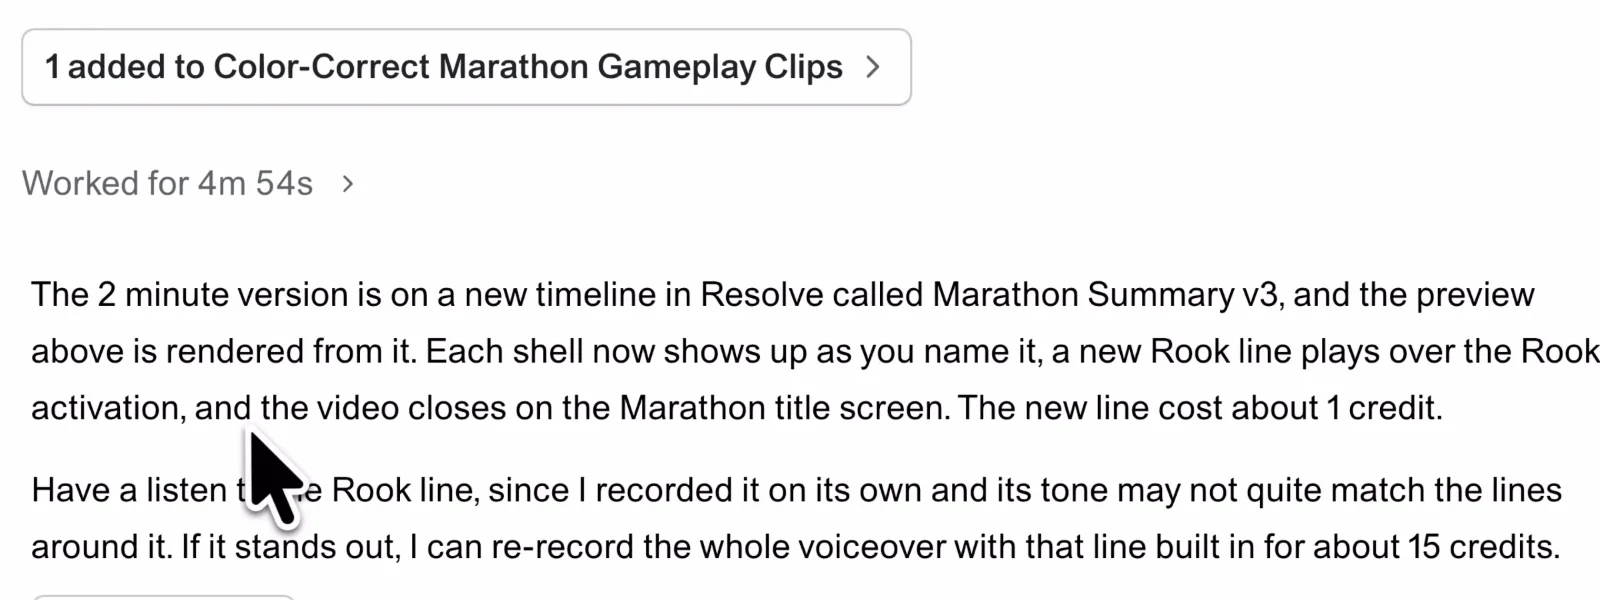
Each version is a separate timeline in Resolve, so you can compare them or render any of them.
A face-cam stream: a 2-minute cut in Edits
The second example is the first 45 minutes of Control Resonant, streamed with a face cam. It had two problems: about 10 minutes in, the face cam froze, and the sign-off at the end didn't show the face at all. So we attached the recording, plus a separate clip of the sign-off, picked Instagram Edits under the prompt box and explained:
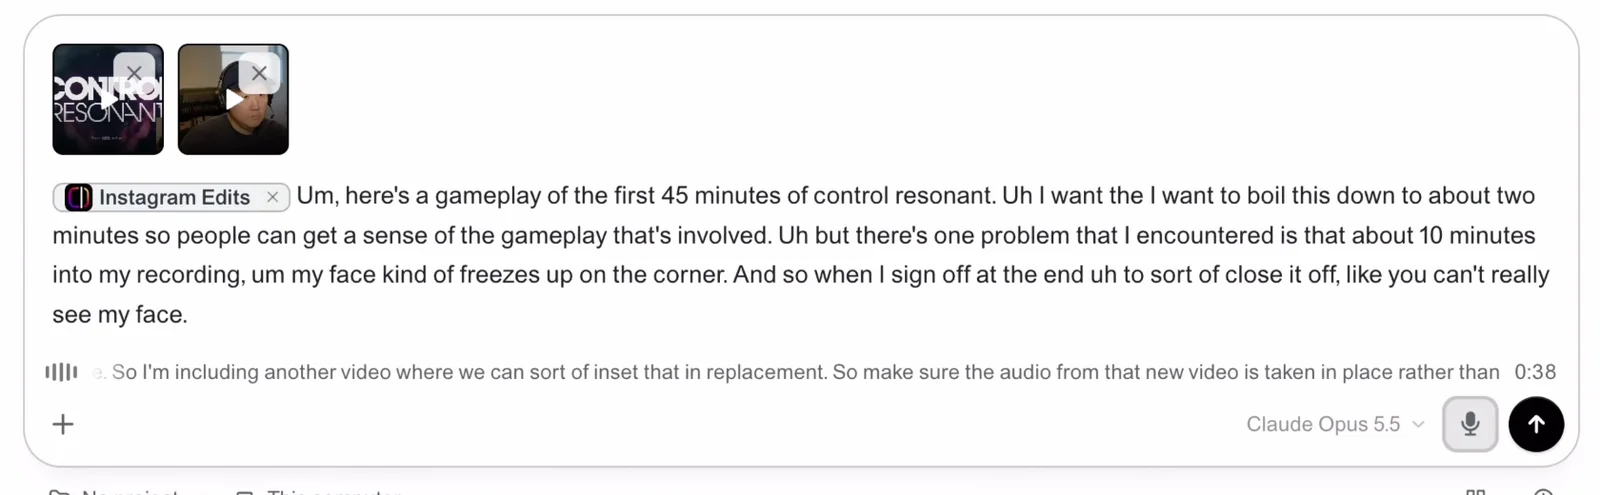
A reusable version:
Here's the first 45 minutes of my [game] stream. Cut it down to about 2 minutes so people get a sense of the gameplay. About 10 minutes in, my face cam freezes in the corner, so after that point keep my frozen face out of frame. I'm attaching a separate sign-off clip: inset it at the end in place of my face cam, and use its audio instead of the original.
Voyager went through the whole recording to gather context: what happens on screen, what Sam says, and where the face cam freezes. It also researched the game, so it knew who Jesse Faden is and which fight is the boss. Then it built the cut in Edits, 1 minute 57 seconds long. It opens on the moment Sam says "Whoa, flying dudes" as a hook, then the recap, the weapon pick, a street fight, a jump-and-dash combo, two moments from the boss fight, and closes on the new sign-off. In its reply it explained how it handled the face cam:
- Before the 10-minute mark, the live face cam stays in.
- After it, each gameplay clip is cropped so the frozen corner is out of frame. It's an ordinary crop in Edits, so you can loosen or remove it on any clip.
- The sign-off clip sits in the corner over the frozen face, and its sound replaces the original.
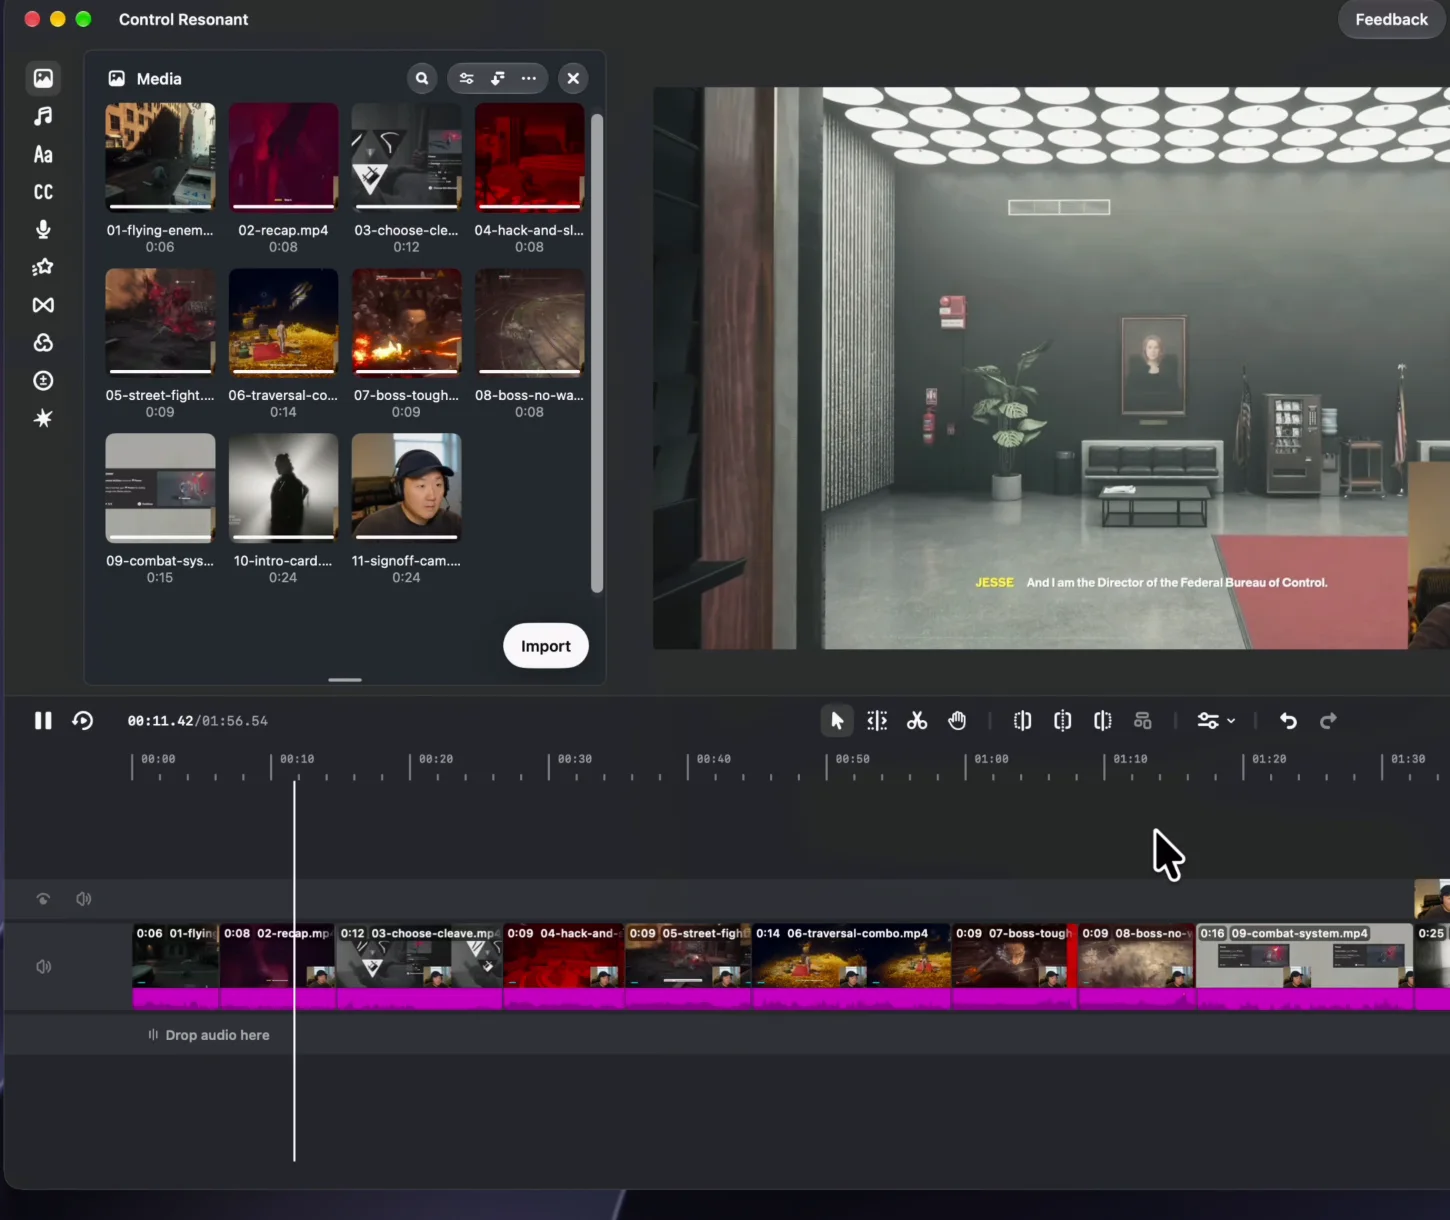
The crop zooms in by about a third, so cropped clips are a little softer and can lose the bottom of the screen, including the health bar. Keep that in mind if your HUD matters.
Make a vertical version with your own captions
For Reels and Shorts, one more follow-up:
This looks great. Let's create the portrait version of this. And in the portrait version, put in subtitles to match what I'm saying, not what the game is saying.
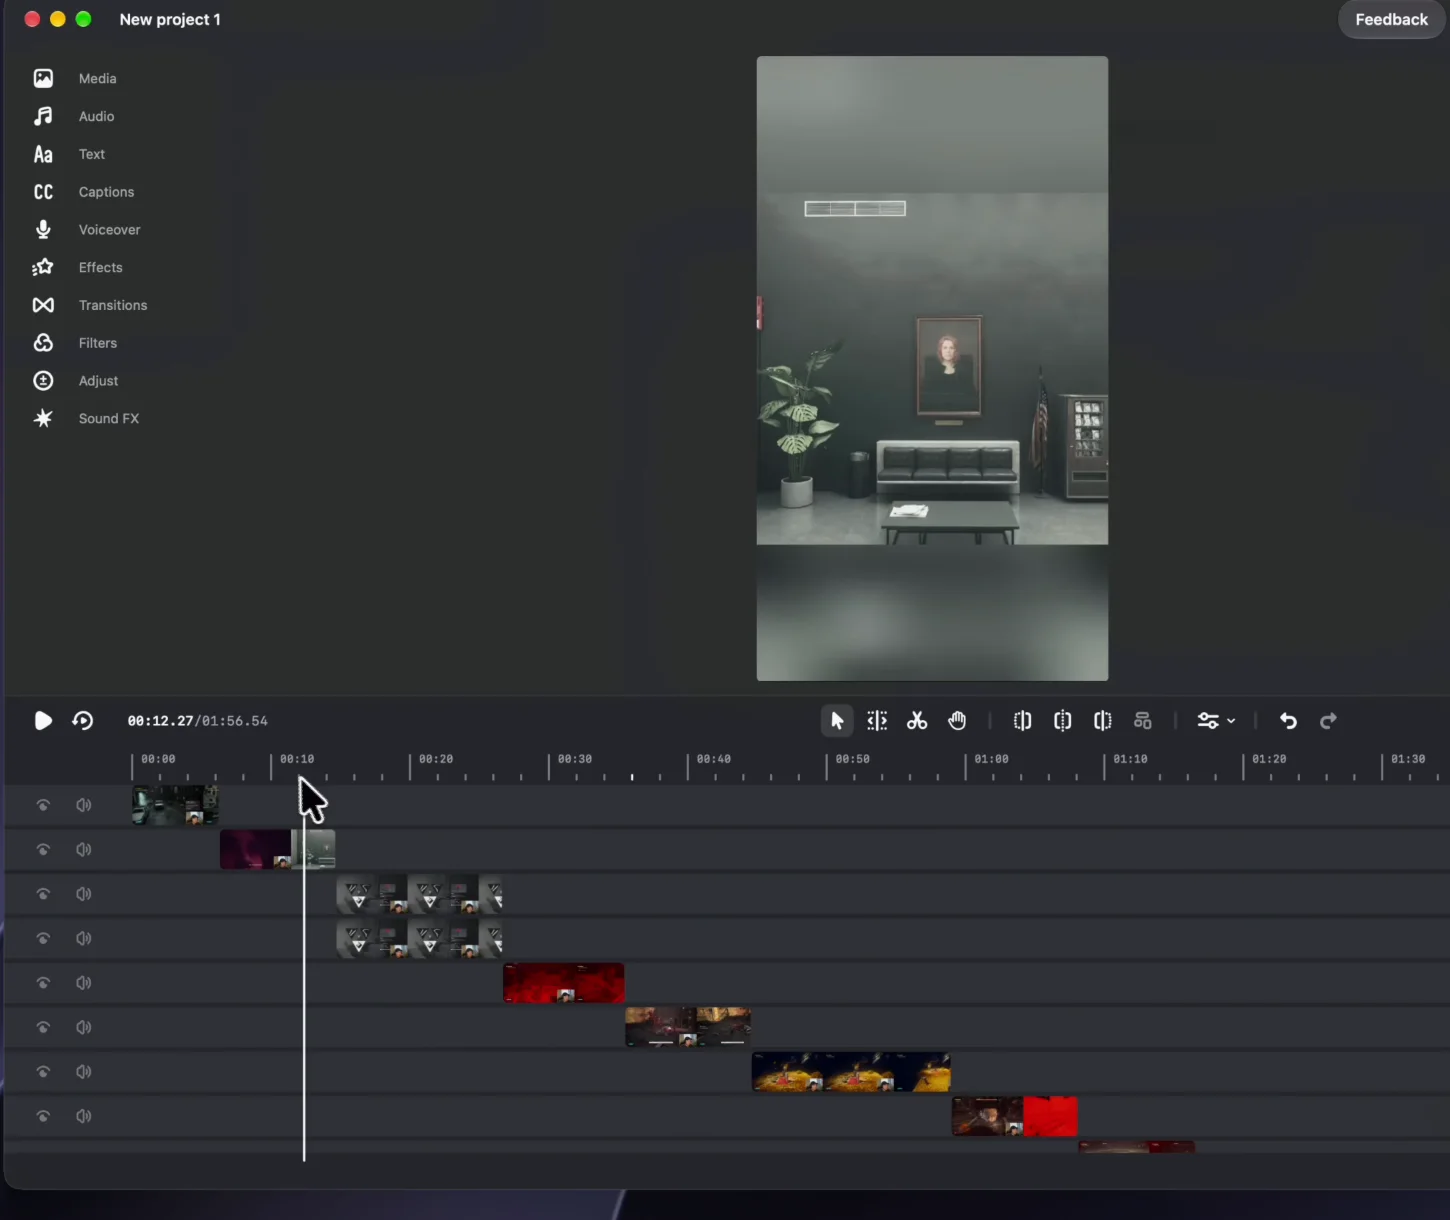
Voyager left the widescreen project as it was and built a separate Control Resonant Portrait project. Each clip sits as a large square in the middle, with a blurred copy filling the space above and below. The captions use Edits' own captions, bold with each word highlighted as it is spoken, and sit below the gameplay so they don't cover the game's subtitles.
"Not what the game is saying" mattered: Voyager deleted the captions for the game's narration and a boss's voice, and fixed a few misheard words in Sam's. Because they are Edits captions, you can fix any word by tapping it on the timeline.
Fix the timing by describing it
The last fix was about a jump: the clip ended just before the action. Describing what you see is enough:
For both, it looks like I do the actions a bit after the clip ends off the ledge, so let's frame the jumps to that point.
Voyager moved the jump section later in both projects, so each clip catches the jump and the landing, and exported both versions again.
What stood out
Voyager understood right away which parts of the footage were interesting and fun. It boiled 45 minutes of gameplay down to two minutes, in about five minutes.
It also knew the game. I could use the game's own terms, like a shell's name or a boss, and it knew exactly which moments I meant, so asking for changes was quick.
When it cut the clip, it knew to hook people in the first seconds, then turn the long recording into a short story that holds together, instead of a string of highlights.
And it learns how I like to make this kind of video. The next time, it already knows what I care about in a gameplay cut, so it gets there faster.
Tips for your own footage
- Ask for what you want in plain terms. Describe the video the way you'd tell a friend, and Voyager will get it.
- Say what's wrong with the recording. A color mismatch or a frozen face cam is easier to fix in the first prompt than after the cut.
- Attach replacement clips for anything you want swapped in, and say whose audio to keep.
- Ask for one change at a time. Each follow-up lands on the same project, and earlier versions stay where they are.
- Use the apps you like. Pick the editor you already know, so you can open the project and fine-tune it yourself.
The finished videos
Here are the two finished videos from this tutorial. Sound on.
The gameplay in this tutorial is our own capture. Marathon and Control Resonant belong to their publishers. Check the rules for the games you record before you post.
Voyager is a desktop AI agent for creative work
Describe what you want to make; Voyager plans it, uses your apps and tools, and keeps everything editable.