Watch this tutorial on YouTube.
Setting up Voyager takes about five minutes and costs nothing. You connect the AI you already use, pick the apps you work in, and add your brand so everything you make looks like you. Then you pick a first thing to make, and Voyager writes the prompt for it.
What you need
- A Mac or Windows PC.
- Optional: a Claude Pro or Max plan, or a ChatGPT Plus or Pro plan. Without one, Voyager uses open models on the free plan.
Download Voyager and sign in
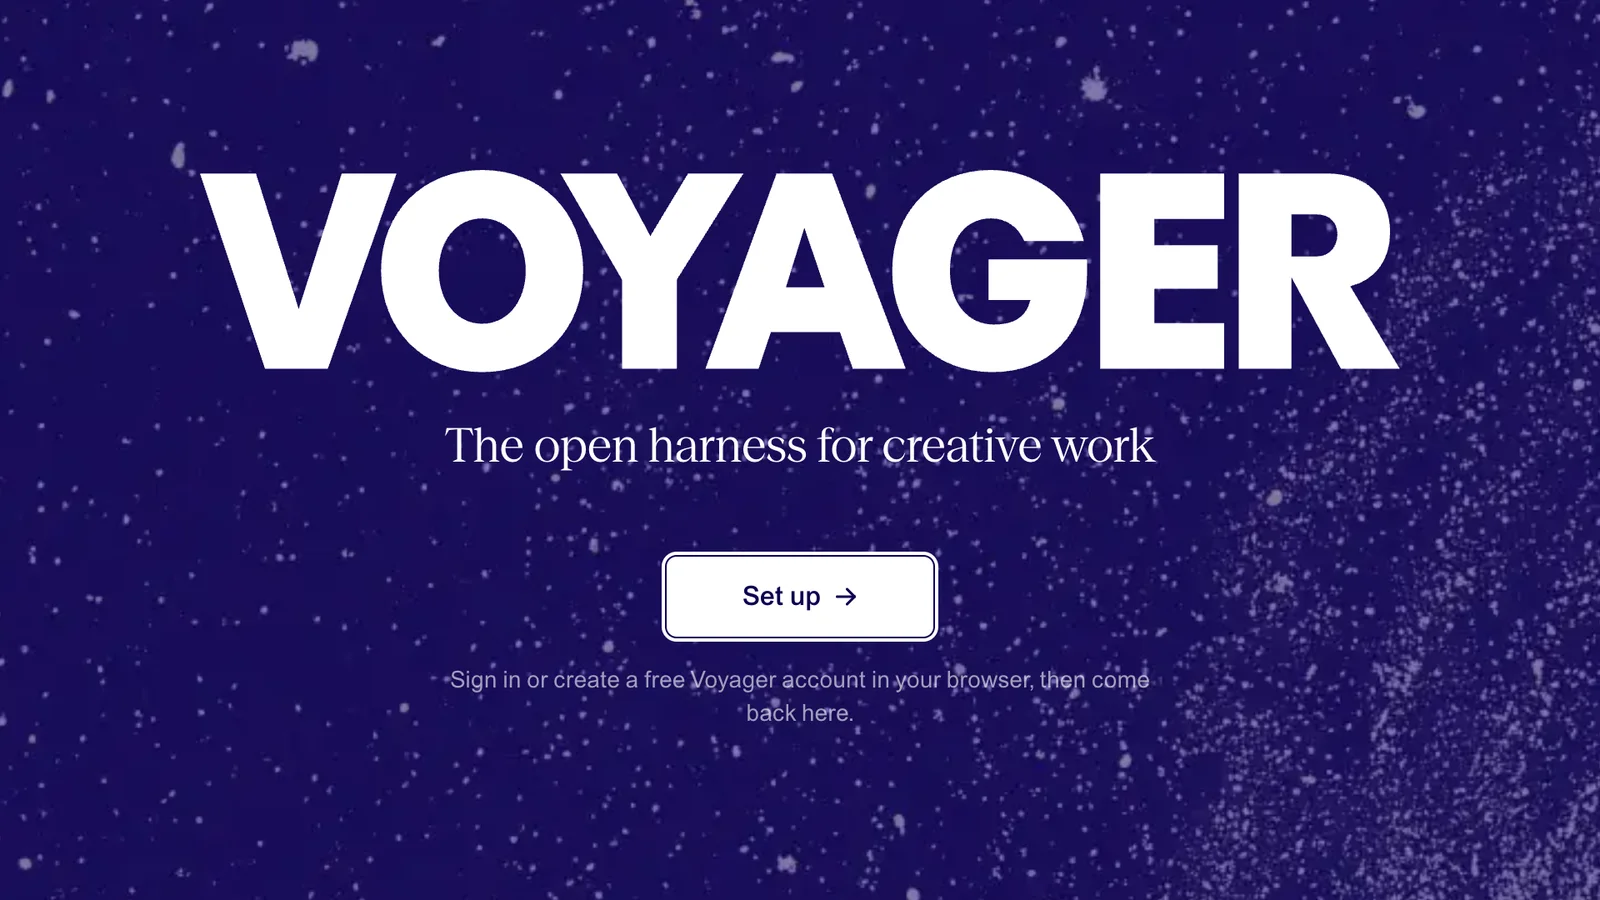
Download Voyager and open it. You'll see this screen. Click Set up.
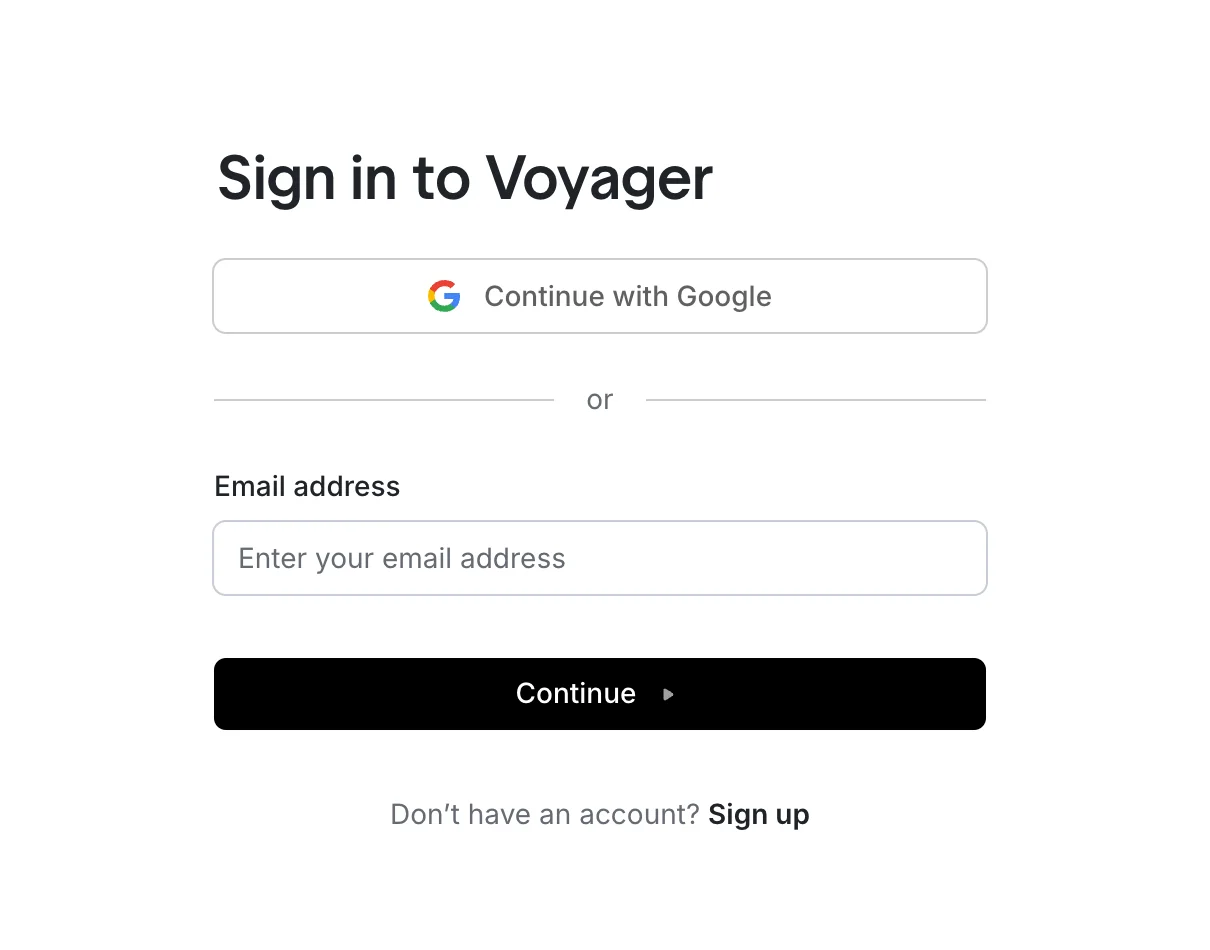
Your browser opens so you can sign in, or create a free Voyager account. Once you're signed in, come back to the app.
Setup has six steps, shown across the top of the window.
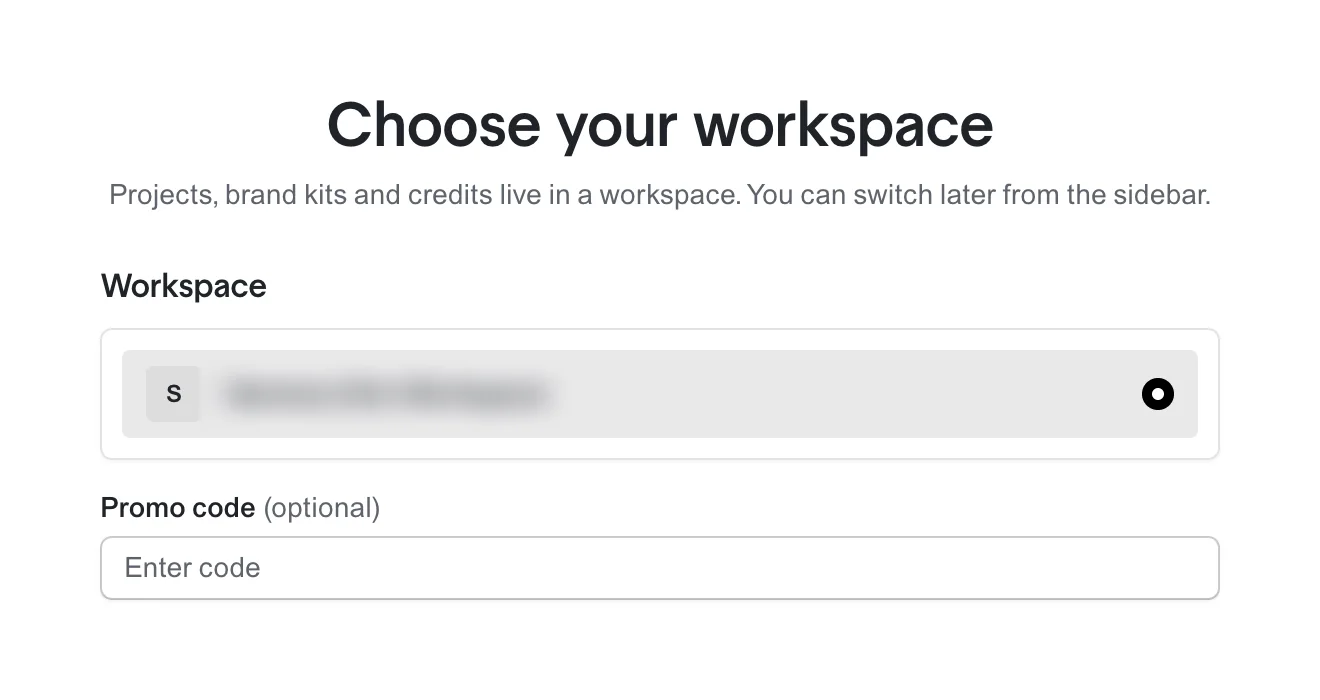
1. Choose your workspace
Your workspace is where your projects, brand kits and credits live. If you're on a team you might see more than one, and you can switch later from the sidebar. If you have a promo code, enter it here. Click Continue.
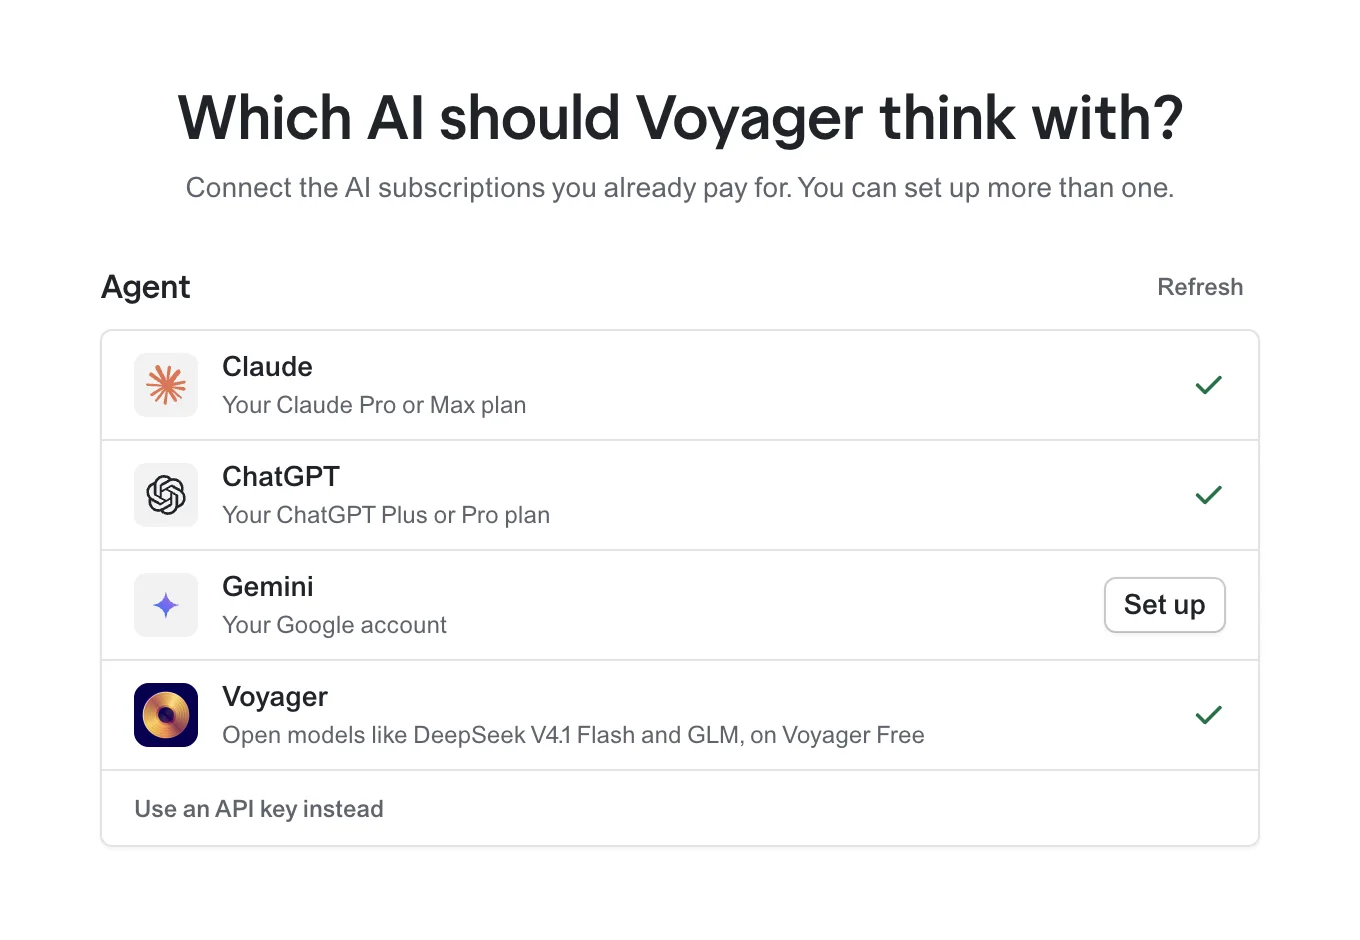
2. Choose the AI Voyager thinks with
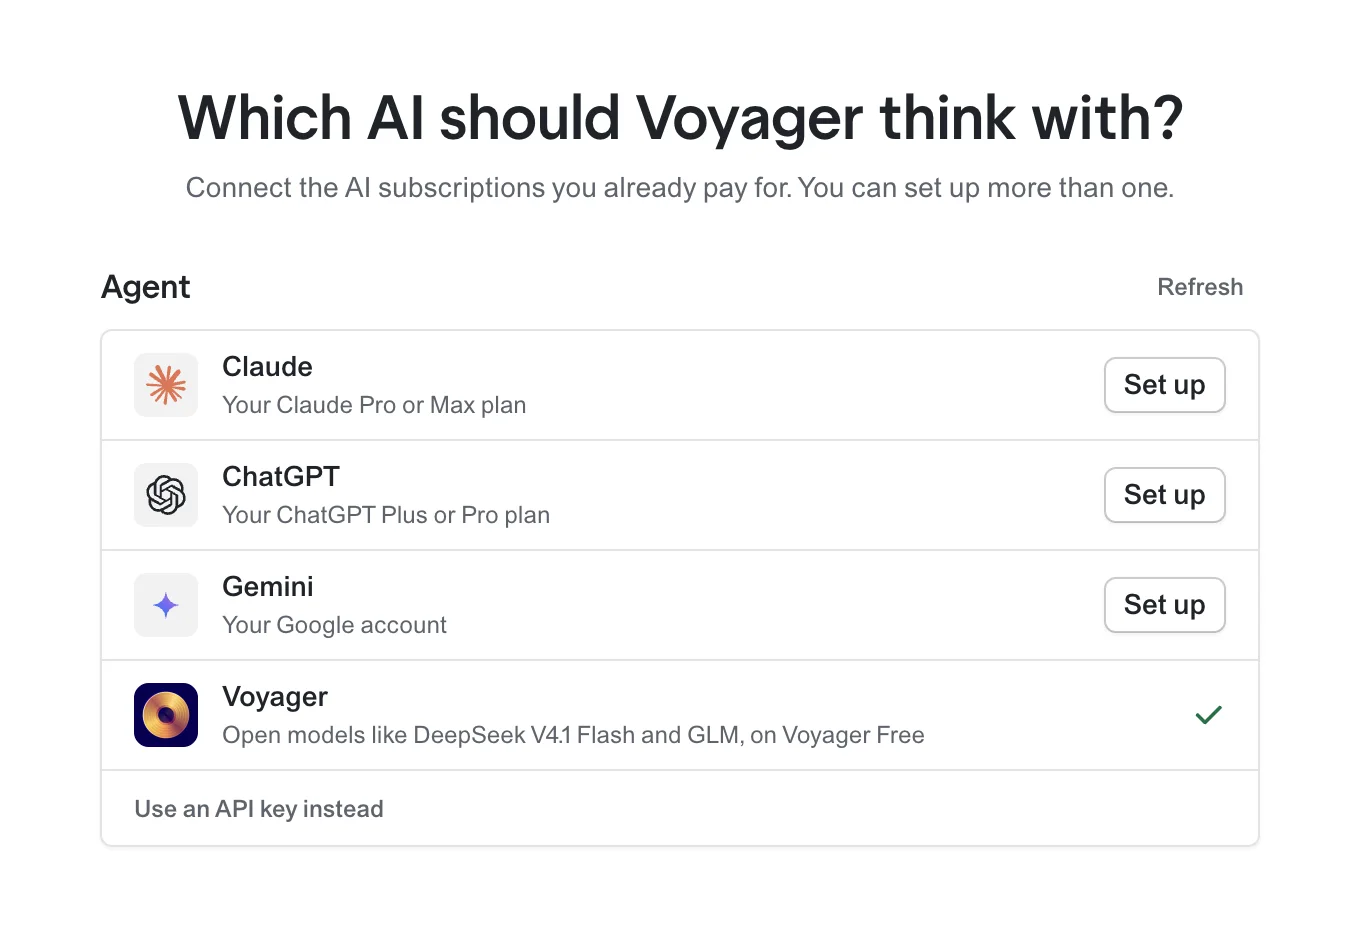
This is the agent that does the work in your apps. Connect the subscription you already pay for, and set up more than one if you like:
- Claude Pro or Max: choose Set up next to Claude.
- ChatGPT Plus or Pro: choose Set up next to ChatGPT.
- Gemini: use your Google account.
- Your own API key: click Use an API key instead.
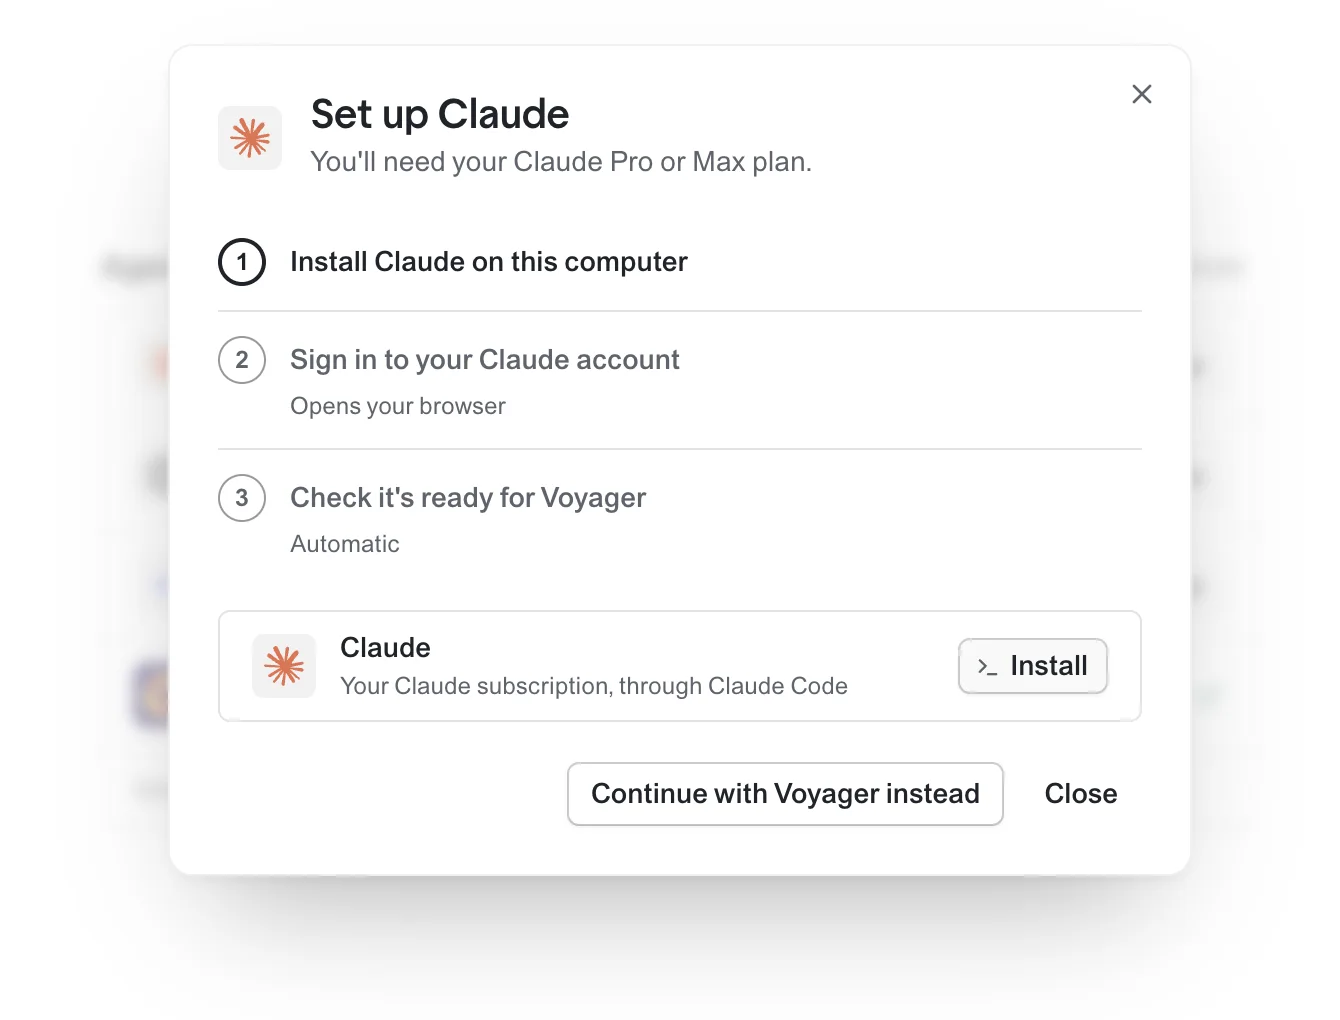
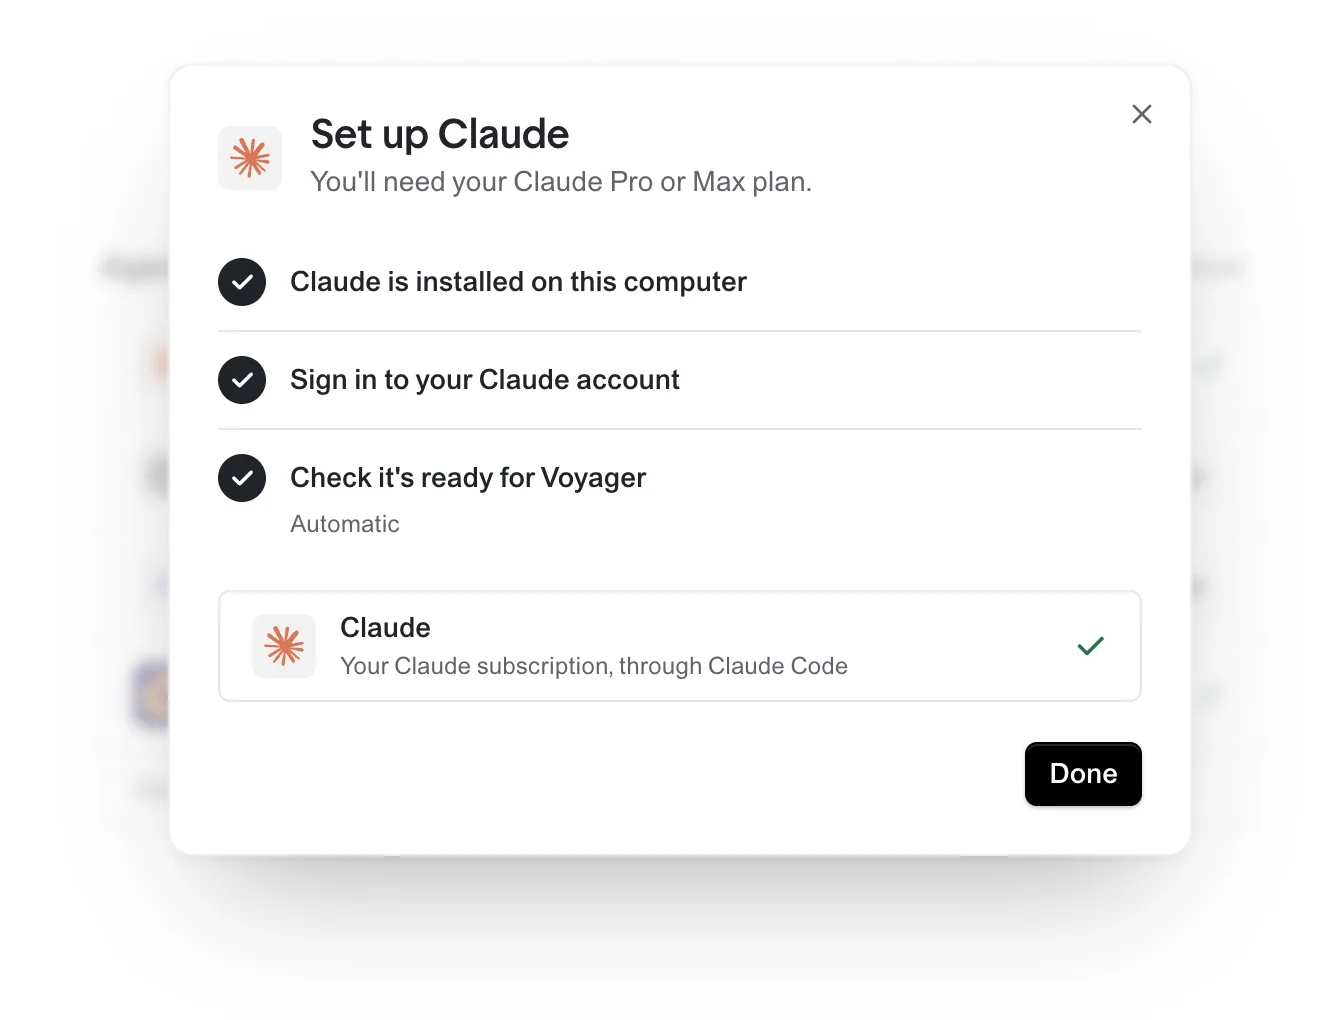
For Claude, Voyager shows three steps: install Claude on this computer, sign in to your Claude account, and a check that it's ready for Voyager. Just follow each step in the dialog, in order. When every step has a tick, click Done.
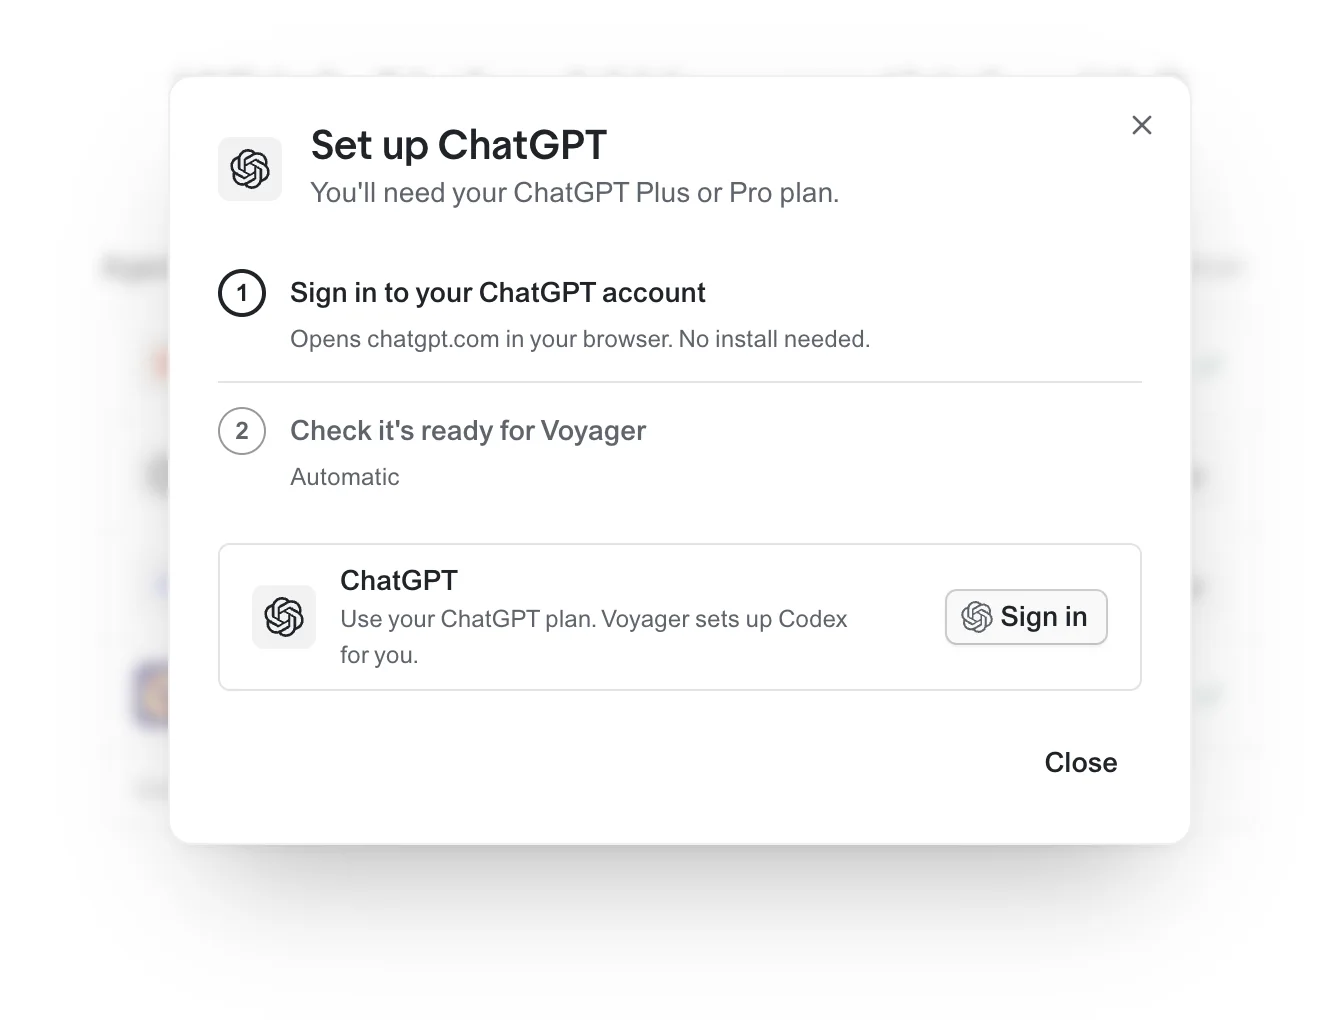
ChatGPT is even simpler. There's nothing to install: sign in, and Voyager sets up the rest.
No subscription? That's fine. Click Continue with Voyager and you'll use open models on Voyager Free.
3. Video and images
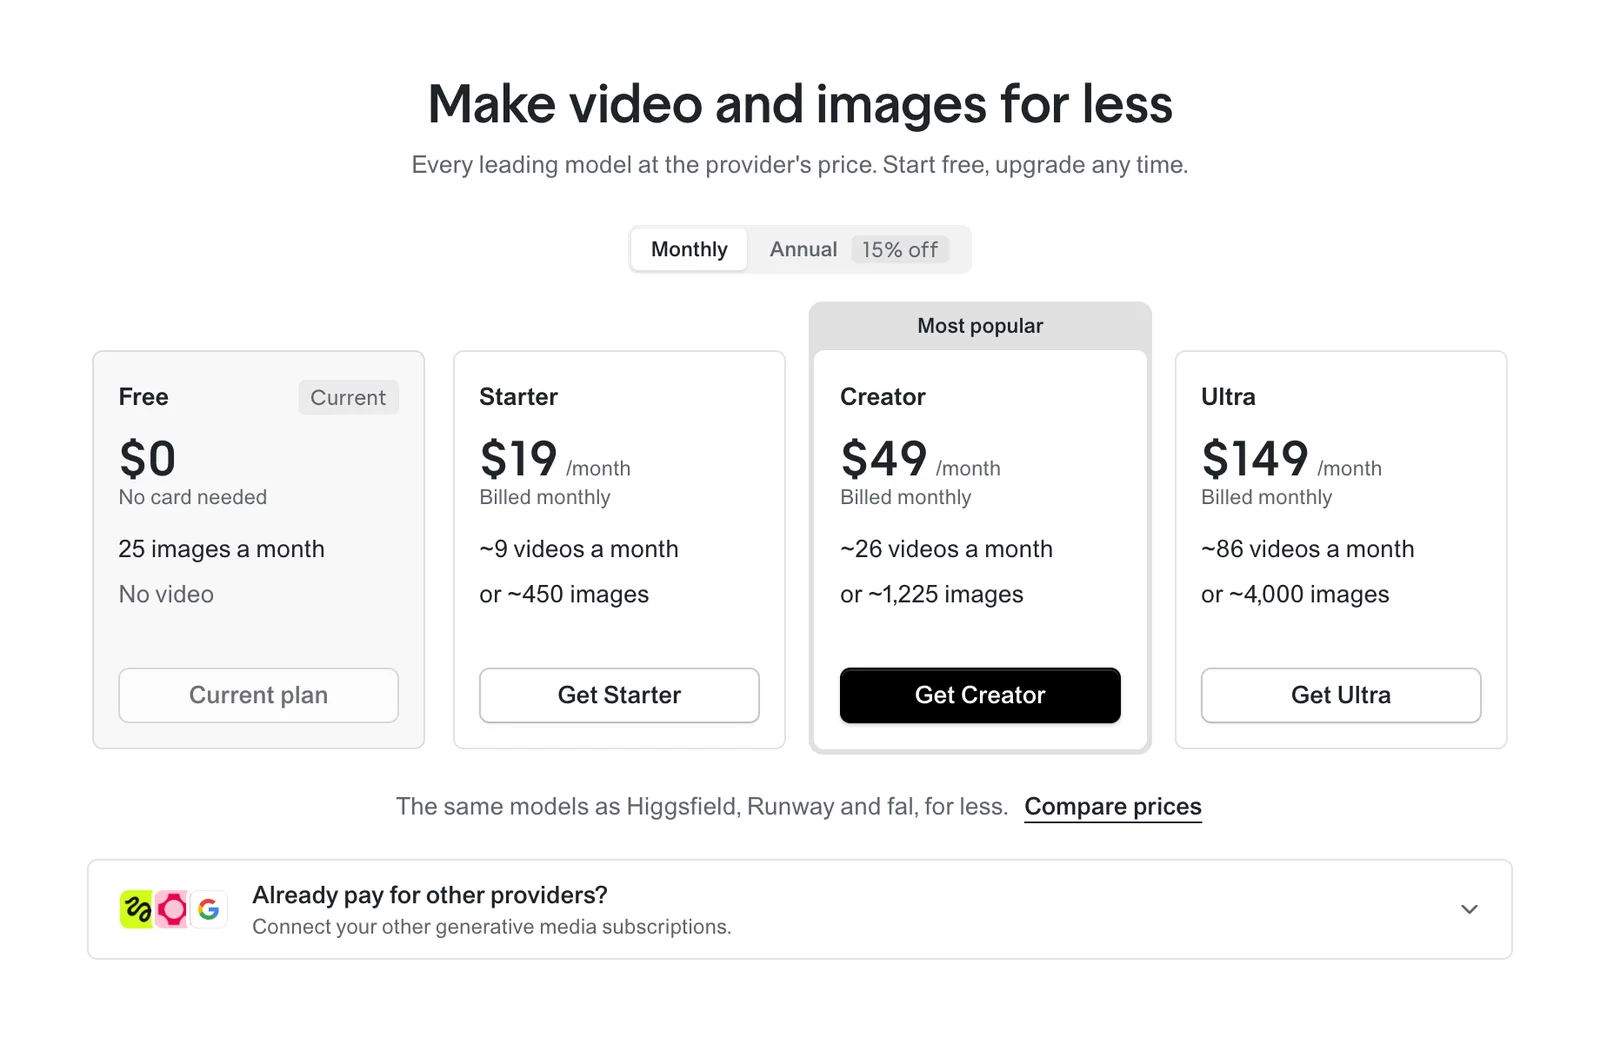
Your agent does the thinking, but images, video and voice come from generative models. Voyager Free comes with credits to try them, and there's no card needed.
If you make a lot of AI video, the paid plans use the best video and image models at the best prices. If you already pay for other providers, open Already pay for other providers? to connect them. To stay free, click Continue free.
4. Pick the apps you create with
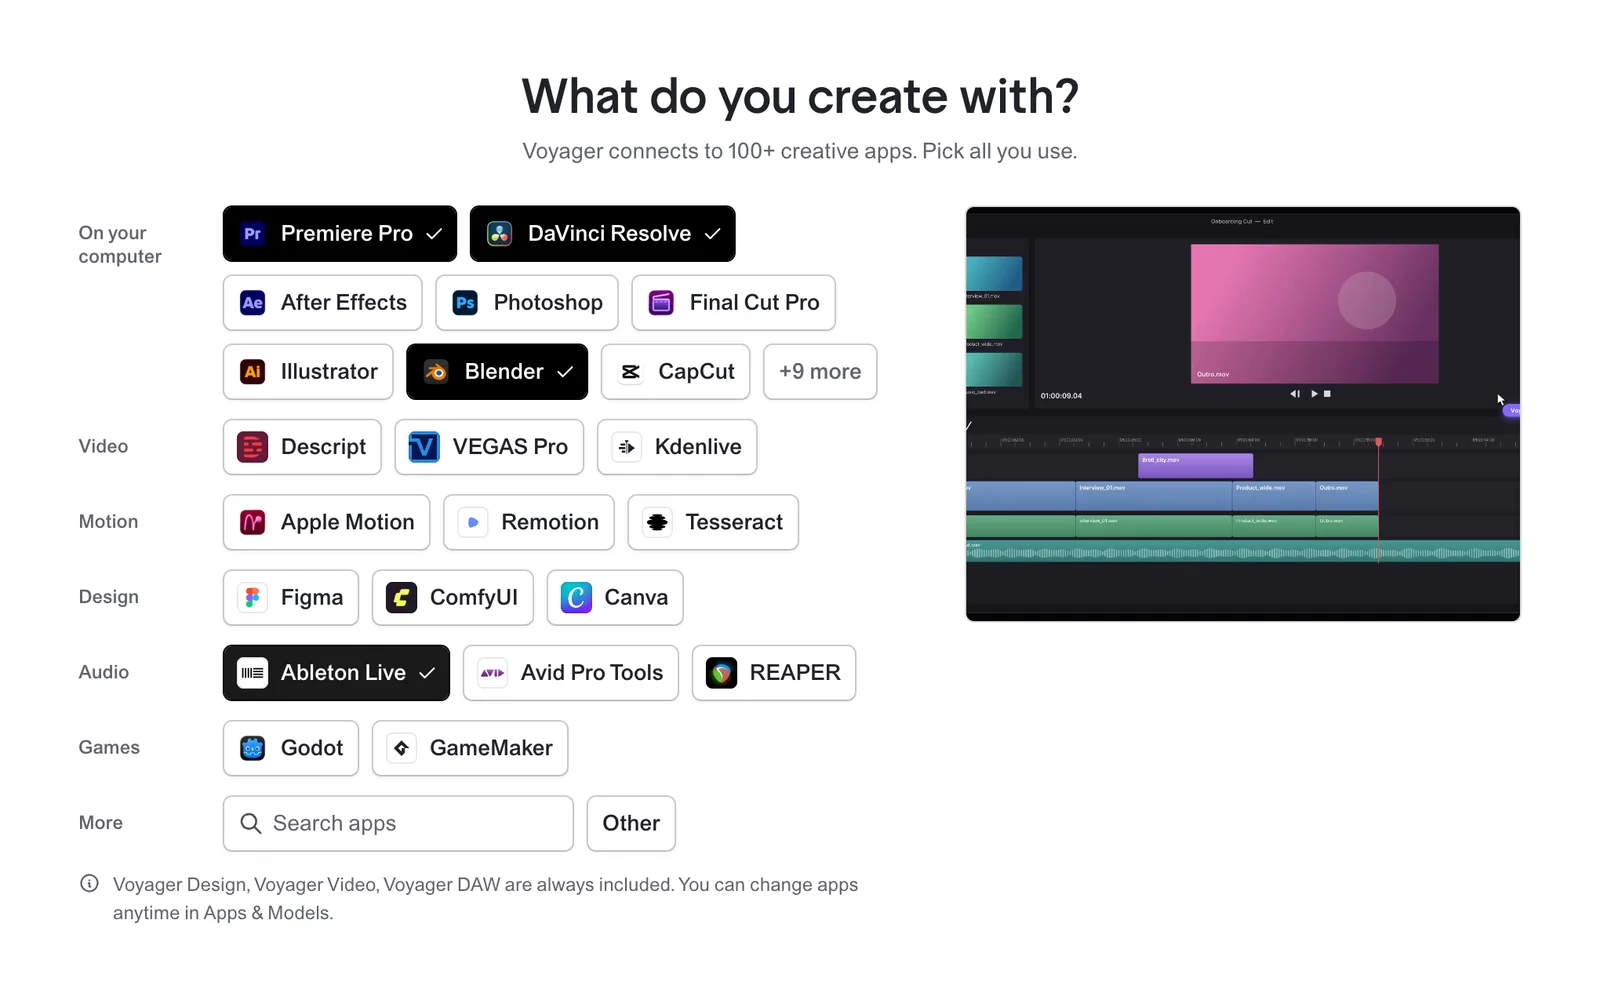
Voyager connects to over a hundred creative apps, and the ones already on your computer show up first. Pick the ones you use, like Premiere Pro, DaVinci Resolve or Blender. For now you're only telling Voyager which apps you want to create with.
You can come back any time to set them up in Apps & Models in the sidebar. It shows every app Voyager works with, which ones are connected, and which need one more step.
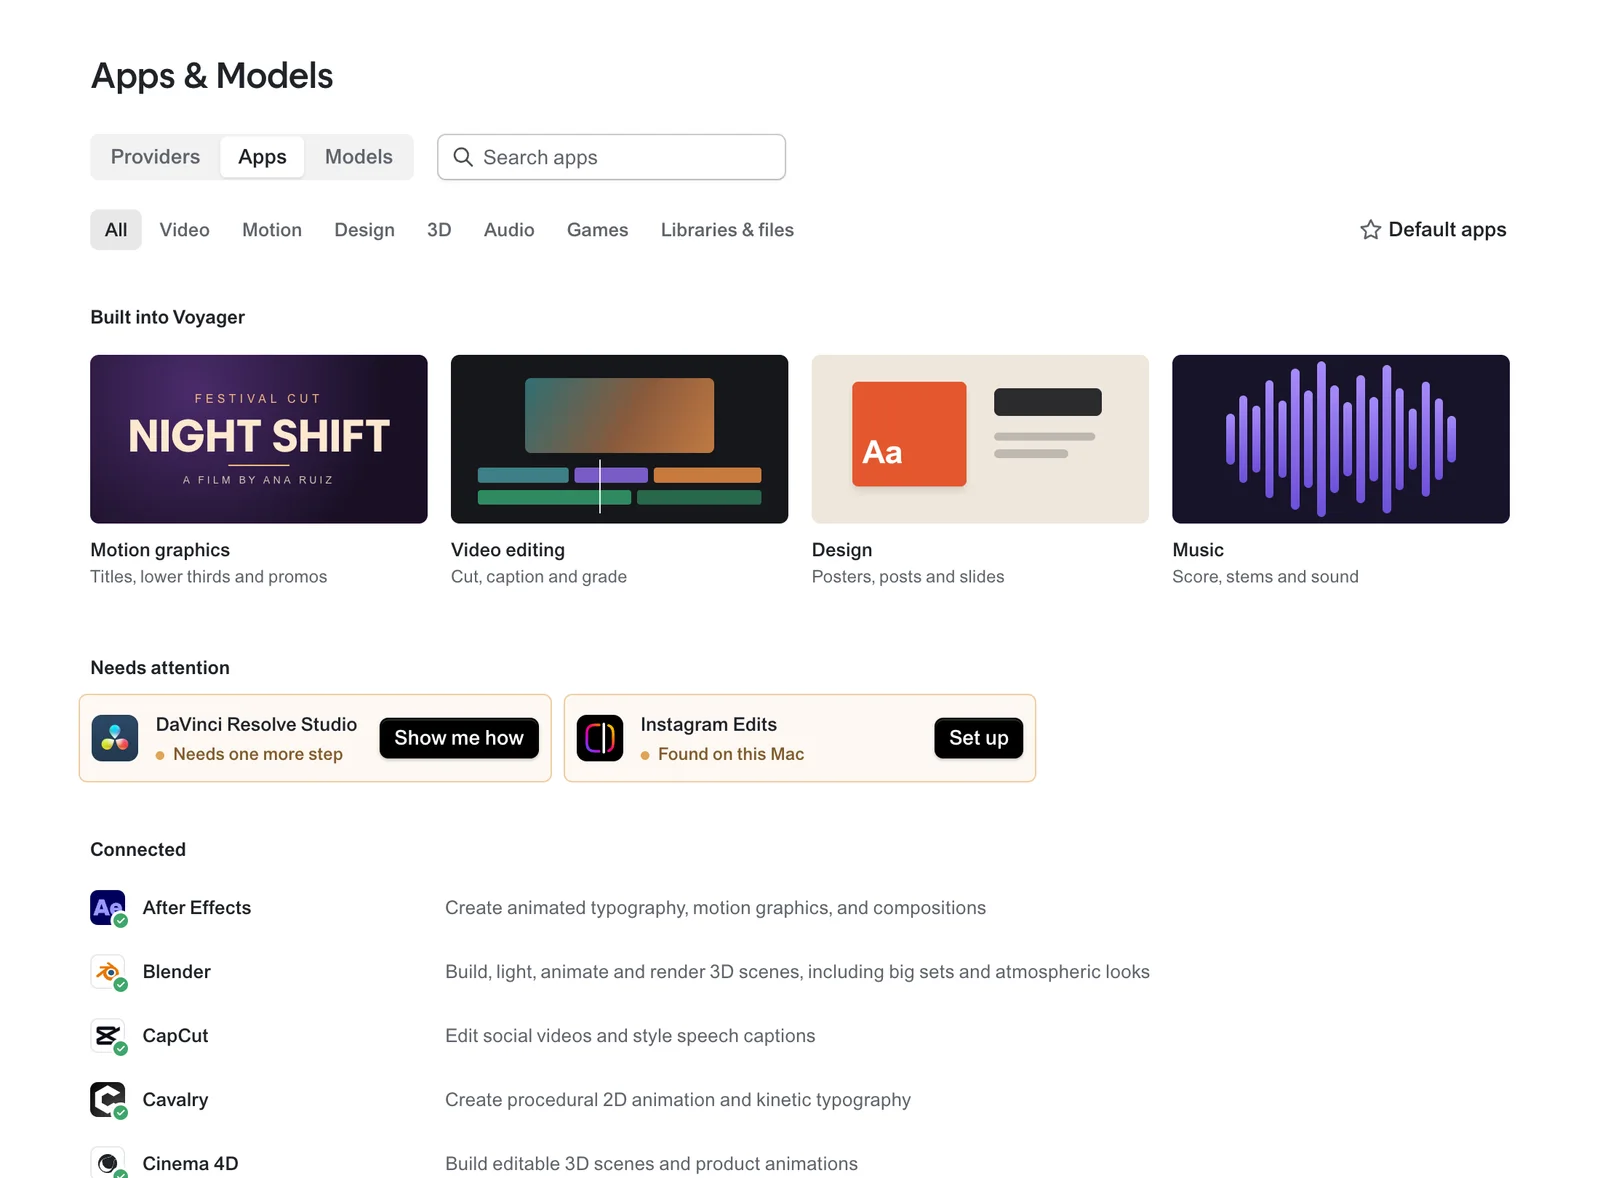
Connecting an app is its own short guide: see Connect DaVinci Resolve to Voyager and Connect Instagram Edits to Voyager.
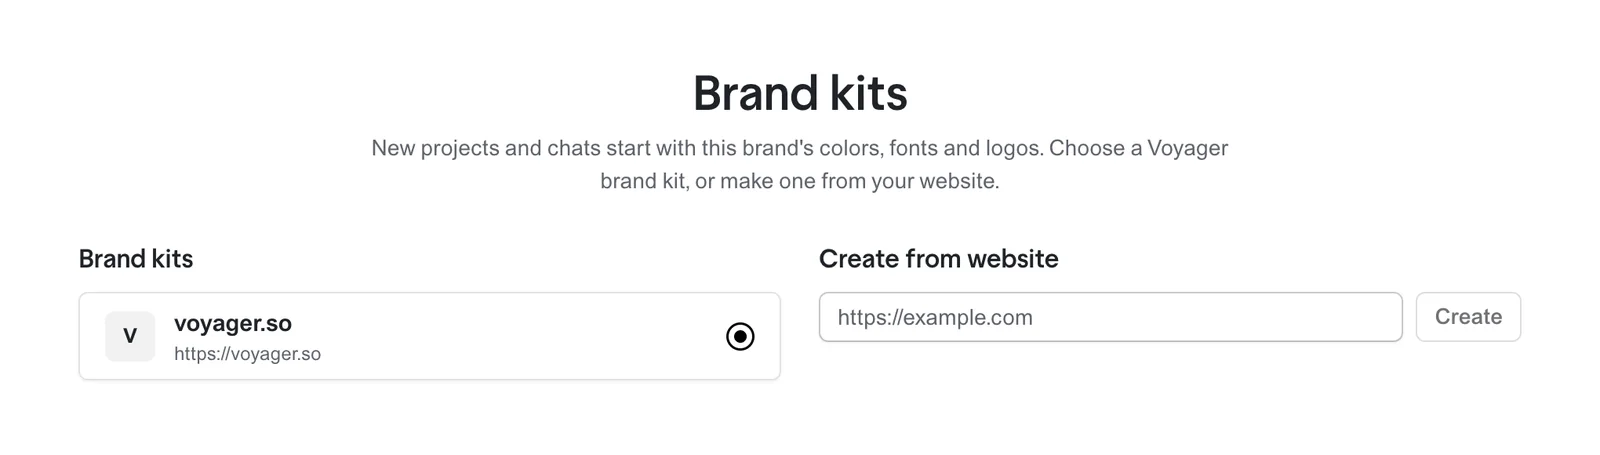
5. Add your brand
Paste your website and click Create. Voyager pulls your colors, fonts and logos from the site and turns them into a brand kit.
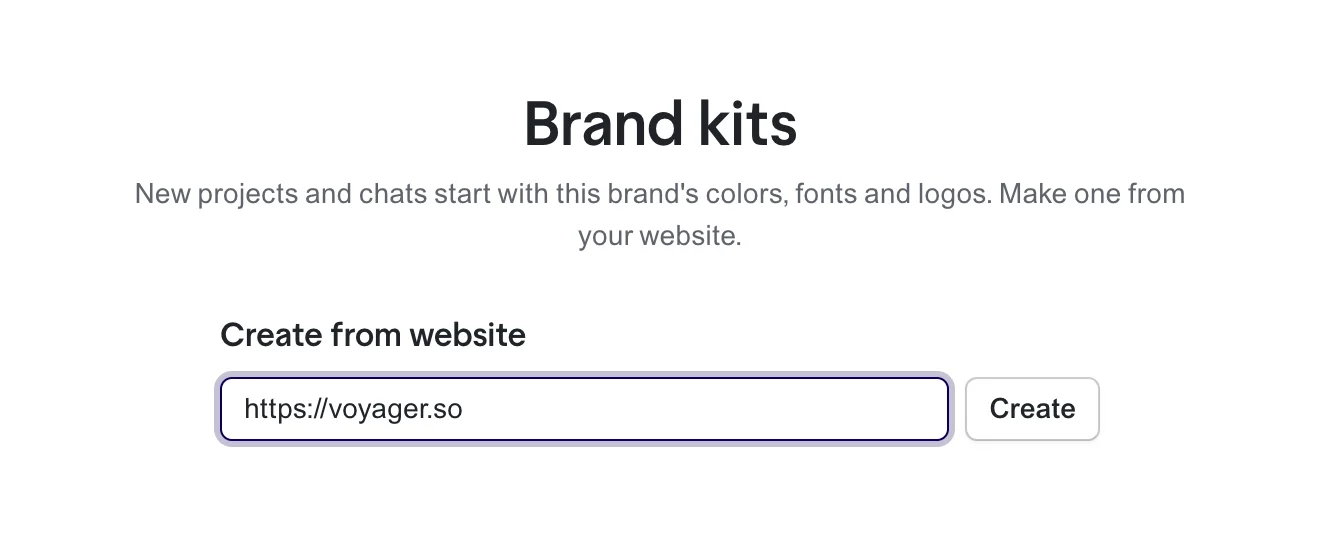
Every chat in the project reads the kit before it makes anything on-brand, so your videos, posts and designs share the same look. You can skip this and add one later.
6. Choose what you're making first
Pick a product or explainer video, an edit of your own footage, AI-generated video, or something else. Voyager writes your first prompt for it.
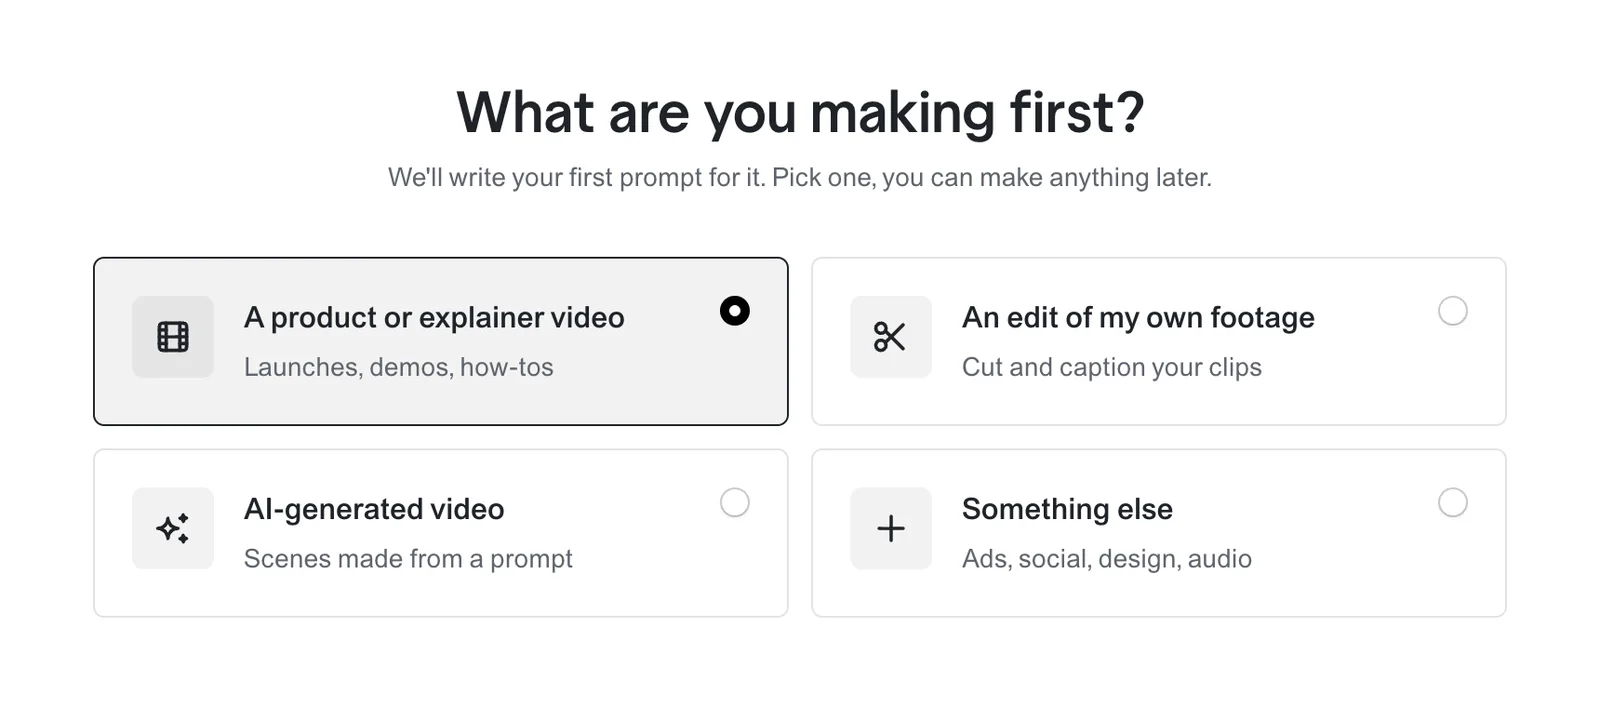
That's the setup. Your first prompt is already waiting in the box. Send it as it is, change it, or start from scratch.
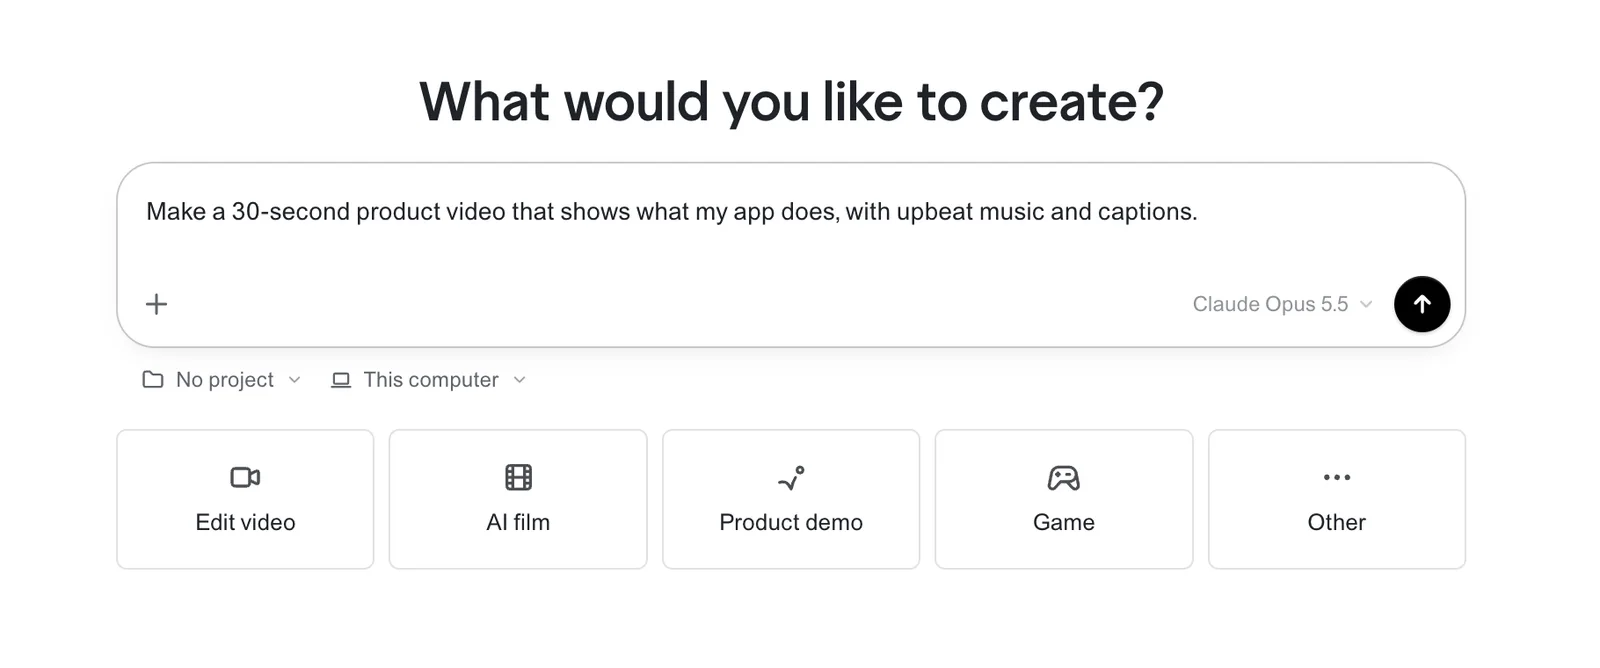
Find something to make
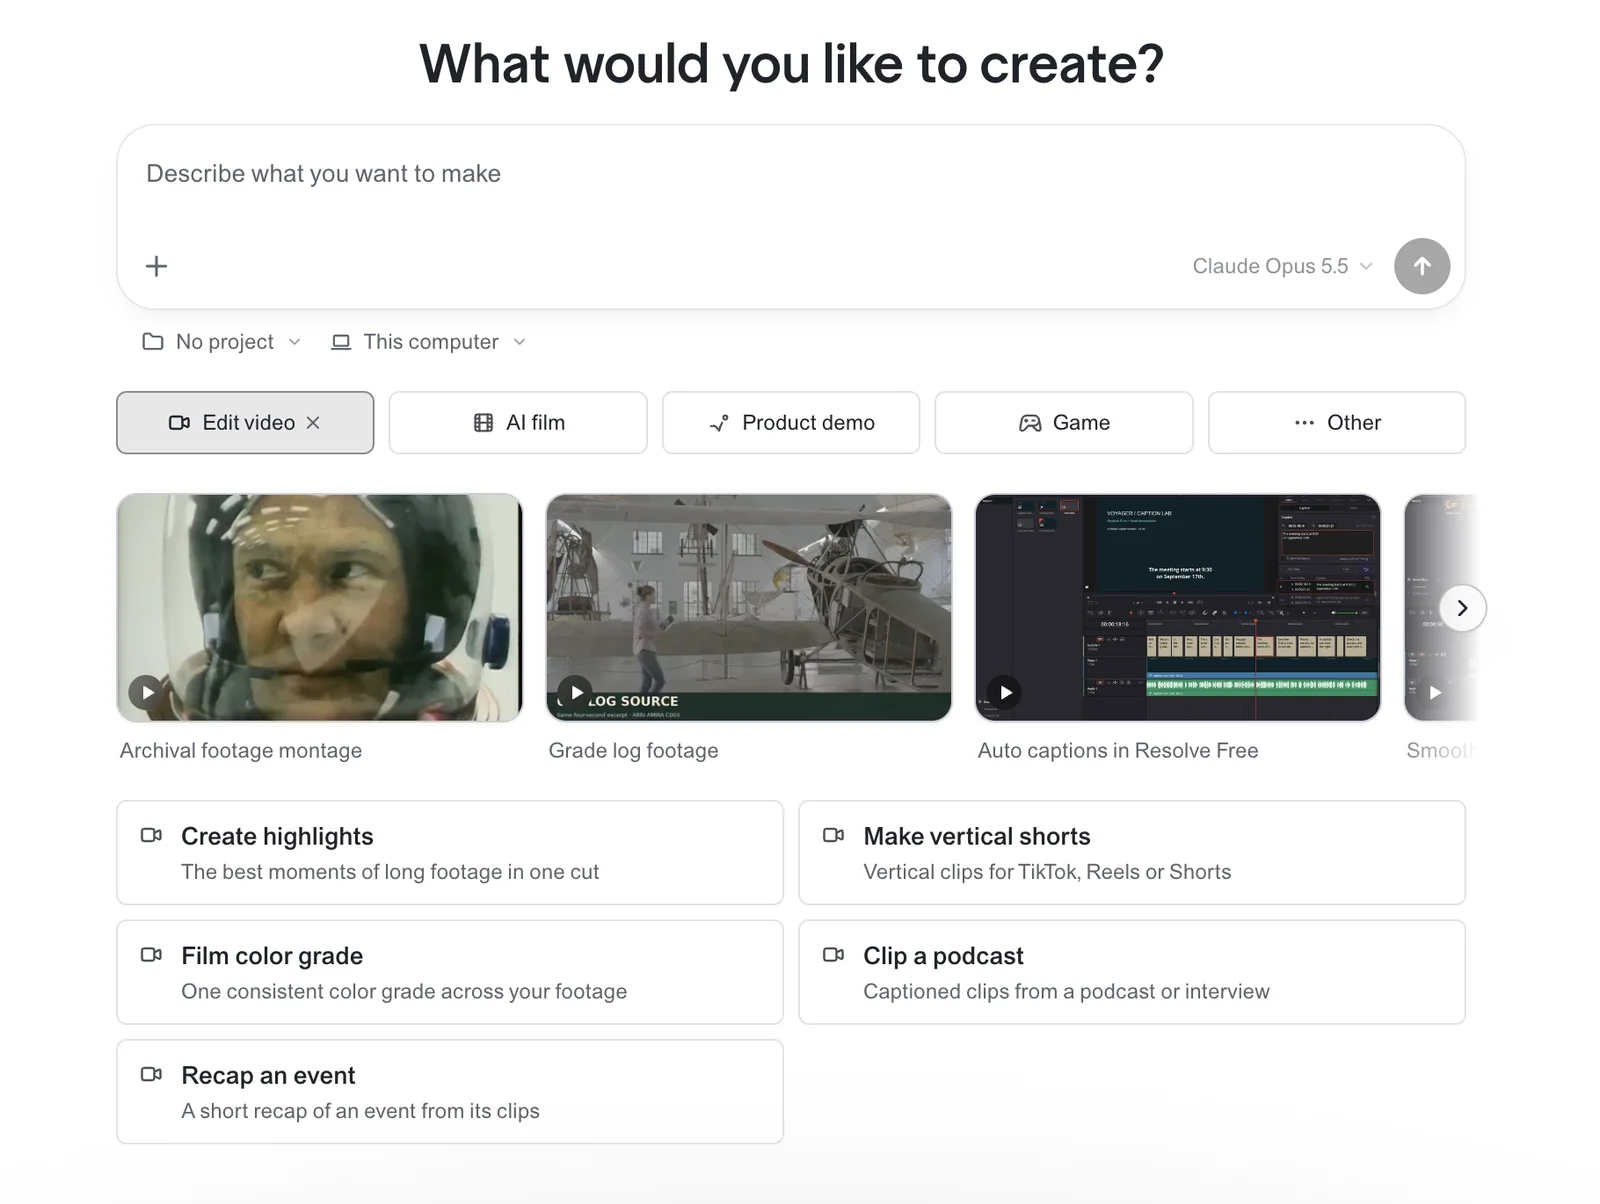
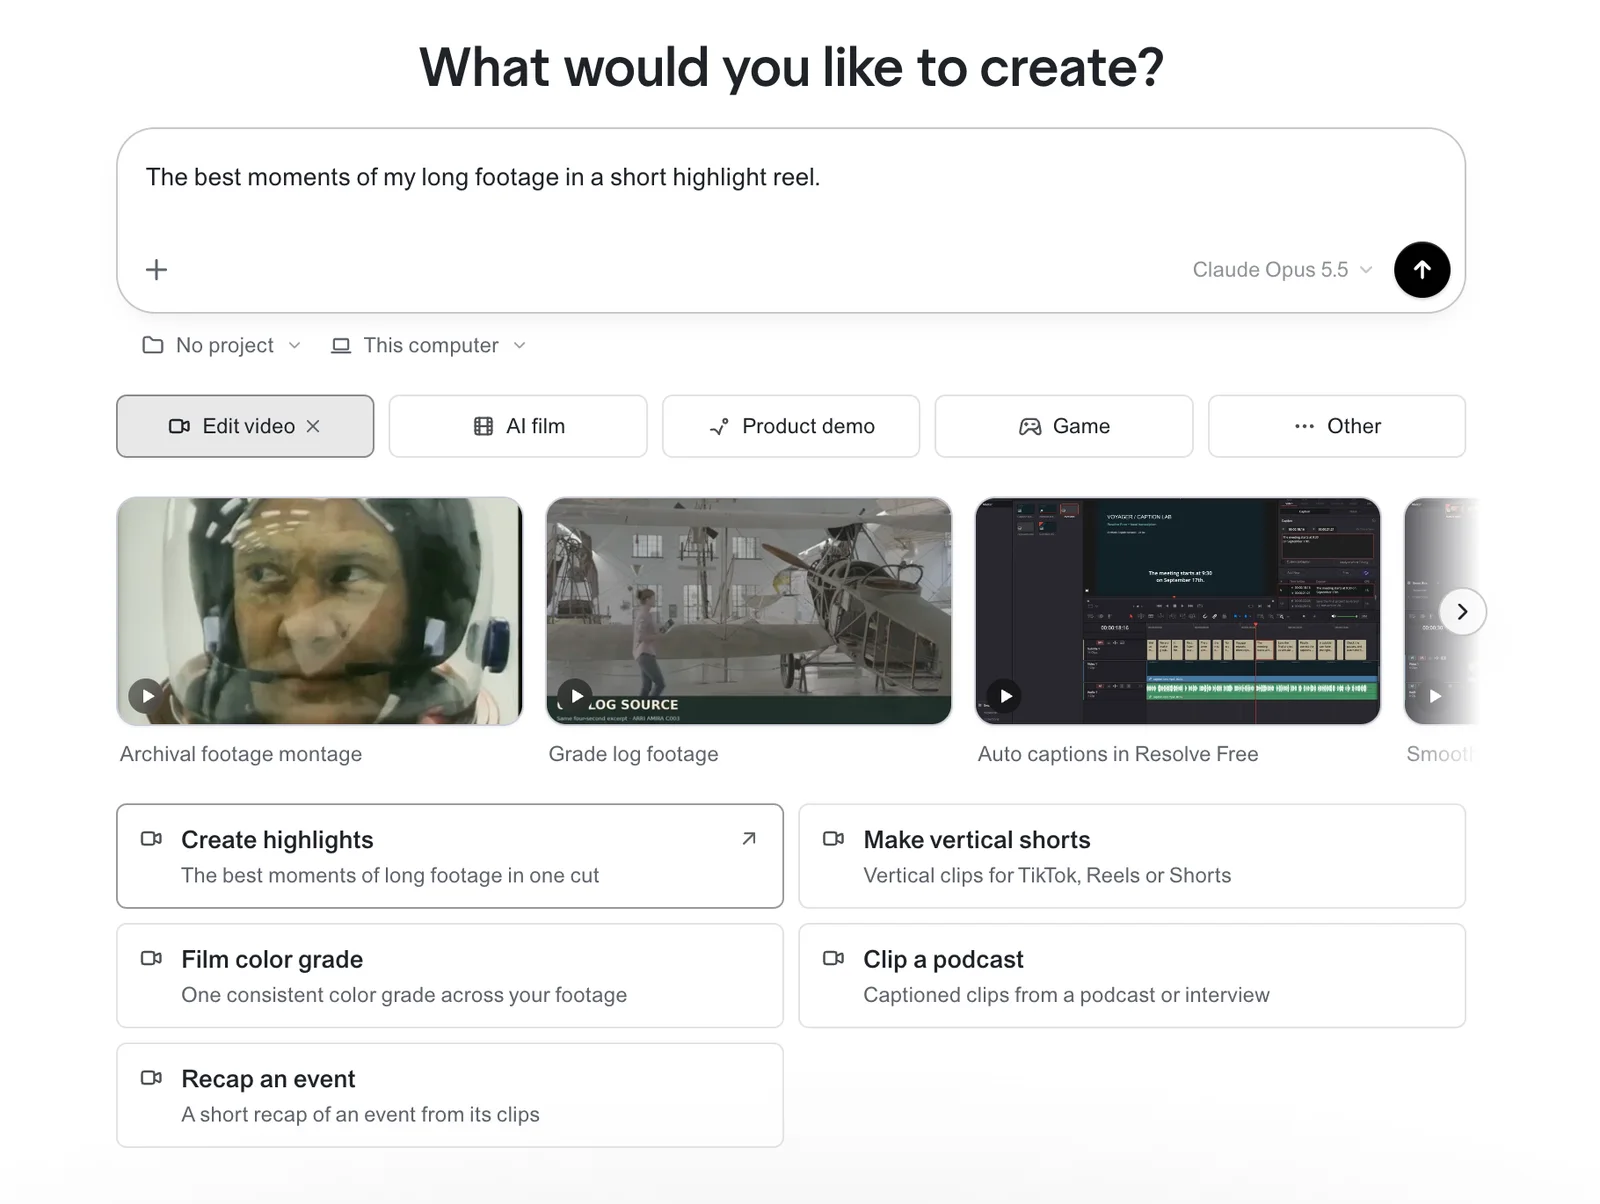
Under the prompt box there are five starting points. Hover over one to see something we made with it.
- Edit video is for footage you already have: highlights, vertical shorts, a color grade, podcast clips or an event recap.
- AI film makes scenes from a prompt: a commercial, a story, a viral clip or a music video.
- Product demo walks through your product, makes a launch video or a tutorial, or narrates a screen recording.
- Game builds a game you can play on your desktop, in the browser, or right inside an X post.
- Other has the rest: images, 3D, voice and audio, and announcements.
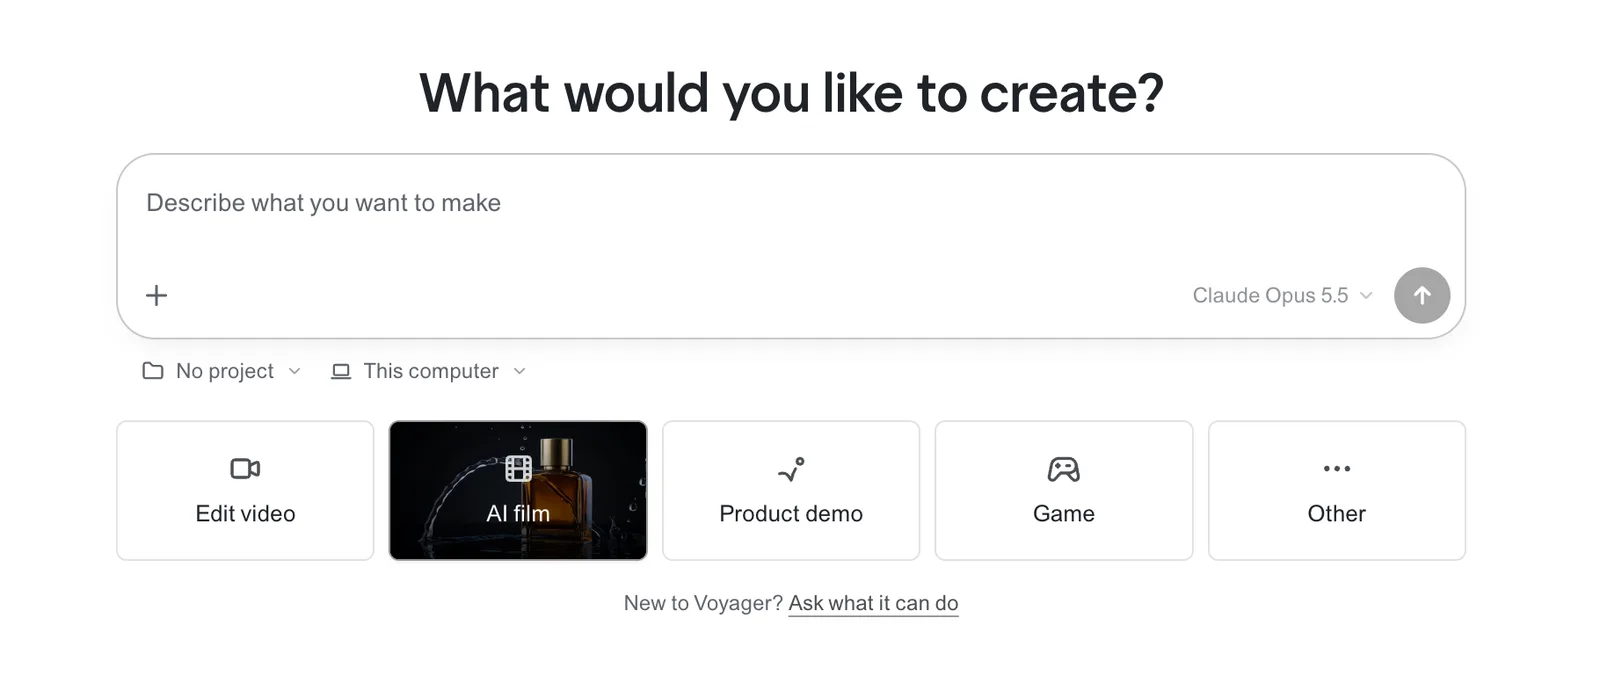
Open one and you'll see templates we made, with written briefs underneath. Click a brief and Voyager writes the prompt for you. Swap in your own details and send it.
Techniques
For more ideas, open Techniques in the sidebar. These are tested ways to make things with Voyager. Browse what's featured, by goal or by material, or filter by the apps you use.
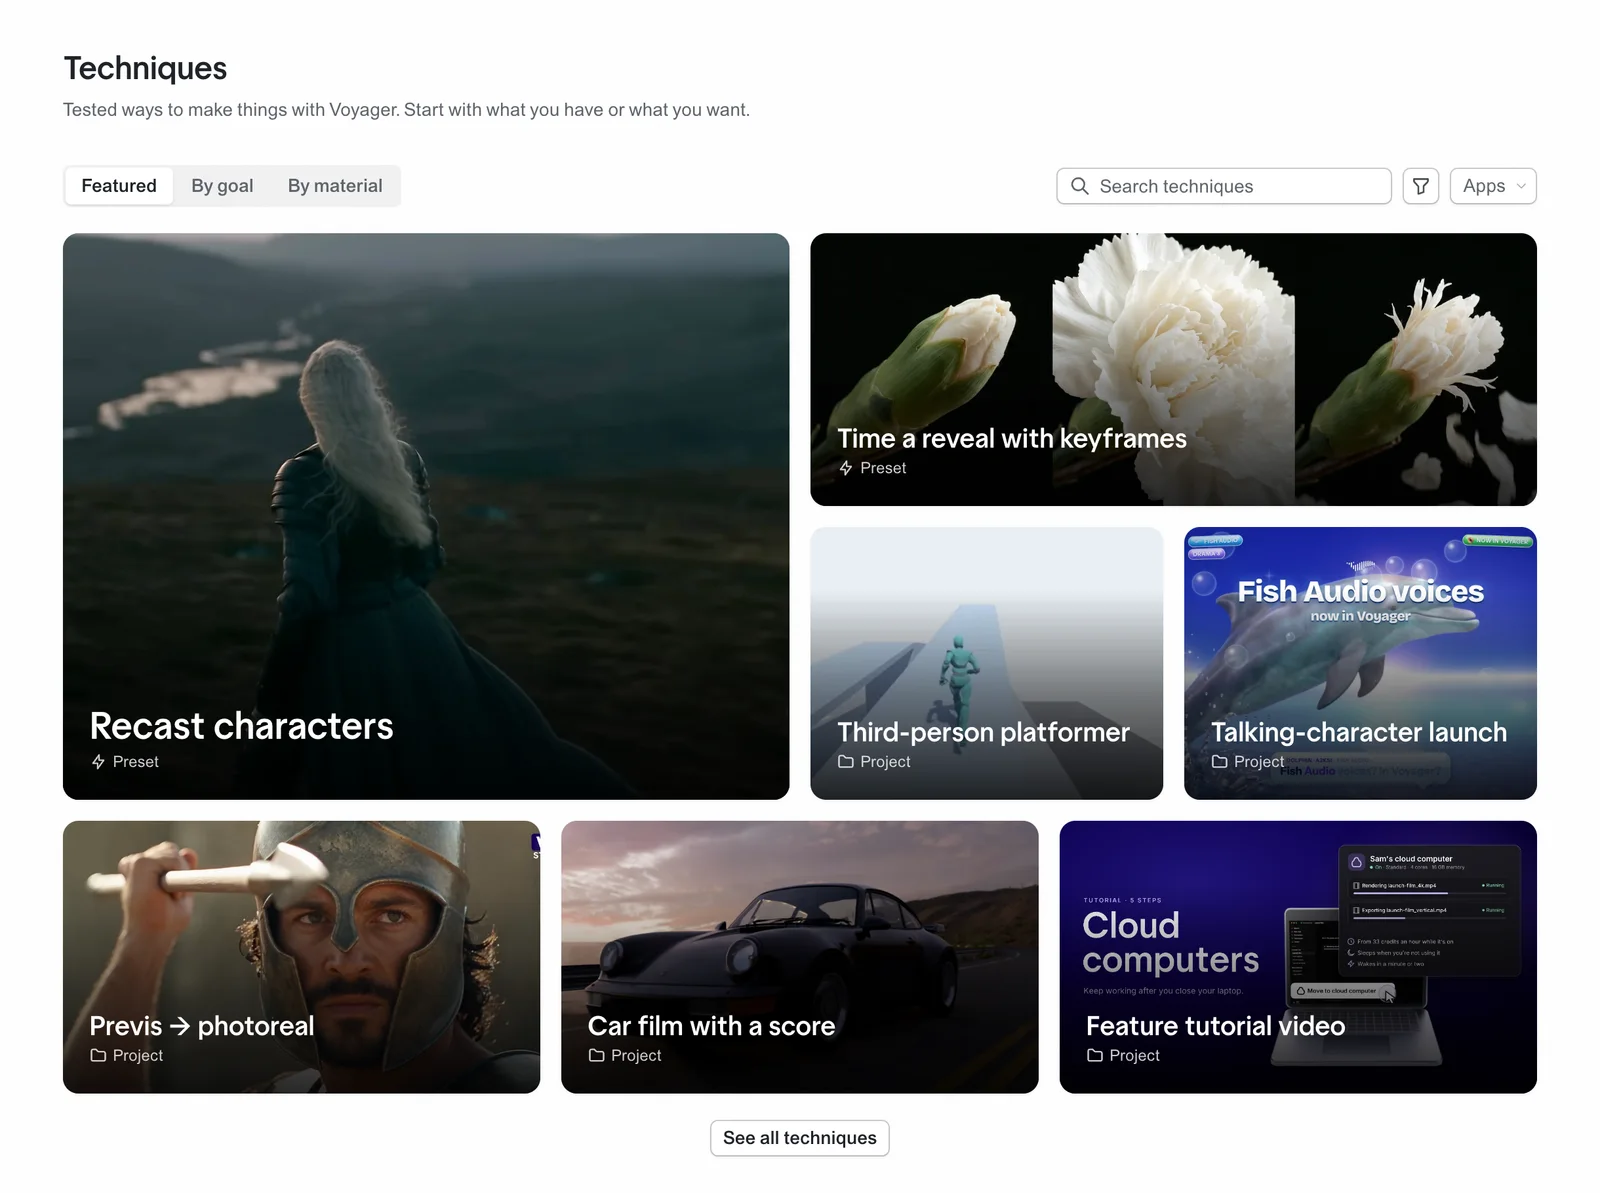
Some techniques are presets, a quick way to have Voyager do one thing for you right away. Recast characters, for example, swaps the actor in a scene you already have. Click Use preset.
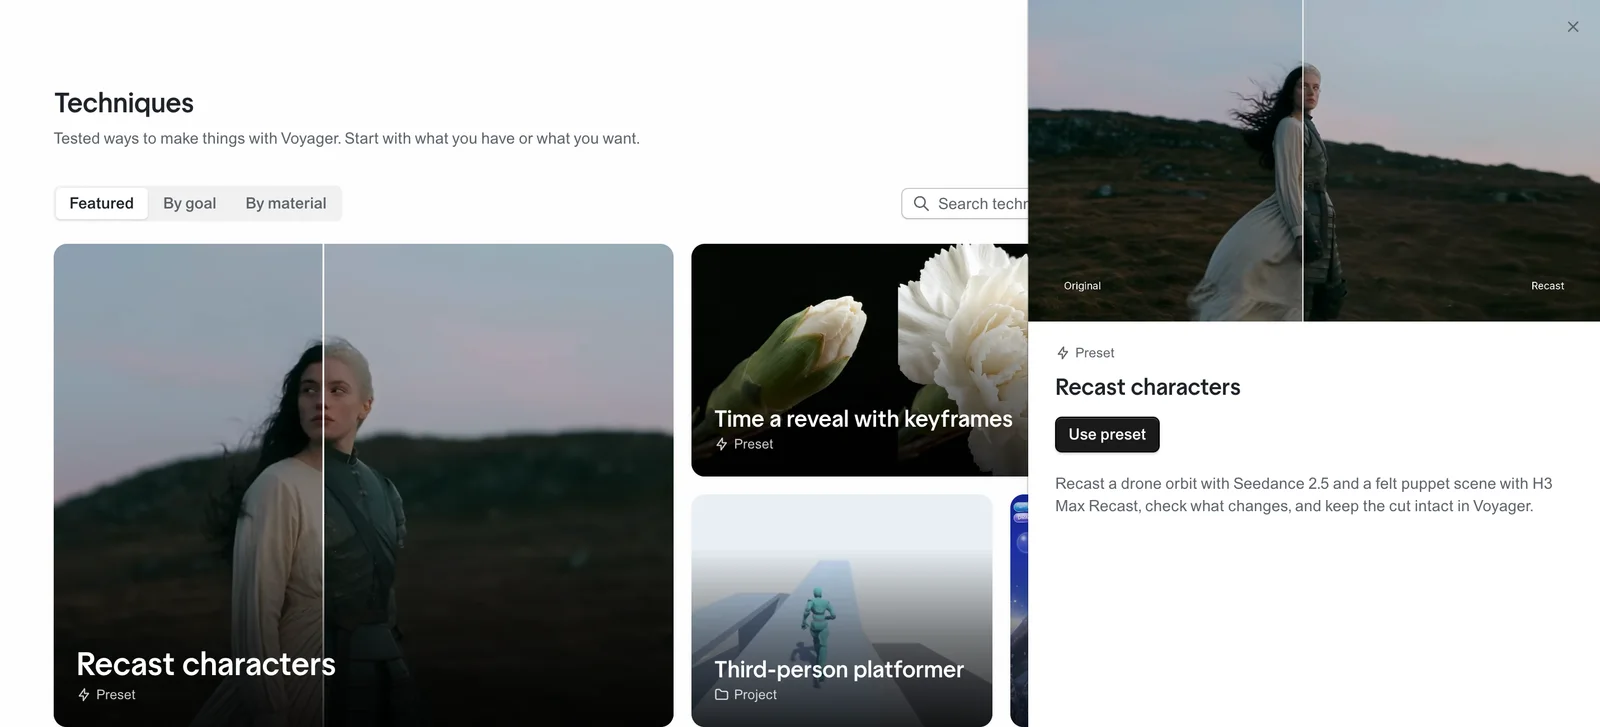
Voyager writes the instructions into the prompt box for you. Add the video you want to change, and describe the new character with a prompt or extra images.
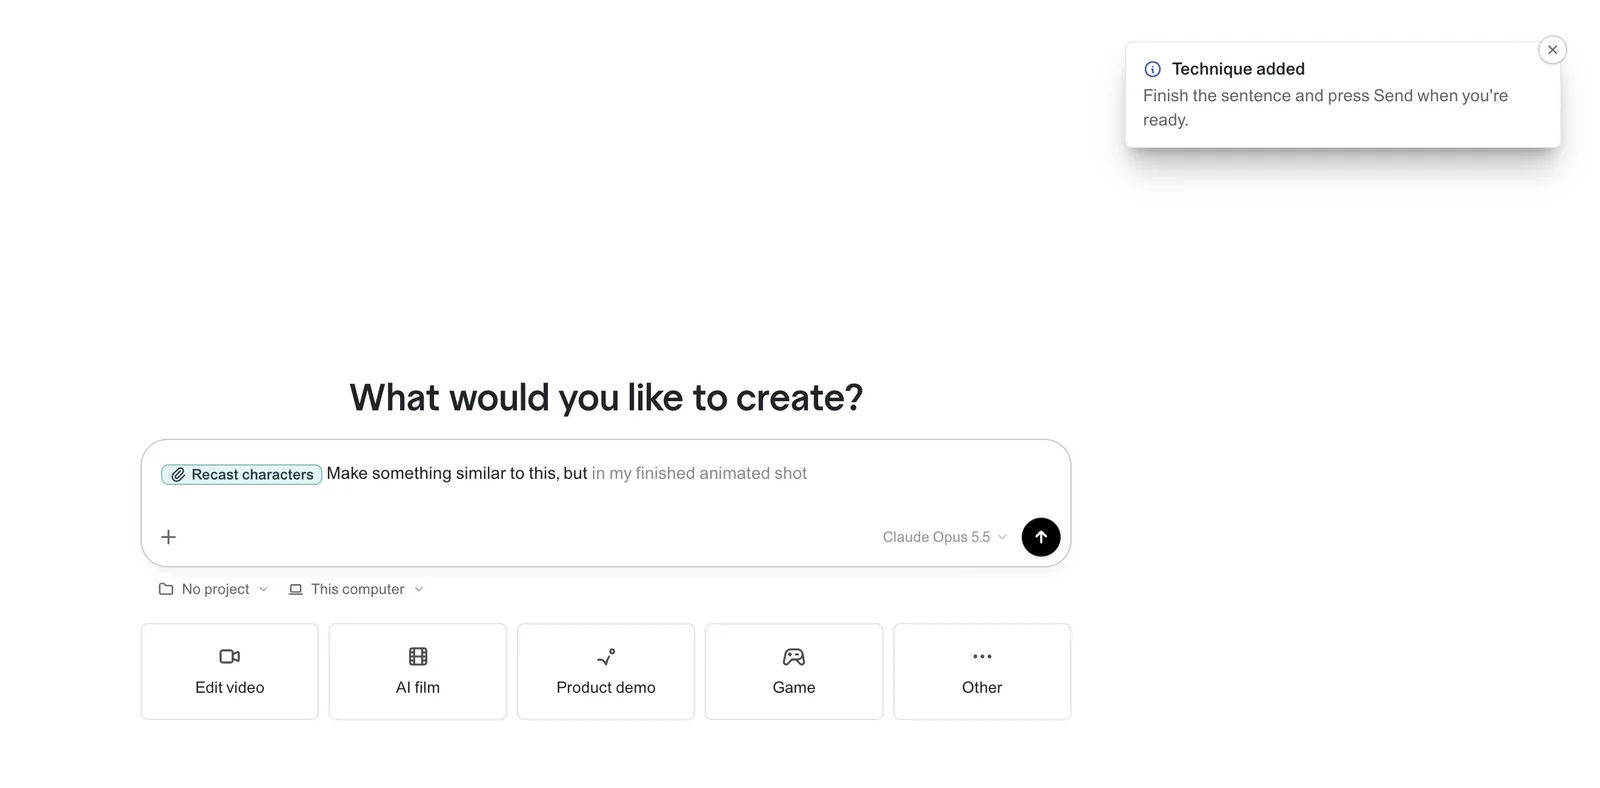
That's it. You're set up, with plenty of places to start. Next, connect the apps you use so Voyager can work inside them.
Voyager is a desktop AI agent for creative work
Describe what you want to make; Voyager plans it, uses your apps and tools, and keeps everything editable.