
Connecting Blender to Voyager takes no setup at all. Once Blender is installed, Voyager finds it on its own: there's no add-on, plugin or server to install. Then you can paste a scene from a script and get back a previs in Blender, with a set, stand-ins and a camera for every shot, in a file that's still yours to change.
What you need
- Voyager, installed and set up.
- Blender, installed before you start. It's free from blender.org. Voyager finds it; it doesn't install it for you.
Blender doesn't need to be open. Voyager runs it in the background, so it never takes over your screen. Everything it makes is saved as an ordinary Blender file, so you can open it in Blender and edit anything yourself.
Find Blender in Apps & Models
Open Apps & Models in Voyager's sidebar and choose 3D. If Blender is installed, it's already there, with a green check.
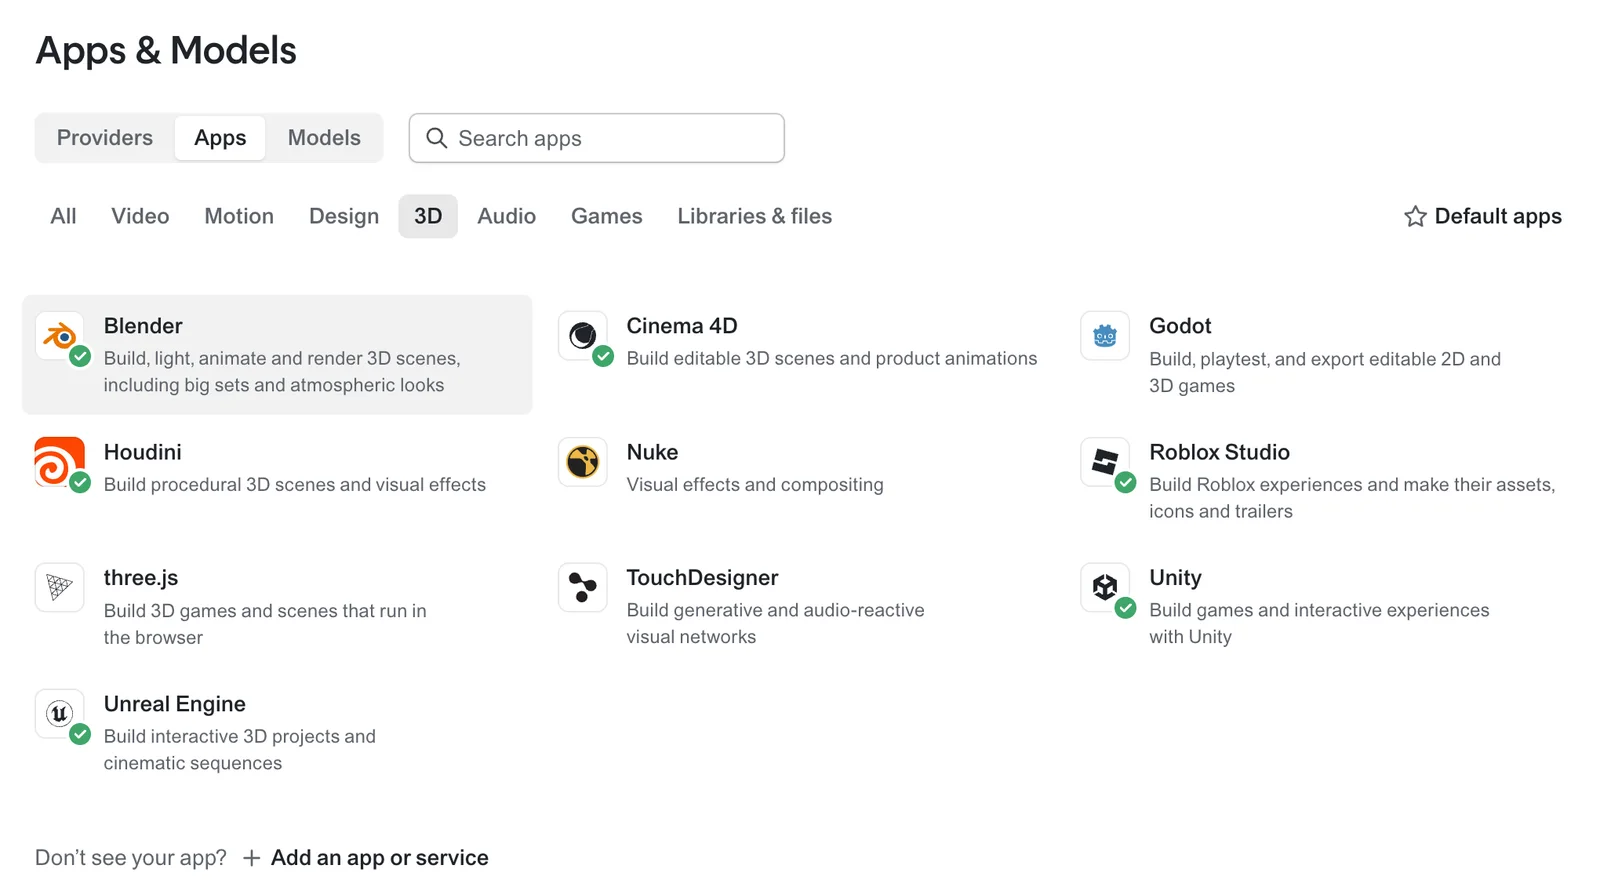
Click Blender. The panel says Found on this computer.
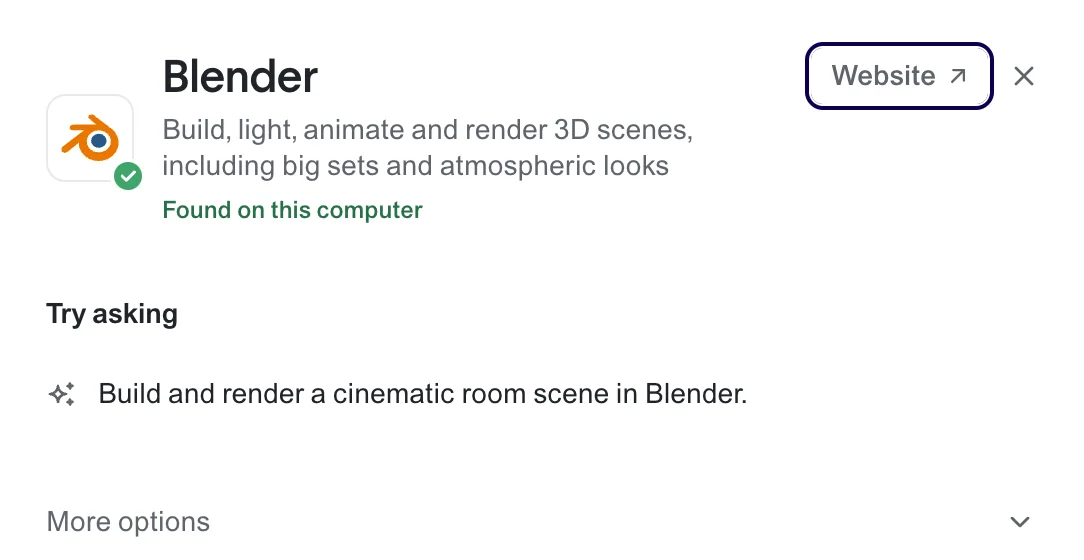
That's it. It's all connected. Voyager works in Blender through Blender's own Python scripting, so there's nothing to set up inside Blender. If you want to connect a different agent, such as Claude Code or Codex, the Blender MCP guide compares those routes.
Make a previs
Blender is the free 3D app used for everything from animation to visual effects. Filmmakers also use it for previs: a quick, rough version of a scene, blocked out to plan the shots before anyone shoots them. That's the first test.
Start a new chat. Type @ in the prompt box and pick Blender, so the chat knows which app you mean.
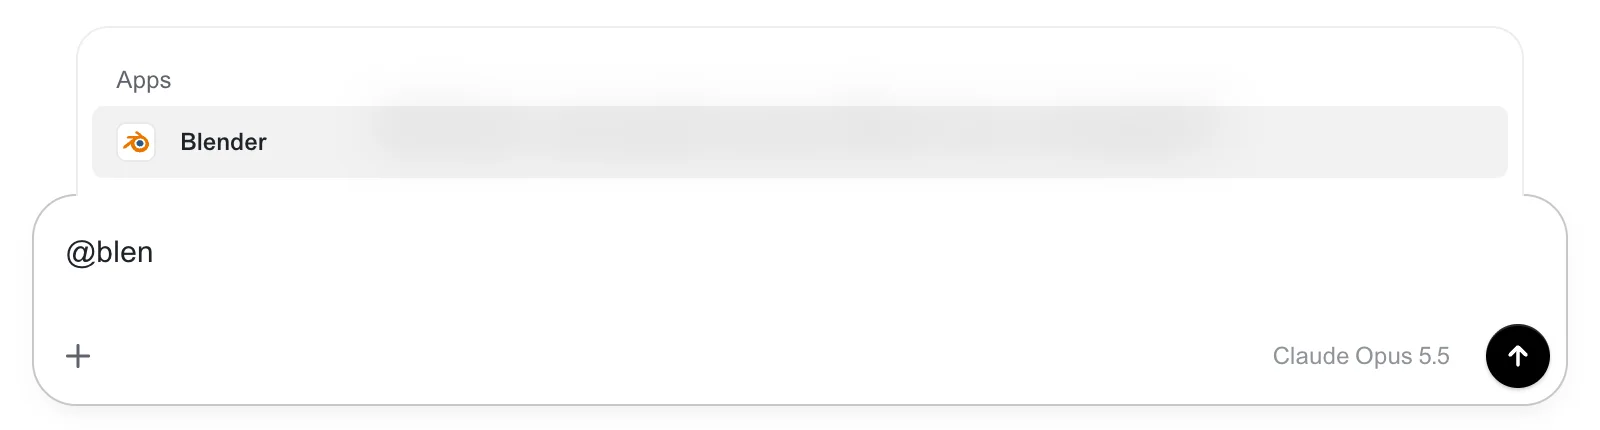
Then ask for the previs:
Block this scene out in Blender as a previs: simple stand-ins for the characters and set, one camera per shot, timed to the action, then render a playblast.
A playblast is a quick, rough render of the animation, made to check the timing and the shots rather than the final look. Paste the scene from your script under the request. This is the one we used:
INT. ALL-NIGHT DINER - NIGHT
Rain streaks the windows. MAYA (30s) sits alone in a corner booth, a cold coffee in front of her.
The door chimes. LEO (40s), soaked, steps inside and stops just past the door.
Maya looks up. Their eyes meet.
Leo crosses the diner and slides into the booth across from her.
He pushes a thick envelope across the table. Maya doesn't touch it.
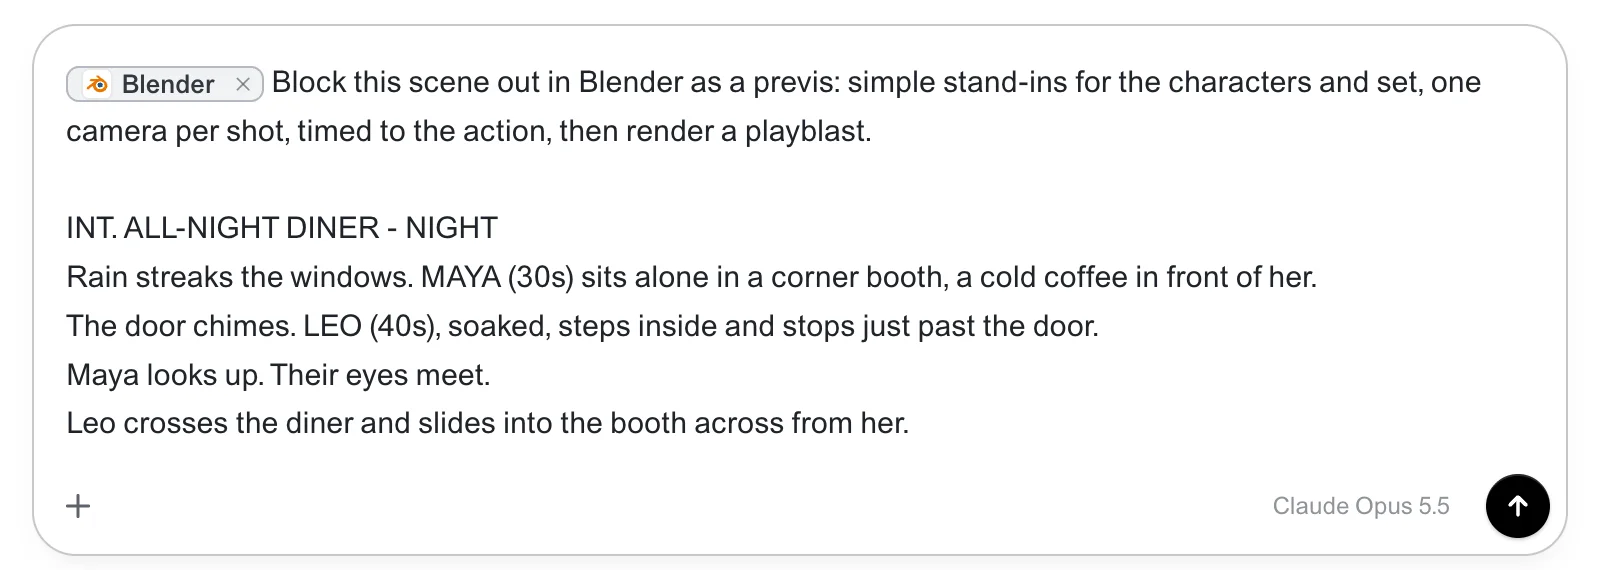
Hit send, and let it work.
What Voyager does in Blender
First, Voyager reads the scene and breaks it into shots. Ours came back as eight: a wide of Maya alone, Leo at the door, Maya looking up, Leo as their eyes meet, Leo crossing the diner, a two-shot as he slides in, an insert on the envelope and a last close-up on Maya.
Then it builds the diner from simple blocks: booths along a rainy window, the counter and stools, the door. Maya and Leo are stand-ins, orange and teal so you can tell them apart. It animates them to the action, puts a camera on every shot, renders a test still from each camera to check the framing, adjusts the cameras, and renders the playblast.
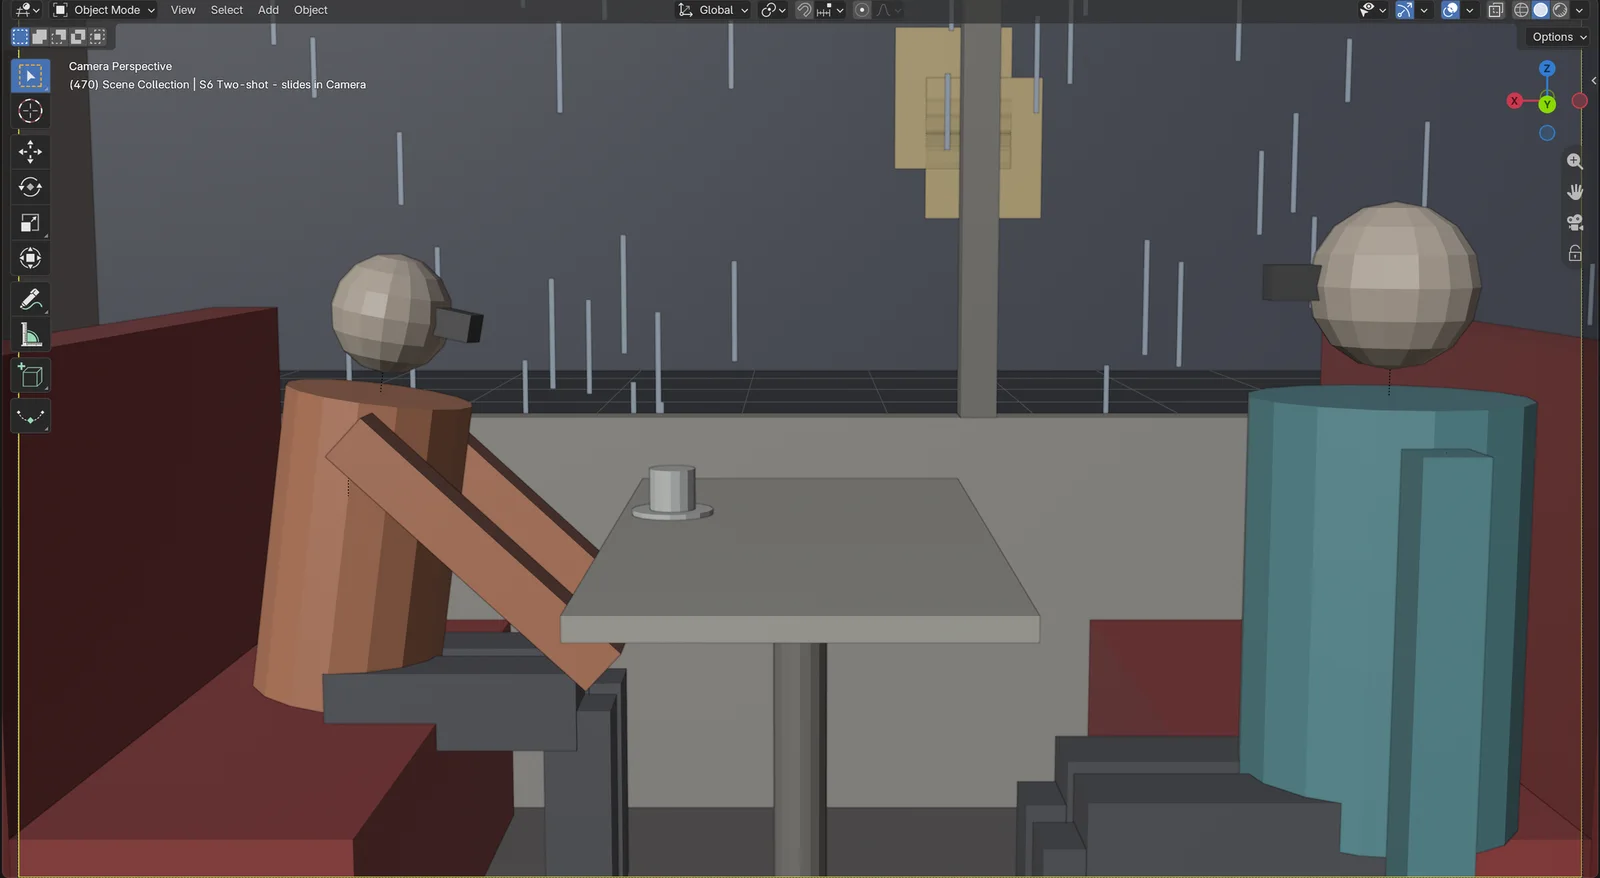
In our run this took about five minutes, all in the background. Voyager then summarized what it made, with the playblast in the chat.
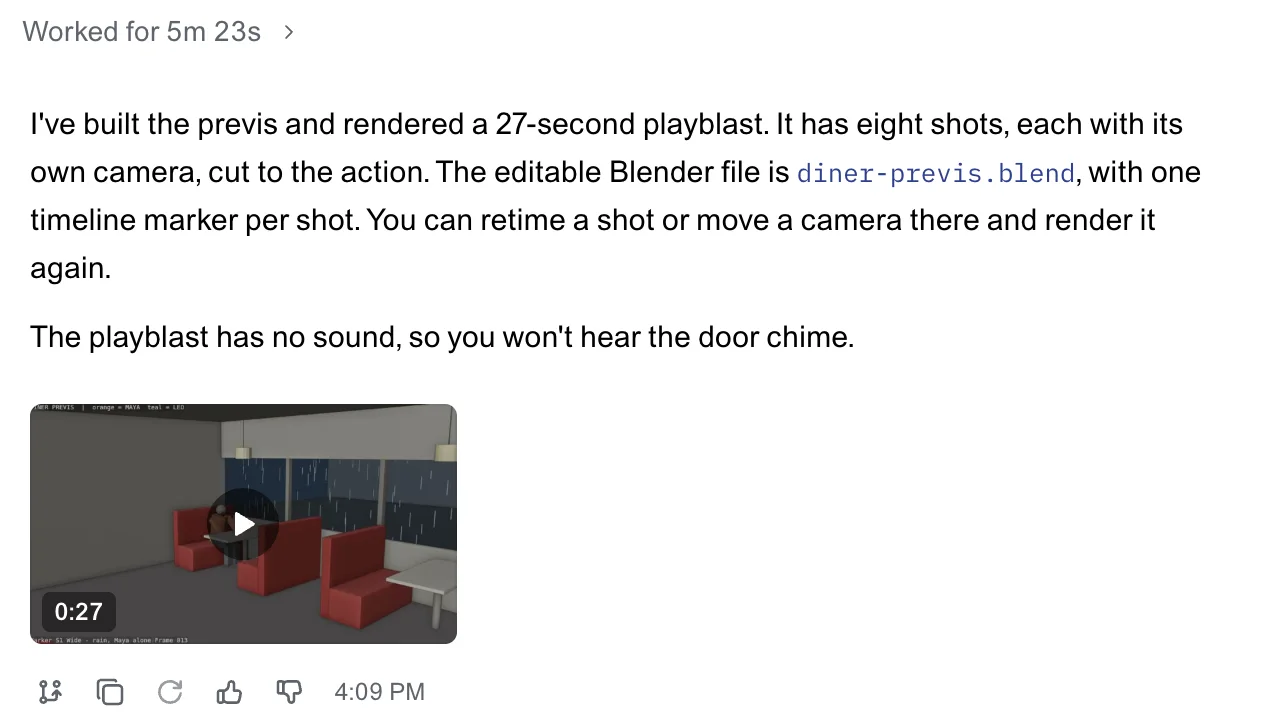
Open the Blender file
Everything is in a real Blender file: the set, the stand-ins, a named camera for every shot and a marker on the timeline where each one cuts. Open it, and move a camera, retime a marker or change the set by hand.
Change it
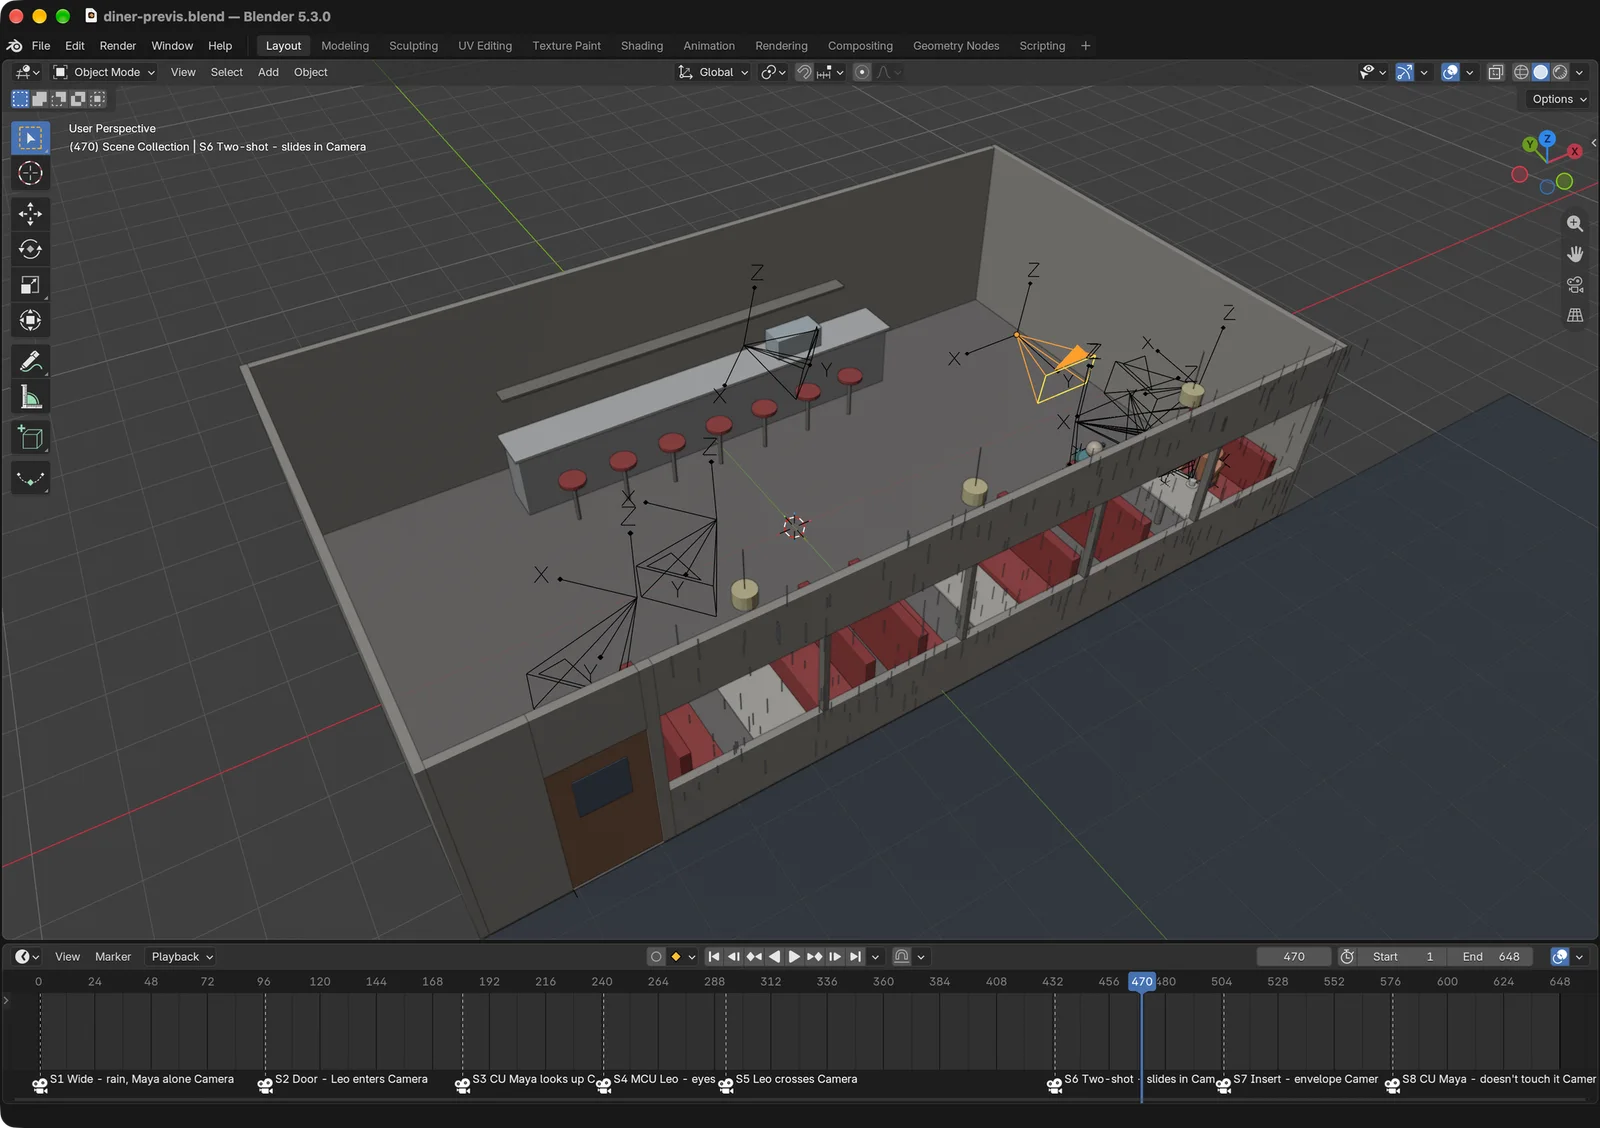
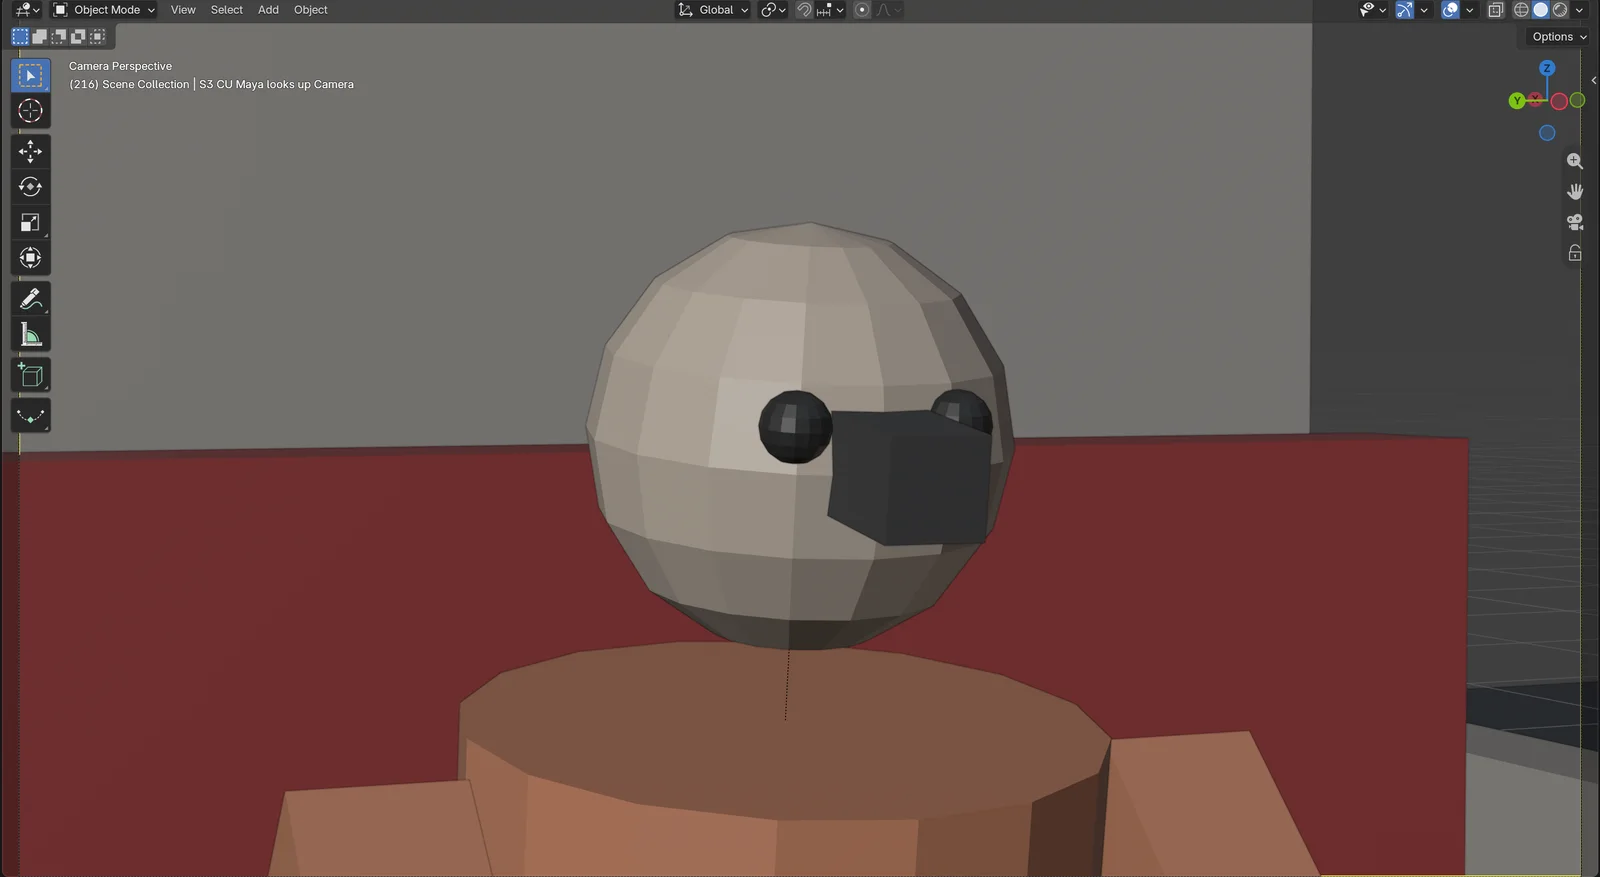
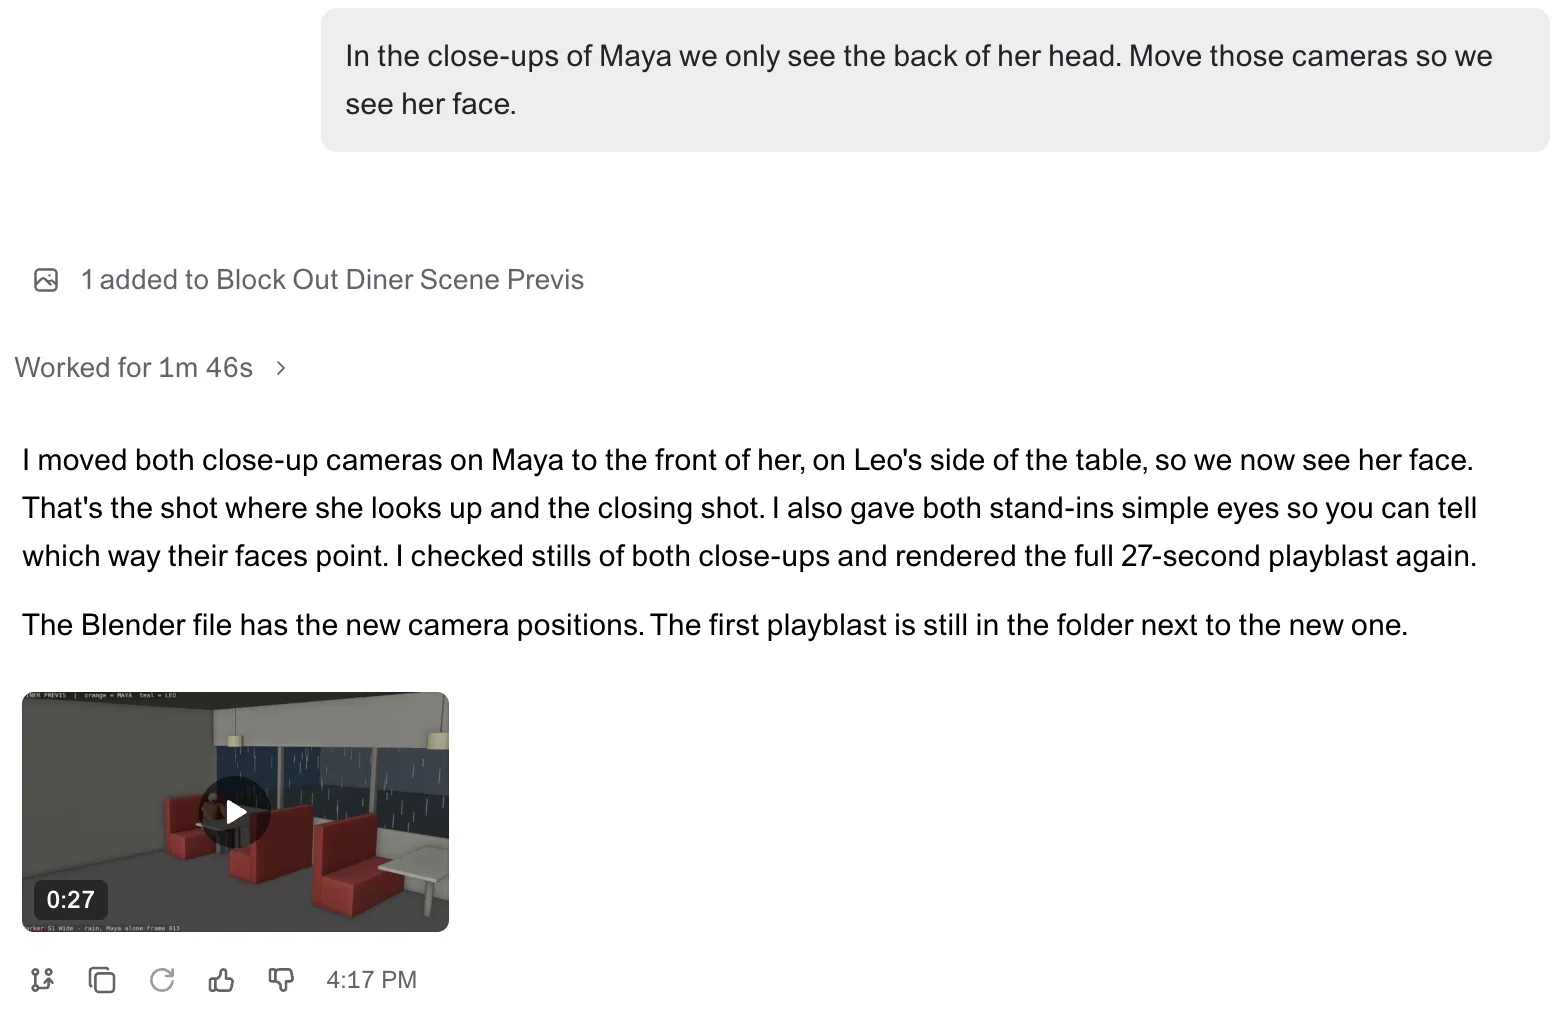
You can also just ask. In our first pass, both close-ups on Maya showed the back of her head, so we asked:
In the close-ups of Maya we only see the back of her head. Move those cameras so we see her face.
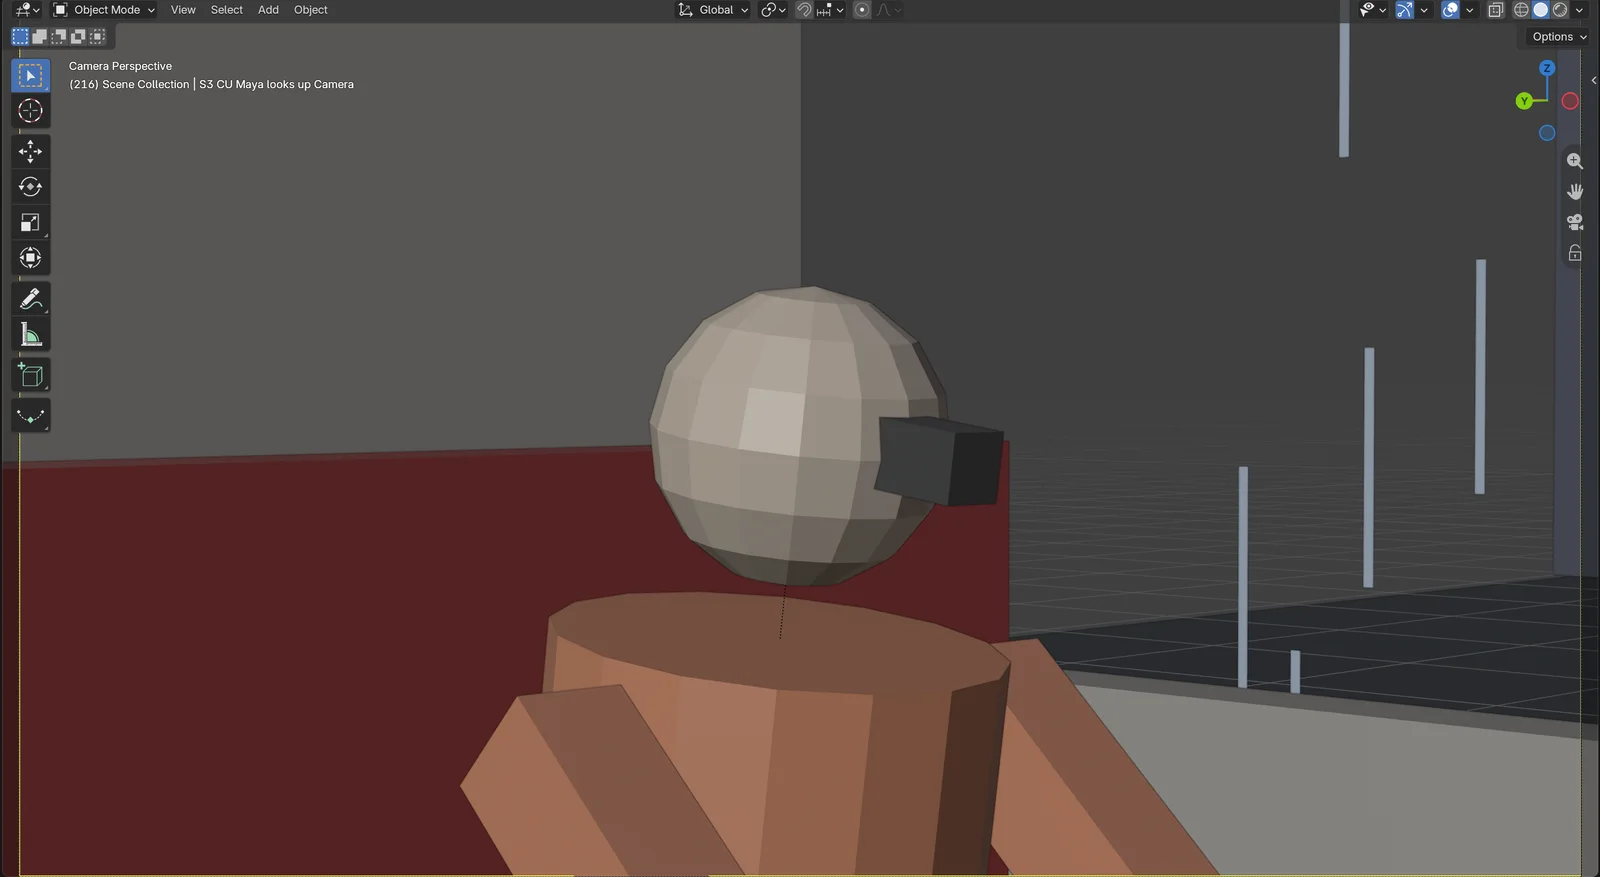
Voyager moved both close-up cameras to Leo's side of the table, gave the stand-ins simple eyes so you can see which way they face, checked stills of both shots and rendered the playblast again. It took under two minutes, and the first playblast stays next to the new one.
For a previs with dialogue, sound and a cut you can show a crew, turn a script scene into a Blender previs goes further.
If something doesn't work
- Blender isn't listed. Install it from blender.org, then open Apps & Models again.
- The playblast is silent. That's expected: it's a quick draft render. Add sound in your editor.
- A shot isn't framed the way you want. Move its camera in Blender, or describe the change in the chat, as we did with the close-ups.
Voyager is a desktop AI agent for creative work
Describe what you want to make; Voyager plans it, uses your apps and tools, and keeps everything editable.

Founding Designer, Voyager
Sam is the founding designer of Voyager. Previously a lead product designer at Netflix, Instagram and Spotify, Sam builds creative tools that help creators bring their full vision to life.