A new feature ships with a changelog line and a screenshot, and most people never find it. A one-minute tutorial fixes that: one caption per step, a cursor that shows exactly where to click, and a voice that says why it matters.
This one teaches Voyager's cloud computers in five steps. The same brief works for any feature in any app.
Description / transcript
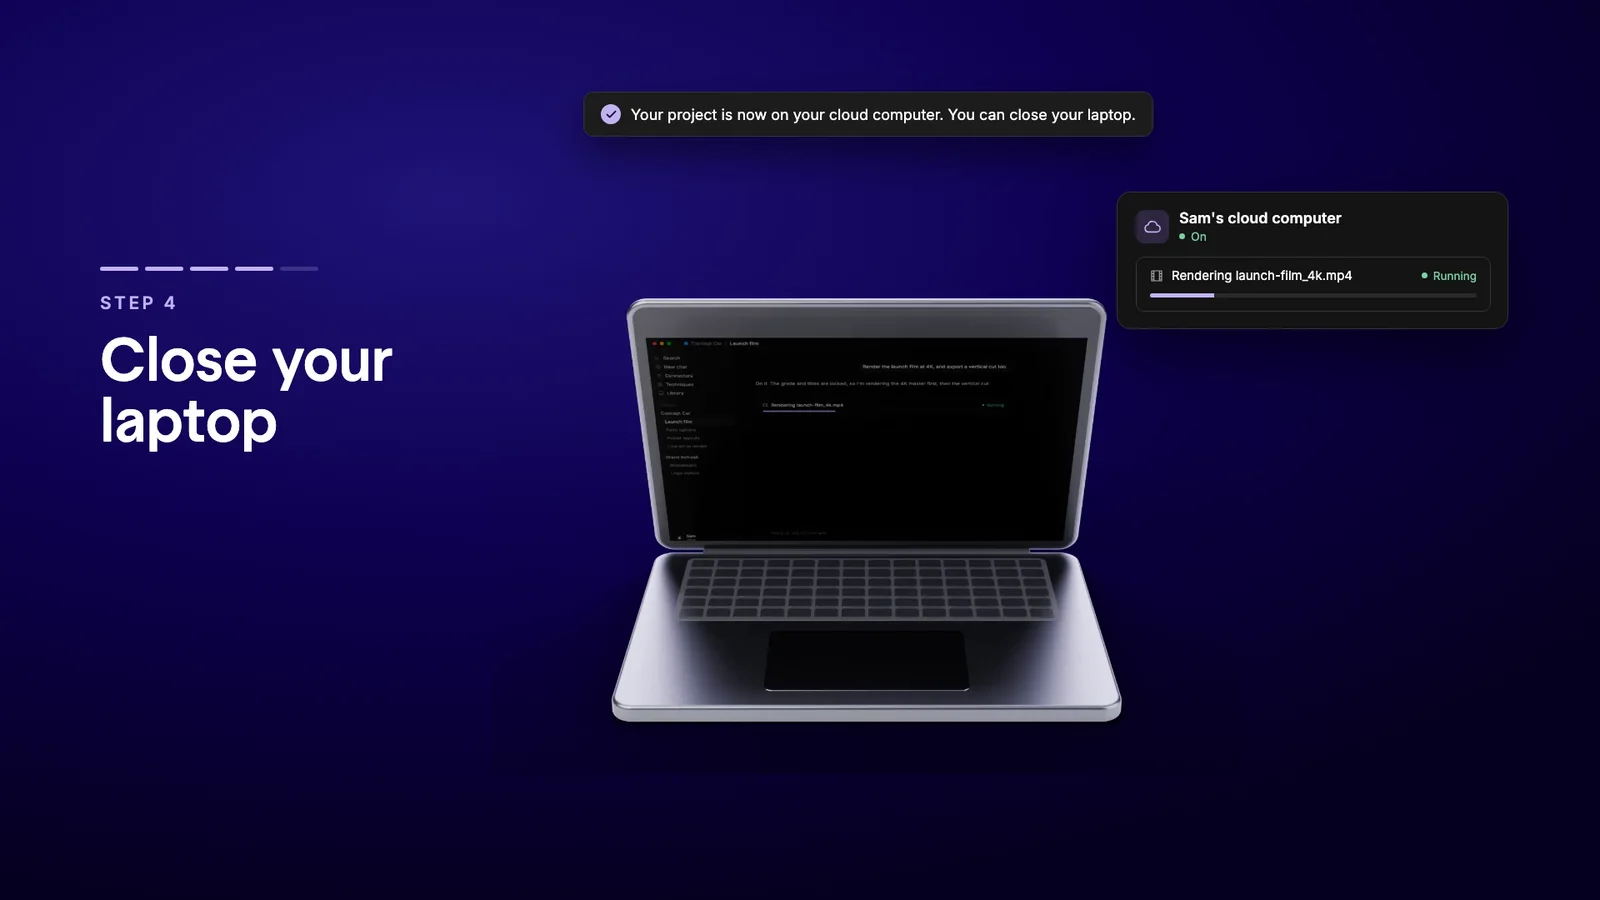
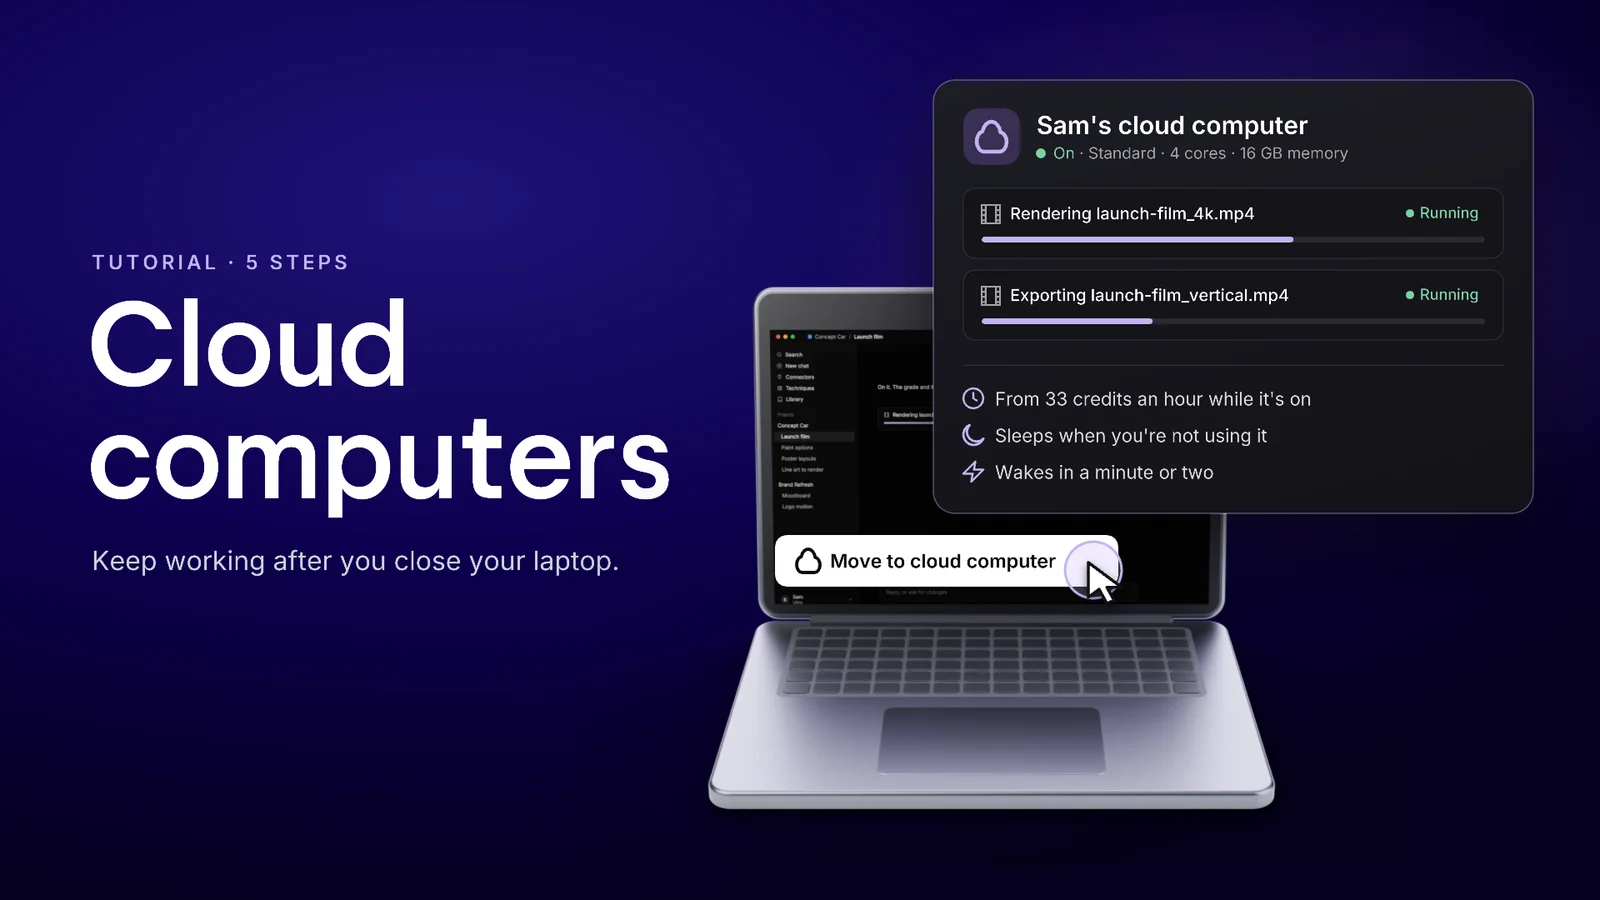
Here's something new in Voyager: cloud computers. It's your own computer in the cloud, running Voyager, so your work keeps going after you close your laptop. Step 1, open Computers and devices: open Settings, go to Computers and devices, and click Add a cloud computer. Step 2, pick a computer size: pick a computer size. Add a graphics card if you run local models or Blender in real time, and choose when it sleeps. It only uses credits while it's on. Step 3, move your project: now say a render needs forty minutes, and you have to head out. Click Move to cloud computer. Your files, chat and running jobs go with it. Step 4, close your laptop: when Voyager says your project is on your cloud computer, close your laptop. The render keeps going. Step 5, check in from your phone: if it's asleep, just send a message, and it wakes in a minute or two. It has Voyager's own video, motion and design tools. Desktop apps, like Resolve, stay on your own computer. End card, your creative studio, always on: cloud computers are on Creator plans and up. Find them in Settings, under Computers and devices.
Build the whole video around one moment the viewer wants. Here it is closing the laptop while a forty-minute render keeps going. Every step either gets the viewer to that moment or shows it paying off, so the tutorial also explains why the feature exists.
What you need
- Skills:
make-product-demo,voiceoverandremotion. - Screens: screenshots of every screen the steps pass through, from the shipped app.
- A voice: a cloned voice of the presenter, or a stock voice. A cloned voice needs a paid plan.
- Made in Voyager: this example is a real Voyager run, from the brief to the final render.
Brief the agent
Name the feature, the steps and the value in one message, and ask for the script before anything is built.
Make a step-by-step tutorial video that teaches how to use [feature]
in [product], with a caption for each step and a voiceover. Show a
cursor on the interface so it's clear where to find the feature,
and make the value to users obvious. Write the script first and
show it to me. Use [voice] for the voiceover and my brand kit for
colours and type. Aim for about 60 seconds at 1080p.
Answer the agent's questions before it writes. Ours asked which feature was meant, because the product had three that could be called "the computer feature". Naming the right one up front saves a rewrite.
Script one caption per step
Give each step a short caption that starts with a verb and one or two spoken sentences. Open with what the feature is in one line, and close with where to find it and which plans include it.
Write the labels exactly as the app shows them. Our agent read the button and menu wording from the app itself, so the captions say "Computers & devices" and "Add a cloud computer" rather than paraphrases a viewer would hunt for. Read the draft aloud: we changed "Pick a size" to "Pick a computer size" and "Your studio" to "Your creative studio, always on" before recording.
Revise the script: every caption starts with a verb and uses the
app's exact labels. One idea per voiceover line. Keep the whole
script under [length] seconds when read at a natural pace.
Record the voice first
Record the approved script as one take, then transcribe it for word timings. The narration sets the length of each scene, so the edit never has to stretch a step to fit a line or rush a line to fit a step. Ours came out at about 57 seconds of speech in a 60-second video.
Voice the approved script in one take with [voice], natural
delivery. Transcribe the take and give me a timestamp for each
step's first word.
Rebuild the screens and move the cursor
Screenshot the real screens: here the account menu, Settings, Computers & devices and the Add a cloud computer dialog. The agent then rebuilt them as an editable Remotion project instead of recording the screen. The rebuilt screens copy the real ones, and the cursor moves on cue: it reaches Add a cloud computer as the voice says it, and the dialog highlights each choice as it is named.
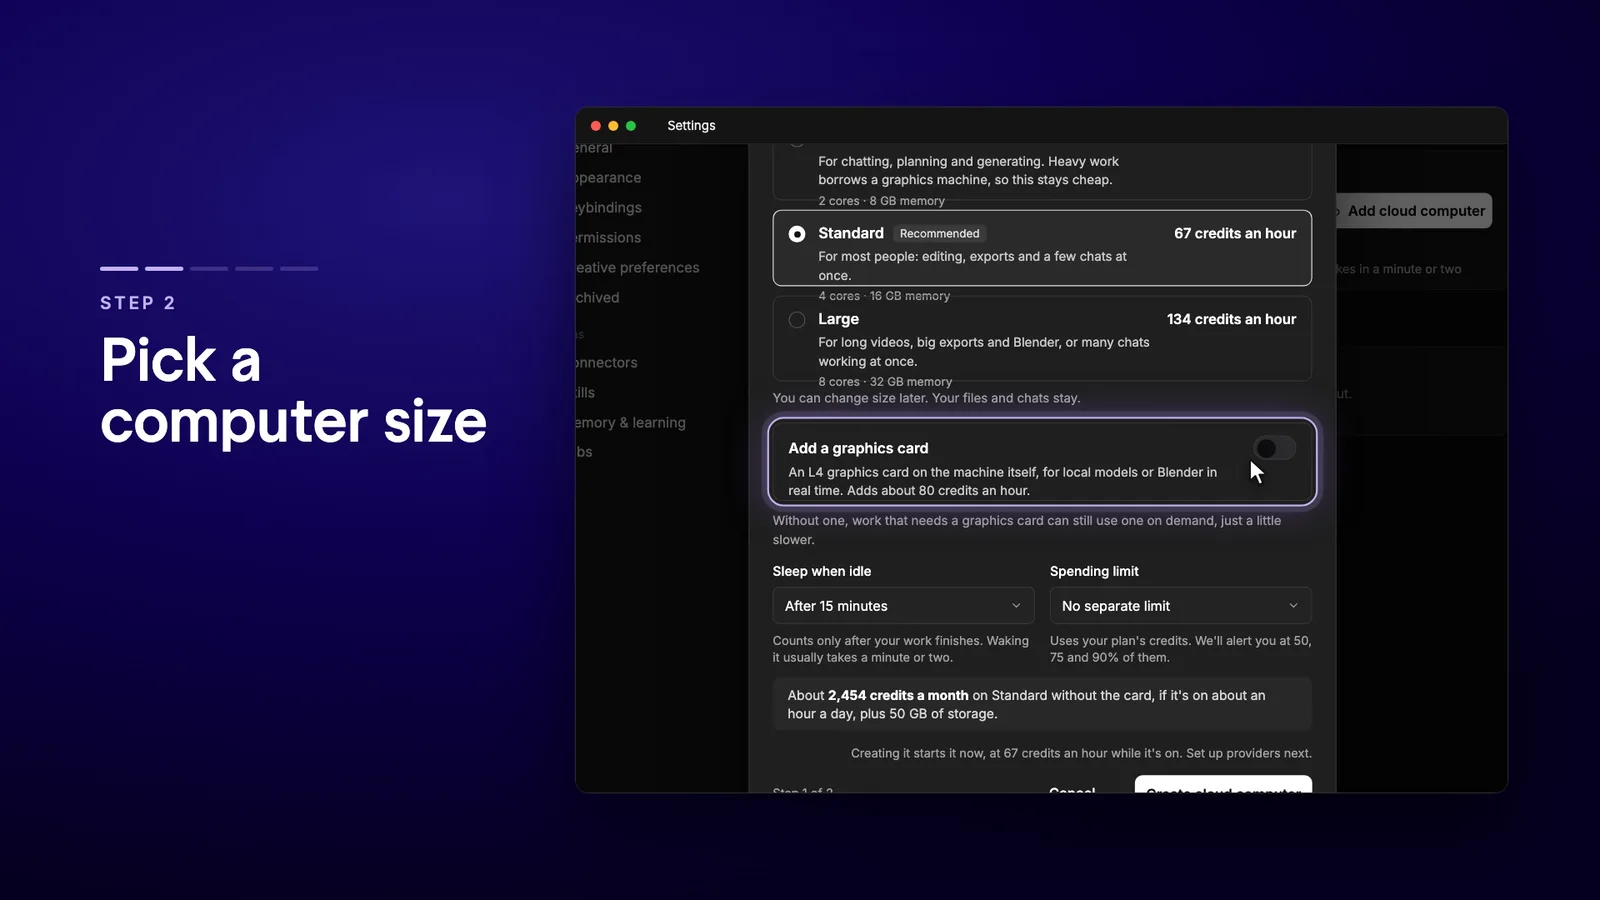
A rebuild costs more than a recording, but every click lands on its word, the text stays sharp at any zoom, and a label that changes later is a one-line edit, not a re-record. Keep it faithful: copy the screenshots, and never show a result the product does not really produce.
The payoff steps show what happens off the screen. The laptop lid closes while a panel shows the render still running, and a phone shows the chat on the same project.
Check stills before you share it
Render a still from every scene and look at them side by side. Our check found dialog text overlapping a heading where the zoom cropped the screen, and it was fixed before the final render. Then watch it once with the sound off: the captions alone should still teach the steps.
Render a still from the middle of every scene into a contact sheet.
Check for overlapping or clipped text, captions that disagree with
the voiceover, and a cursor that lands before its word. Fix what
you find, then render the final 1080p video.
Swap in your own feature and its one moment, and let every step lead to it.
Technique
Make your own in Voyager
Opens a new chat with “Feature tutorial video” attached and the steps from this post. Nothing runs until you send it.
Needs Voyager 2026.10.17-0 or later.